Showing posts with label poultry. Show all posts

Monday, December 3, 2012

Wheat Grass Success and a Plague of Flies

After mixed results with my first attempt to grow wheat grass for my poultry, I decided to follow the experts' recommendations to the letter. The result has been amazing. If you have enough space for several trays at once, you can easily grow enough wheat grass to form the core of your poultry's diet. But I'm getting ahead of myself just a bit. Here's how I did it.

Supplies:
  • Something with good drainage to plant the wheat grass in. I bought a set of nursery flats like these to use, plus some additional flats without drain holes to nest them in (keeping the water from spilling all over my counter). You'll need two sets of the flats with holes because you'll use one as a cover when your grass is getting started. 
  • Potting soil or vermiculite. I keep vermiculite on hand, so that's what I used. 
  • Liquid kelp or other organic liquid fertilizer. This is optional, but useful, especially if you are going to get multiple cuttings of your wheat grass.
  • Sprouting seeds. I experimented using both hard white wheat from my food storage as well as a mix Sprout People sells called "Kat Grass". 
  • A spray bottle 


Step One: Soak the wheat

Soaking the wheat

Measure out enough wheat to densely cover the bottom of your sprouting tray. Then place the wheat in a jar of cool water, stir, and allow to soak for 8-12 hours.

Step Two: Pre-sprout


See the tiny roots? This wheat is ready to plant. 

Drain and thoroughly rinse the soaked wheat. Then, put the wheat back in the jar you soaked it in or in a sprouter. I used my handy, dandy Victorio 4-Tray Kitchen Seed Sprouter. Keep the wheat in a cool location out of direct light. Rinse and drain the wheat every 8-12 hours until you see tiny roots on your wheat. It only took 12 hours before I was ready to proceed to the next step.

Step Three: Plant

Wheat seed planted

I poured in enough vermiculite to create an 1" layer in the bottom of the nursery flat. Then I added water, stirred, and added more water until the vermiculite was uniformly damp. I also added a little organic liquid kelp fertilizer to this initial watering. Next, I spread the sprouted wheat evenly across the top and spritzed the seeds with water from the spray bottle.

Important detail: After you spray the seeds, take the extra nursery flat and place it upside down to form a tent over the top of the tray. You want the wheat to grow tall quickly and the darkness is the way to do it. The drain holes in the bottom of the the nursery flat also provide ventilation to avoid mold problems.

Step Four: Water twice daily and watch in amazement

It won't take long before the seeds shoot up. And, unlike my previous attempt, there was absolutely no boozy smell associated with it. All I did was spray the tray evenly with water twice a day.

Day  One


Day Two


Day Three

I kept the tray inverted over the wheat grass until day four when the grass was about two inches tall. Now it is time to give the wheat grass a sunny place to grow. I also began watering from the bottom, pouring enough water into the bottom holding tray to last a full 24 hours.


Day Four


Day Five: Greening and growing!


Day Seven: First harvest

After seven days' worth of growth, I cut the wheat grass back to about 1". I could have just given the entire tray to my birds and let them have at it, but I wanted to see if I could coax additional growth out of the same planting. I was indeed able to get two more cuttings before I threw the remaining mass of roots and vermiculite (and fruit flies, but more about that in a bit) out into our garden.

And what was the verdict on wheat grass from the feathered community?  


Chickens love wheat grass


So do ducks
They adored it. Both the ducks and chickens chomped it down with gusto.

There's just one problem I encountered during this little experiment: a massive infestation of fruit flies! I'm talking giant, biblical plague-proportion of fruit flies. Every time I would open the lid to spritz the grass, a cloud of flies launched into my face. By the end of the first week, I had generations of flies living in the wheat grass. Even covering my kitchen counters with multiple tried and true apple cider vinegar traps only put a slight dent in the population. It's been a week since I removed the wheat grass trays (as well as all fruit and other food sources) from my kitchen and I'm just now noticing a sharp decline in the numbers of fruit flies.

I've promised my incredibly patient (albeit slightly frustrated) Hubby Dear that I'll wait a bit before I try sprouting wheat again, but you can bet that I'll do it. Growing wheat grass is only slightly more complicated than alfalfa sprouts, but you get so much bang for your buck. I'm really looking forward to having a continual supply of fresh greens for my birds.... if I can keep those darn fruit flies away, that is.

Tuesday, October 16, 2012

Brainstorm with Me: Ways to Cut a Budget to the Bone

I have a confession to make. I love to spend money.

While some women may fantasize about their next shoe or handbag purchase, I am decidedly low-maintenance in those departments. Our vehicles are modest, paid-for (thank you, Dave Ramsey), and we plan to run them into the ground. I don't even wear my wedding ring on a regular basis, so jewelry is not a temptation of mine, either. But I do like to spend money on things that interest me - books, preparedness items, homesteading paraphernalia, and poultry.

Who knew poultry would hold such fascination for me? It's become a passion and a small business.

It is that crazy love for poultry that has motivated me to tighten our budget. You see, I really want to build a much larger poultry house that will comfortably hold more birds. Since we do not believe in going into debt, I've got to save up all the cash to fund my project ahead of time.

I started by brainstorming a list of ways that we could cut our budget significantly. Here's where the list stands. Try not to laugh if you have this frugality thing down pat!

Ways to save money: 


1) Stay away from frivolous, impulse purchases! No more tempting items from Amazon.com "just because". I also blow a lot of cash at Sam's Club on a regular basis. I get sucked into their magazine and book area and leave with a lot fewer $ in my pocket. I think I'll just need to stay away from that part of Sam's entirely.                                                                                                                                                                     

2) Try buying the kids' clothes at thrift stores or consignment shops. This will be a completely new experience for me, but I know this will cut quite a bit from our budget. We spend about $2,000 per year (gulp) on clothing for our four kids at the moment. Hubby Dear and I spend very little on clothing for ourselves but I'll definitely check out what they have for us as well.

3) Eat out less. We spend about $175/month on eating out. I will make an effort to eat at home even when it would be easy or convenient to eat out. 

4) Spend a lot less at Christmas. Hubby Dear loves to give gifts and he really spoils the kids at Christmas. We've already been talking to the children about how we have too much "stuff" in our house and that we are going to focus on the true meaning of Christmas this year. We plan to slash our gift budget and buy things for people in need instead. 

5) Coupon more. I am a coupon drop-out. I thought that it was taking up too much of my time for too little benefit. But when you are saving every penny, coupons can make a difference. Too bad we live nowhere near the stores where you can get the best "extreme couponing" deals.

6) Cut back on paper towel use. With four children at home, we go through a lot of paper towels. I am going to buy some more dish cloths and try to reduce the amount of money we spend on paper towels that way. 

7) Eliminate Cut back on pop consumption. I am a complete and total Coke Zero addict. I know it is unhealthy for me and it certainly is not cheap. I am going to try and drink less pop and substitute either iced tea or water with lemon. Pray for my family while I go through detox! ;)

8) Recycle all those aluminum pop cans for $. I'm not sure people still do this any more or if it is available in our area.  I'll need to check this out. 

9) Stop buying the pricey Omega 3 supplement for my chickens. It is $15 per bag and we use at least 3 bags a month. It adds up quickly and I'm definitely not making it back with egg sales. (It costs me $3.12/dozen to produce eggs and I'm only selling them for $1/dozen. Oops.)

10) Reduce processed, prepackaged foods in favor of cheaper alternatives. Bagged salads, gone. When we don't have salad greens growing in our garden, I'll have to wash and assemble my own salad. The Holy Grail of breakfast time at our house, cold cereal, is on its way out, too. My kids (and husband) inhale the stuff. I can make whole wheat pancakes and waffles ahead of time and freeze them in single-serve portions. I can make instant oatmeal packets directly out of our food storage. And of course we always have eggs around here. :) Snack foods are going to be a bit of a hard sell. I already make all our bread. 

11) Shop around for insurance. We've had the same car and home owner's insurance for 5+ years. Time to shop around and make sure we're getting the best rates. Hubby Dear is unsure of this one since he finds it very important to "shop local" and we don't have a lot of choices for insurance agents out here. He may change his tune if it save us a lot of $$. 

12) Find some budget-friendly meals. My family will not go for the Hillbilly Housewife's $70/week meal plan, but I can certainly be more cost-conscious of the meals I fix. I also need to pay more attention to planning meals by sales the grocery store runs. 

Now that I read over the list, it seems pretty pitiful. I'm not sure a list of generalities is going to get me very far towards the chicken house of my dreams. Any ideas on more ways to save money and live frugally? I sure could use them!  

By the way, check out this Rural Revolution blog post. Patrice is collecting links to blogs with money-saving tips as well as sharing some of her own. 

Saturday, October 13, 2012

Sprouting 101 for Survival (and Poultry Feed!)

Boy, am I glad to be back and posting after that really annoying pneumonia thing. I'm finally at about 99% of my normal chipper self. I have to use an inhaler some evenings because I start wheezing right before bedtime, but other than that, I'm good. :)

Back to your regularly scheduled blog.
-----------------

"Wanted! A vegetable that will grow in any climate, will rival meat in nutritive value, will mature in 3 to 5 days, may be planted any day of the year, will require neither soil nor sunshine, will rival tomatoes in Vitamin C, will be free of waste in preparation and can be cooked with little fuel and as quickly as a ... chop."

Dr.  Clive M. McCay
Professor of Nutrition, Cornell University


Dr. Mccay wrote these words during World War II, a time when our nation was desperate to find ways to provide sustenance for both our boys overseas and the home front. His experiments found that if you take soybeans and sprout them, their vitamin content increases dramatically. Vitamin A increased 300% compared to the unsprouted seeds, Vitamin C a whopping 500-600%. Best of all, sprouting was quick and easy to do, requiring far fewer inputs than traditional farming.

Sprouts are an extremely valuable addition to your food storage. Sprouting seeds take up very little space and yet can yield a large volume of fresh food. According to this article, one pound of alfalfa seeds can yield between 10-14 pounds of sprouts. In addition to their large amounts of vitamins, Alfalfa sprouts are about 4% protein. Many of us store large amounts of powdered milk to help meet our protein needs and yet milk is only 3.3% protein. And can you imagine how wonderful those fresh greens would taste to a palate that was subsisting on canned and stored  foods?

Types of sprouts

I keep mentioning alfalfa sprouts, simply because that is the sprout that many of us are familiar with. There is a whole world of sprouts out there beyond alfalfa, however, and a variety of textures and tastes. There are literally one hundred different types of seeds that people sprout and all have their fans and detractors. Some sprouts are bold and spicy, others are mild. Before you buy mass quantities of sprouting seeds, you might consider purchasing a variety pack of seeds and seeing what type you and your family enjoy. This is a pretty good sampler that will give you an idea as to what your taste in sprouts is.

Storage of sprouting seeds

According to the sproutpeople.org website, if you store your sprouting seeds at 55-70 degrees and at 70% or less humidity, they will have anywhere from a 1-5 year shelf life, depending on the type of seed. Alfalfa lasts 4 years,  most beans will last 5 years, and grains last between 2-3 years. Check out this helpful page for a complete listing of sprouting seed shelf lives.

That's not very long in the grand scheme of food storage, is it? The good news is that if you freeze your seeds, shelf life will be increased around four to five times. My plan is to stock up on sprouting seeds and store them in hard plastic containers in the freezer. As their date of expiration approaches, I will sprout them and either eat them myself or feed them to my poultry. Sprouts make Grade A poultry food, which is a big bonus to me since our poultry operation continues to expand! (I'm now up to 29 hungry chickens, turkeys, and ducks, though that number will change soon when we butcher our first turkey. Stay tuned for that blog post, unless you are squeamish or an animal rights activist.)

How to sprout seeds for eating

If you have a brown thumb when it comes to gardening, have no worries. Sprouting is incredibly easy! Add a little water and the seeds do most of the work. You will need a container that will hold the seeds and allow you to rinse the seeds and let the water drain out. For just a few dollars, you can purchase a sprouting strainer lid that will fit on the top of a canning jar you probably already have. You can also buy a bit more elaborate setup that will make your job even easier.

I bought the Victorio VKP1014 4-Tray Kitchen Seed Sprouter.


The Victorio VKP1014 4-Tray Kitchen Seed Sprouter

It consists of four growing trays that nest on top of each other. It is really compact and doesn't take up a whole lot of counter space.


Each tray has little grooves in it that help channel the water

The kit came with a small packet of alfalfa seeds. It only takes 1/2 tablespoon of seeds per tray. You can stagger your harvest of sprouts by planting the trays on consecutive days.


The water drains through each tray and collects in the bottom reservoir 

All you have to do is pour 2 cups of water into the top tray 2-3 times per day. The water drains through the trays and keeps the seeds optimally moist for germination. It didn't take long before my seeds started sprouting.


Day One


Day Two. They look a little alarming at this stage! 


Day Three


Day Four

I only allowed my sprouts to grow for four days before I harvested them. They were delicious, far more crunchy and delicate in flavor than store-bought sprouts. I cannot emphasize enough how EASY this is. If you are a gardening drop-out, or if you live in a place where you can't have an outdoor garden, you should definitely try sprouting.

My next experiment in sprouting is growing wheat grass for my poultry. My birds enjoyed massive amounts of greens and produce from my garden this summer, but now that the first frost has occurred my garden is pretty much dead. Enter sprouts! My goal is to sprout enough greens so that my chickens and ducks can have fresh greenery every day.  


Soaking the wheat

I took 1/2 cup of wheat from the supply that I grind for our bread. If you are sprouting grains only for livestock, it would certainly be cheaper to buy feed-quality whole grains from a feed store or co-op, but this is what I had on hand. Large seeds like wheat must be soaked for 8-12 hours before you start sprouting them.

After eight hours had elapsed, I drained the wheat, divided it among the four trays of my sprouter, and watered it as described above.


Wheat Day 1: Can you see it beginning to germinate?

It wasn't long before tiny little wheat roots began to be visible. The usual method is to start wheat off in a sprouter and then to plant the sprouted seeds in some sort of planting medium. I like the convenience of my sprouter so much that I am going to see what kind of results I get from keeping them there. I'll keep you posted.  :)


References:


Any other sprouters out there? What kind of sprouting seeds do you keep as part of your food storage? 

Monday, July 23, 2012

A Learning Season

With the wildfires, persistent drought, and blazing heat over much of the country, this has been a hard summer for many. The farmers in my area are really suffering. Animals are dying and many folks' crops are a total loss.

Our garden and yard are feeling the effects of the heat as well. Thankfully, we do not have to depend on our garden for our living or our survival, but it is depressing to put so much time and energy into something and not reap the rewards.

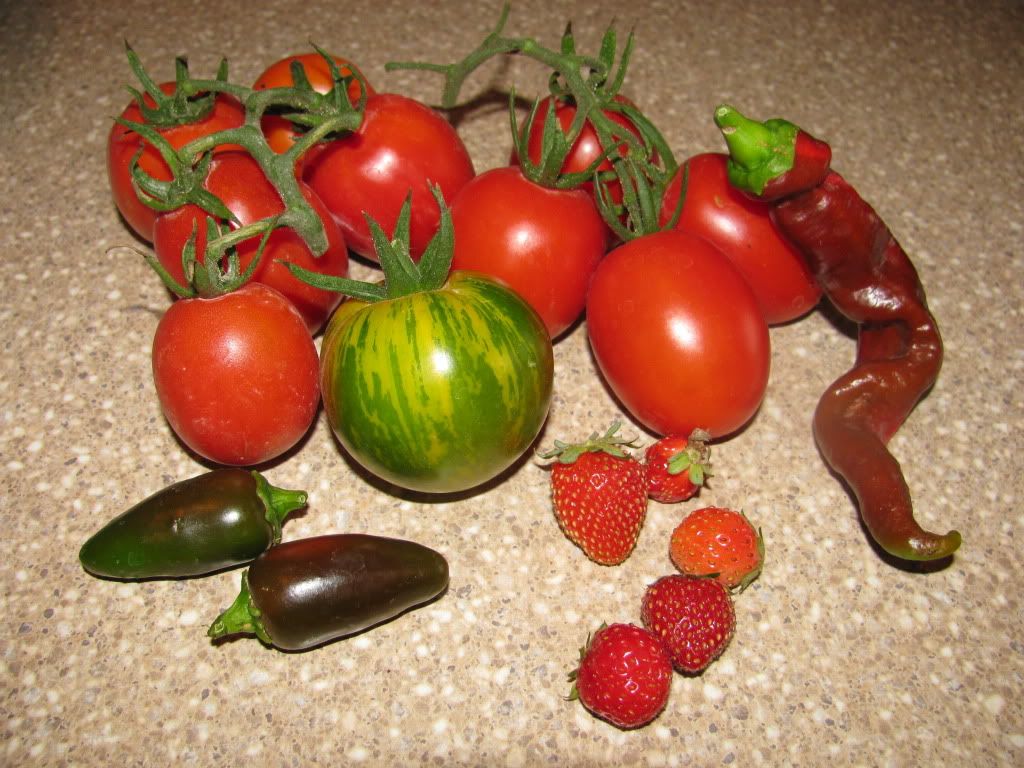
A handful of heirloom tomatoes, peppers, and strawberries from our garden. 

Even though our harvest has been minimal, it has been a season of learning for me. I've gleaned some wisdom from our challenges that I'd like to share with you. Feel free to chime in with what this season may be teaching you.

  • Don't have all your eggs in one basket. Diversify the crops you plant because you never know what will thrive in the unique weather and pest conditions of each year. 

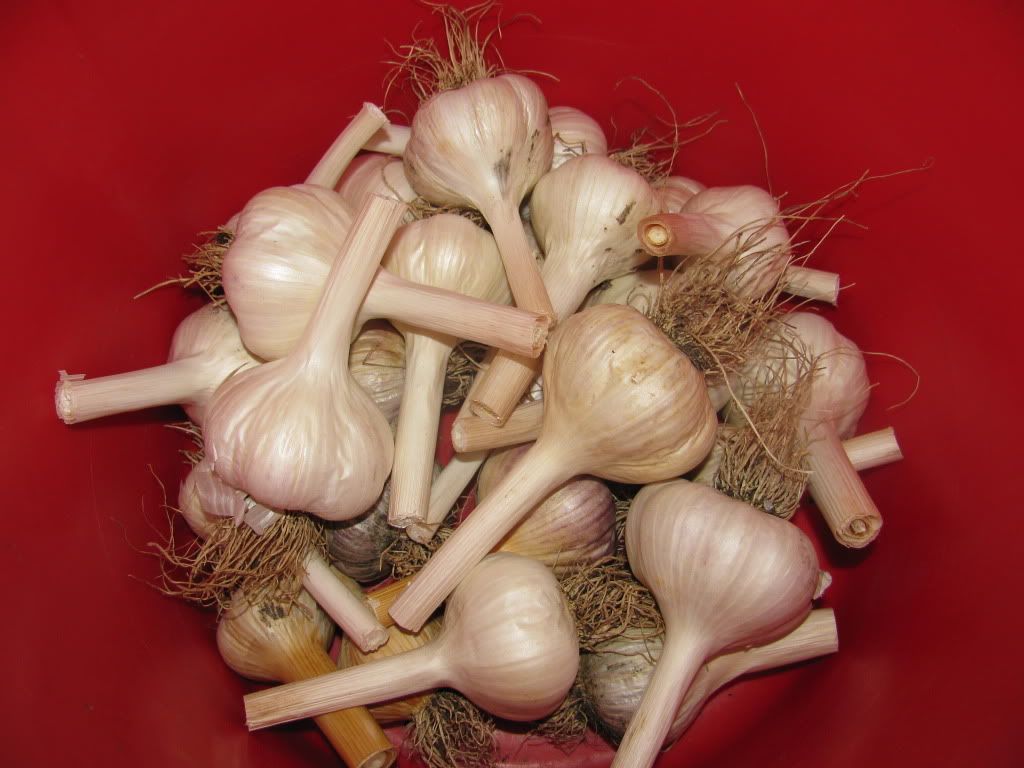
Garlic did very, very well for us this year

It's too bad you can't survive on garlic alone, because we did very well with that crop this year. We have plenty to eat fresh, dehydrate, and save to use as seed garlic for next year's crop. We also got an excellent cabbage crop (I made and froze lots and lots of bierocks). Our onions and blackberries did pretty well. We haven't harvested our potatoes yet, but they look to have done well. Everything else has struggled.

Hubby Dear and I are making a list of nutritious plants that have proven to do well in adverse conditions and are going to make sure they are part of our gardening plans. Cabbage, black oil sunflowers (to press for oil or use as poultry food), and potatoes are on the list so far. 

  • Diversify your preps. Don't just stock up on a year's worth of food for your family and think you're set. Learn how to produce your own food now because, as you can see from our example, there's no guarantee of success even after years of experience. 

  • If you can, diversify even further and get some livestock. 

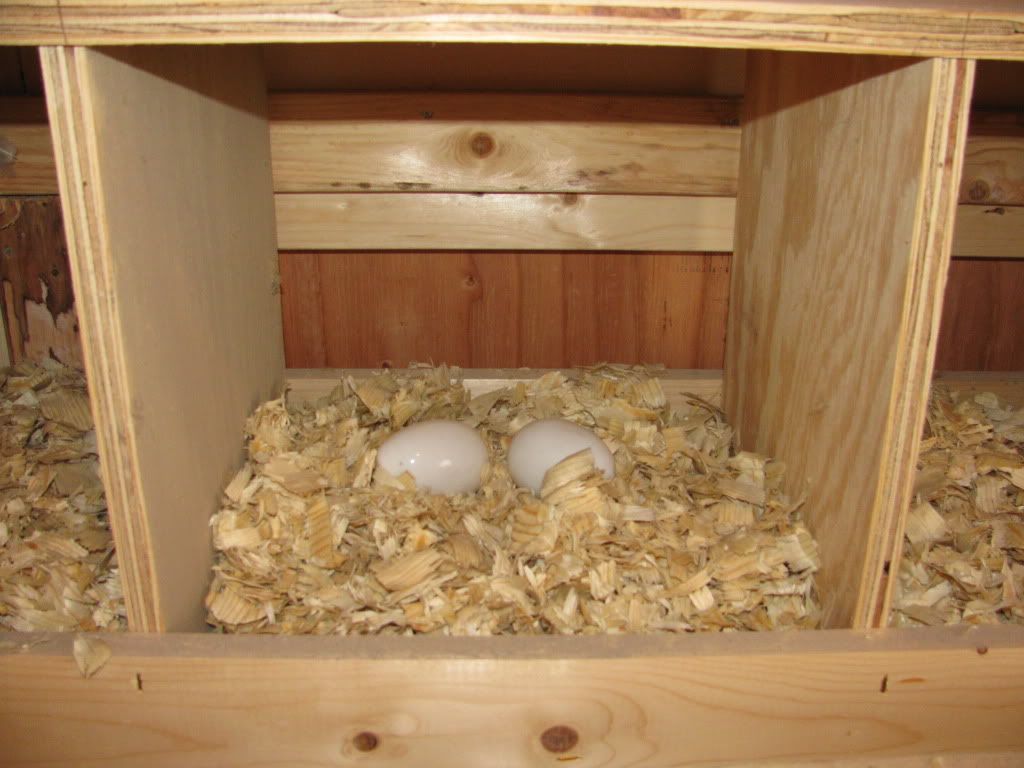
These are dummy eggs I put in the nest boxes to encourage my girls to
lay there. They should start laying soon. 

If you've never done it before, you'd be surprised how easy it is to keep chickens. If you maintain them properly, they don't have to be smelly or noisy and they truly are less work than a dog!  I can't say the same for turkeys and ducks, but they aren't too bad. If it's legal in your area, start with chickens, the "gateway poultry". 


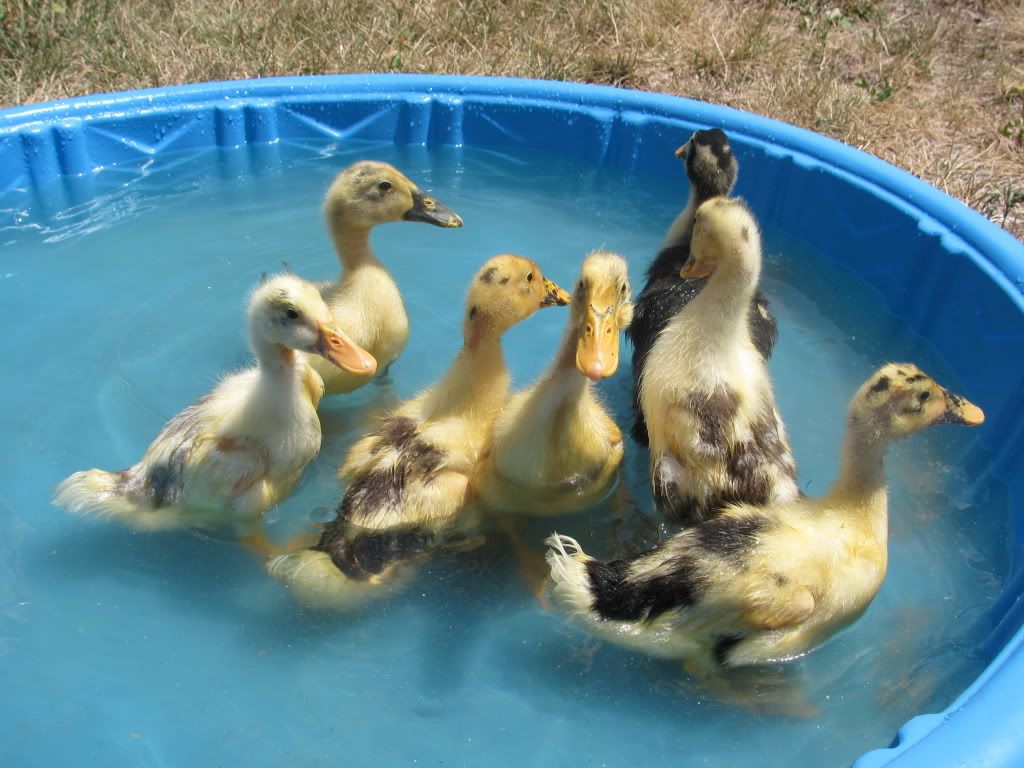
Ducks grow fast. Our ducklings are two weeks old and will be nearly full grown in a
few short weeks. Ours are pets, but Ancona ducks are excellent
layers and table birds and are capable of subsisting primarily on forage.
      
  
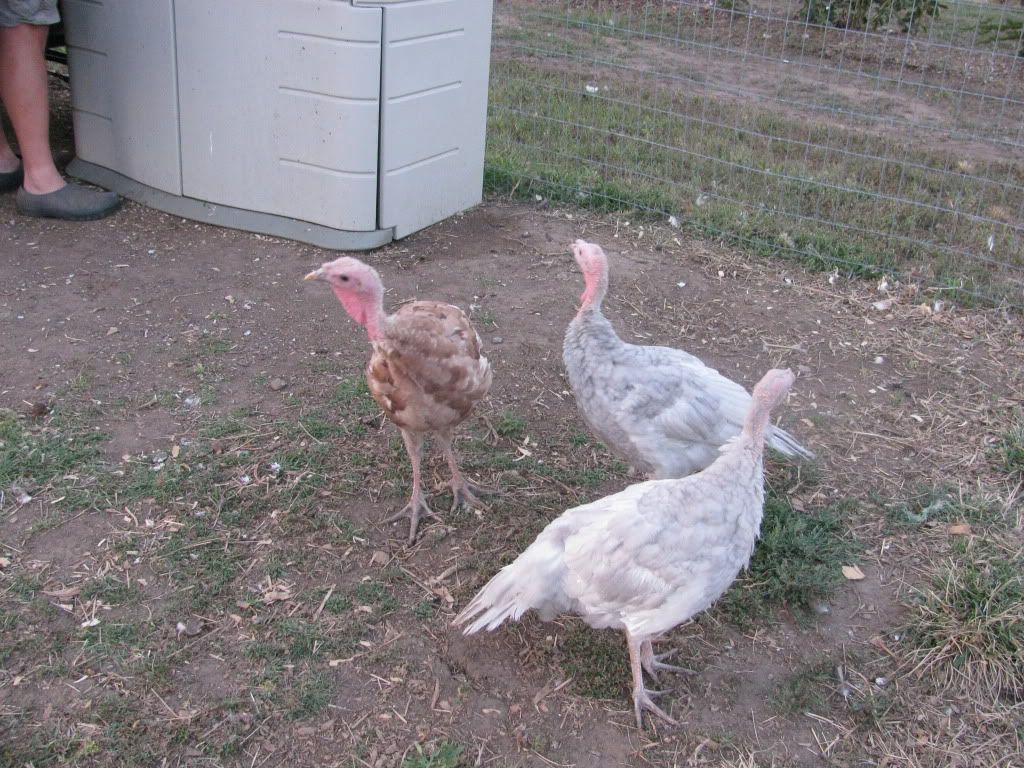
Three of our 10 week old turkeys.


  • Speaking of livestock, despite your best efforts, every now and then one of your animals will get killed. One day one of our chickens (the Easter Egger named Lita Ford) just disappeared. There was no sign of a struggle (feathers, blood, etc.) or a hole under the fence. She was just gone. The next day we saw four of our other chickens fly out of their run, so we now think that Lita probably flew out and was snagged by a coyote or dog. We're working on upgrading our run yet again so this won't happen. More trouble, more money. 

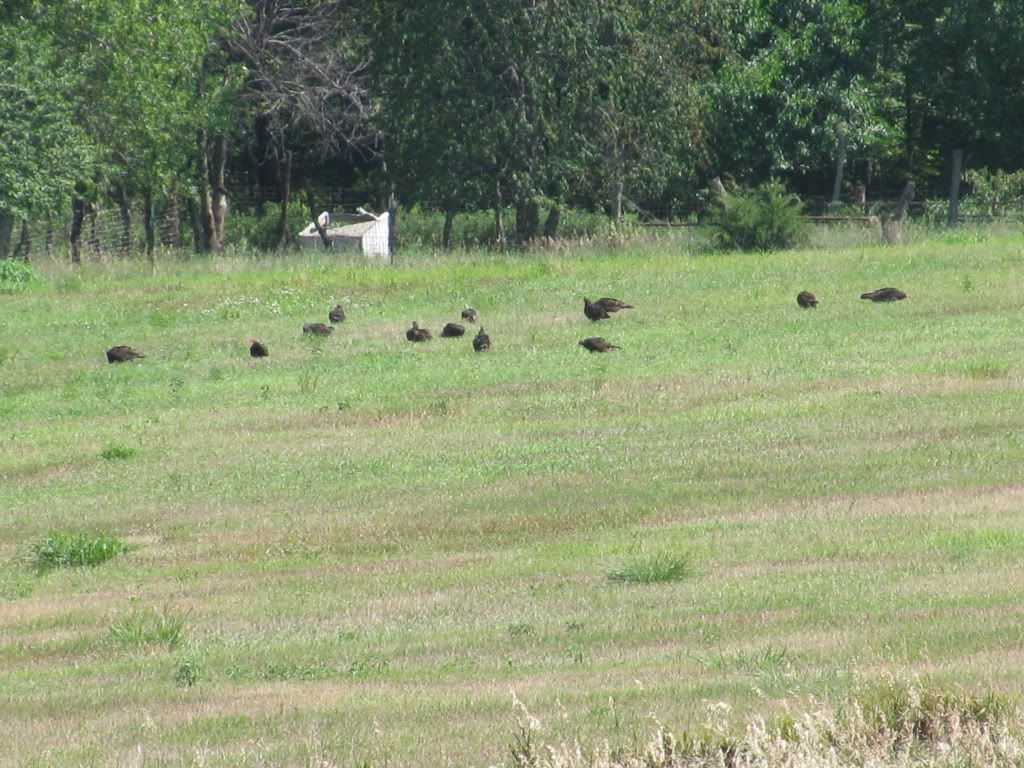
The day we noticed our chicken gone, there were lots of raptors in the skies above our homestead
and these big birds (I didn't think they were turkeys - buzzards, maybe?) in the pasture next door.
I didn't investigate further. :(


  • Be prepared for a multiple years of hardship. Our hot and dry weather started last July. Since then, we have had unrelenting heat and drought. That's kind of nice when January feels like March, but it has real consequences. You need to have a plan to overcome it. I'm starting to think that one year of food storage isn't really enough for our family. I don't know where I'll come up with the storage space for all the food I intend to store, but I'll just have to figure it out. 

  • Buy more seeds than you think you'll need. Especially when the weather is wonky, you'll need extra seed. We had to replant many of our crops and regret not buying more seed during our big seed purchase last winter. Seeds are cheap, so stock up ahead of time! 
Oh, and those cans of survival seeds? They aren't enough. Yes, I have one that is supposed to grow a huge garden of heirloom vegetables. I don't regret that purchase, but you can bet I'll be getting some backups in place. What if you had to replant your survival garden and didn't have the seeds to do it?  

  • Be able to identify common garden pests and have remedies on hand ahead of time.  Plants are especially susceptible to pests when they are under stress from heat and lack of water. We have had our first encounters with squash vine borers and aphids and, thankfully, we had items stored that could treat them. I like the book Good Bug Bad Bug because it has photos of common garden insects and suggests organic treatments for each kind of pest.
  • Spend time in your garden. Observe your plants carefully and act early if you notice a problem.

  • You can never have enough water stored. Our rural water district is getting way too much of Hubby Dear's paycheck because we are irrigating non-stop. If we had invested in rain barrels, we could be using stored water. Even the little bits of rain we've been getting add up to a surprisingly large amount when you collect everything that falls on your roof. 

What have you learned during this season? 

Friday, June 29, 2012

Our Chickens at 15 Weeks

I realize that this blog is titled "The Harried Homemaker Preps", not "The Harried Homemaker's Poultry". The problem is that I've been spending all my prepping money and free time on poultry-related projects, so this blog reflects that. I do think keeping poultry is an excellent preparedness project, but I know not all of my readers can have chickens. To that I say (only slightly in jest) you should move to somewhere you can keep poultry. Hang in there with me and I promise to return to a greater variety of topics. :)

Foraging in the cool of the evening


My chickens are 15 weeks old and haven't given me a single egg yet. If they were from one of the high-output hybrid breeds, I might expect my first eggs in the next week or so. Since they are heritage breeds, I have longer to wait. It can take up to the age of 24 weeks or so to start laying. Most will begin in the 20 to 22 week range. 

If I desired, I could start butchering the chickens. Most of them have reached a size where they would dress out as a nice sized carcass. We are not planning to eat any of our chickens yet but will probably cull them for the soup pot when they slow down their egg production in a couple of years.

Other than being ornamental and fun to watch, our chickens have already done a lot for our homestead. They have made a massive dent in our food and garden waste. They eat food that would normally get scraped off a plate into the trash or garbage disposal. They covet the strawberries that the ants got to before we did and slurp down tomato hornworms like spaghetti. How cool is it that the very stuff we throw away can be turned back into yummy eggs and meat?

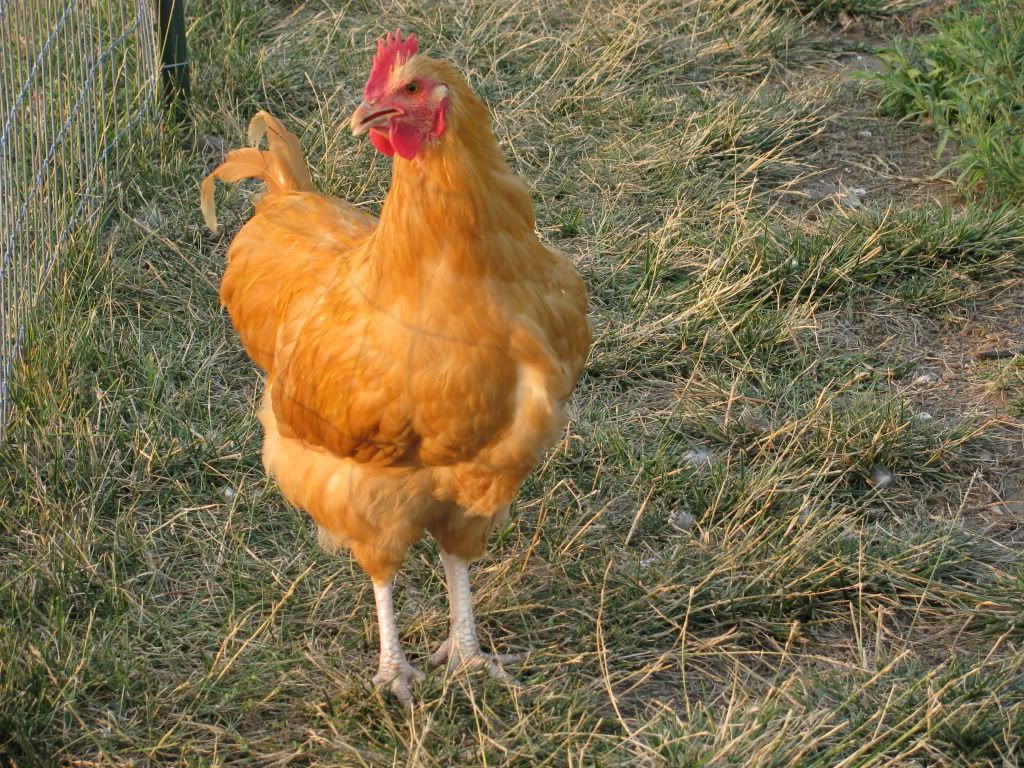
Our roo-in-training

Here's our Buff Orpington cockerel. (Until one year of age, boy chickens are referred to as cockerels. After one year old, they get the venerable title of rooster.) I was slightly leery of purposely ordering a future rooster since they have a reputation for being mean. I really want the option of hatching our own chicks, however, so a rooster was a necessity. So far, he seems to be pretty nice and I think he is awfully handsome, too.

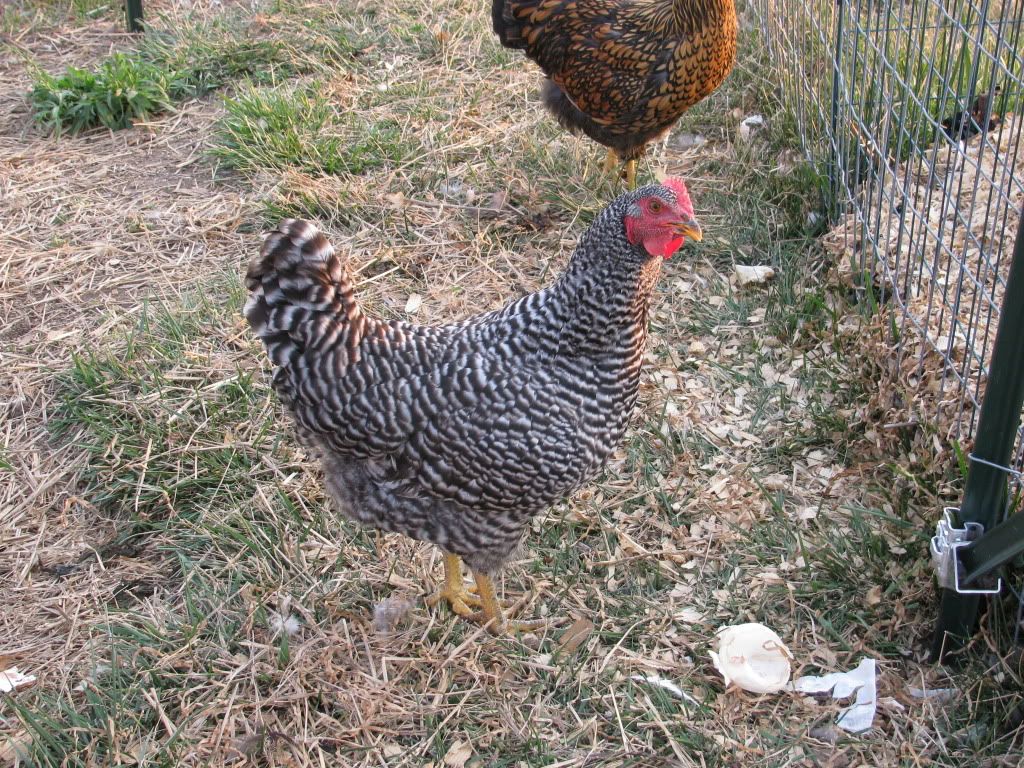
One of our Barred Plymouth Rock pullets

My favorite chickens are our Barred Rocks. They aren't an exotic breed, but I really think they are pretty and they are the most friendly of our chickens. This one is pretty advanced in her comb and wattle development, so it may be that she will be one of the first of our pullets to begin laying.

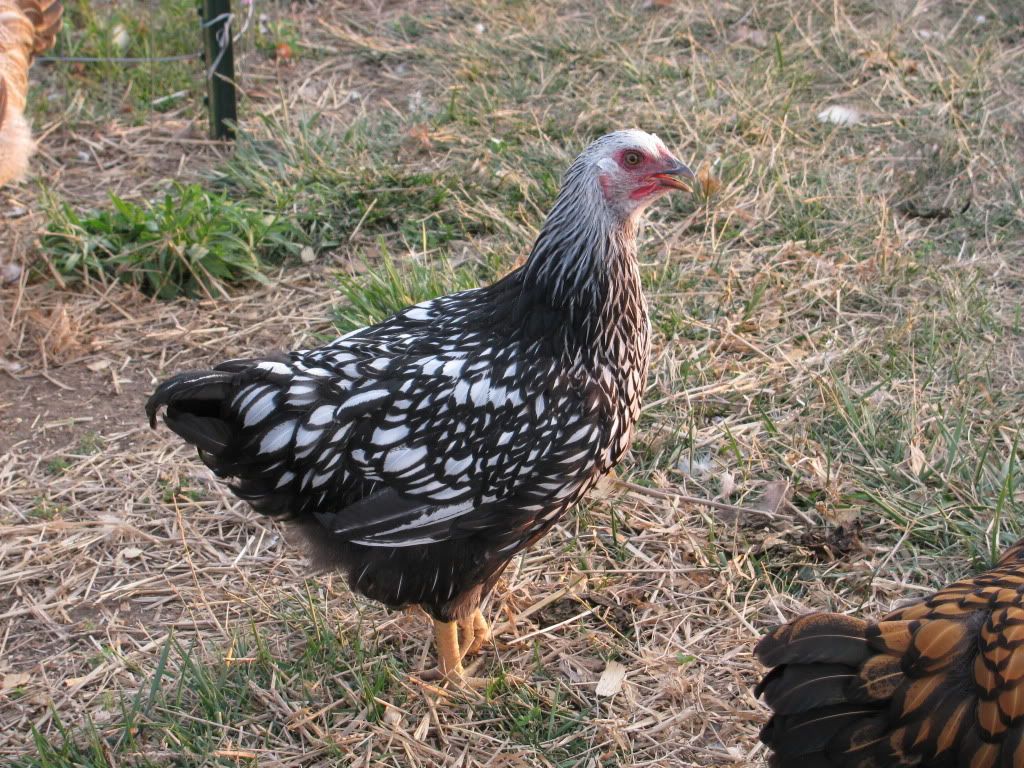
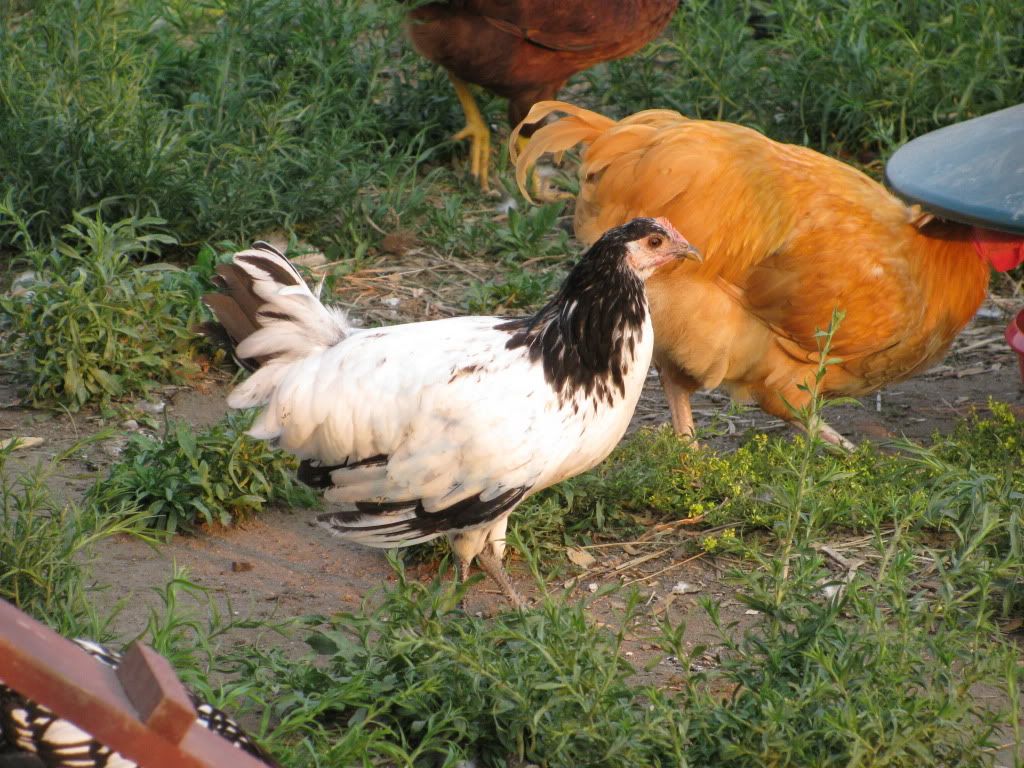
"Little Silver" the Silver Laced Wyandotte

It seems like I lucked out when I pulled the last Silver Laced Wyandotte out of the bin of straight-run birds at Tractor Supply Company. I'm pretty certain I ended up with a pullet. I think she's pretty. But then again, I think all my birds are pretty. :)

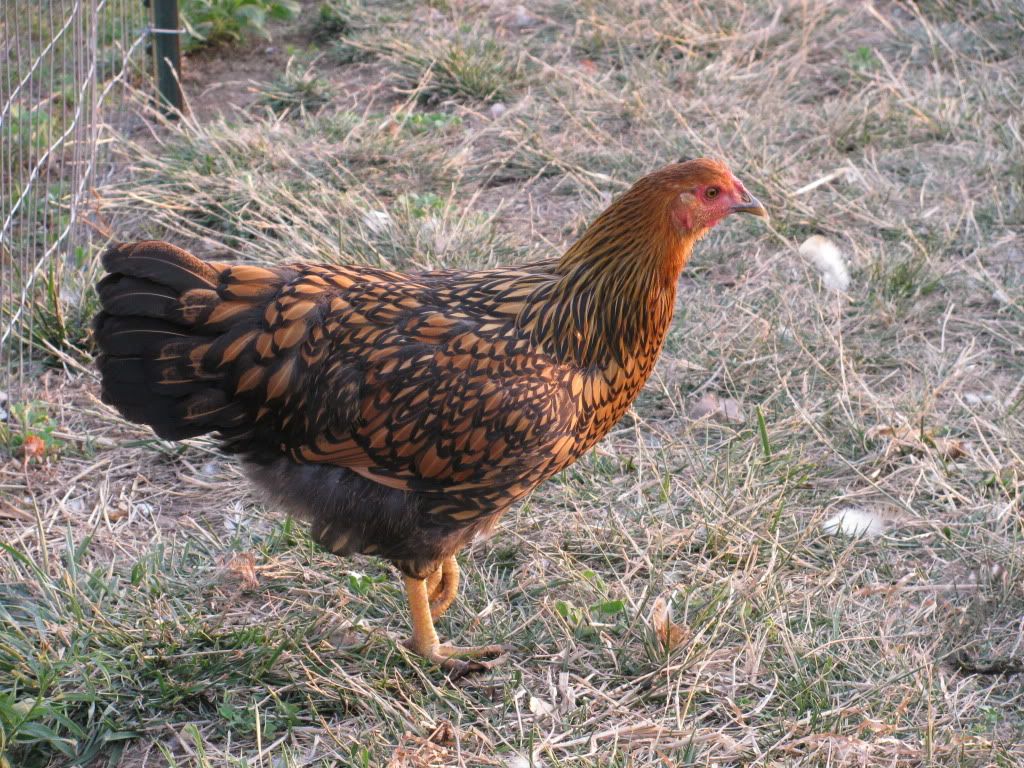
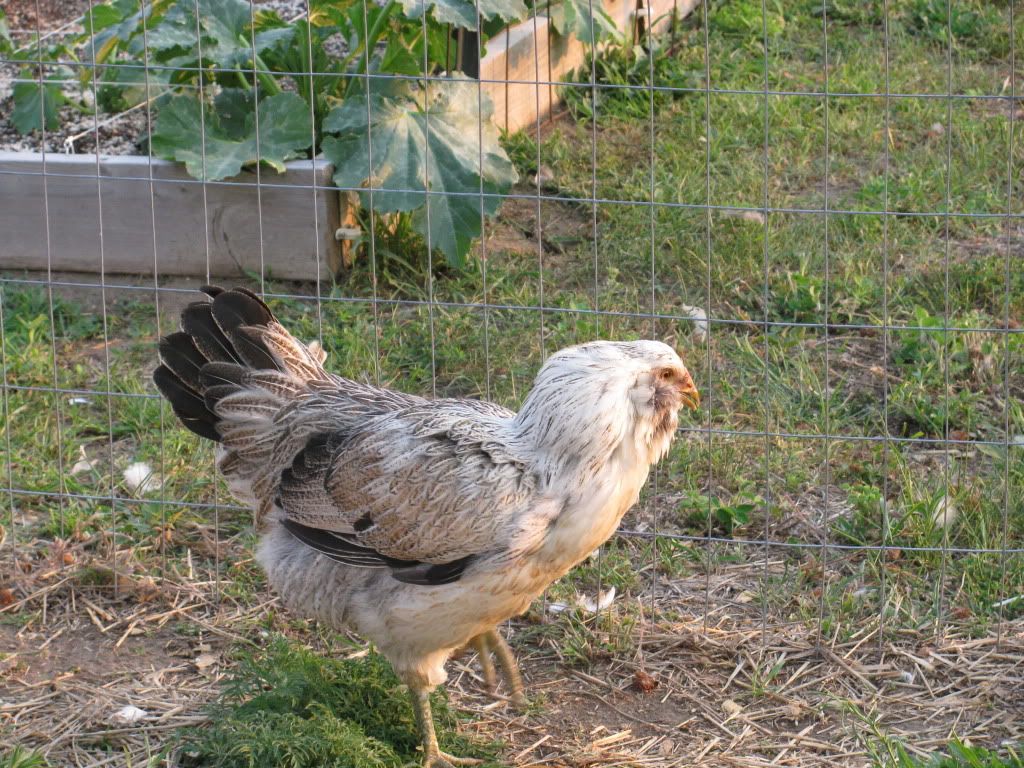
A Gold Laced Wyandotte

Here's a Gold Laced Wyandotte for comparison. None of my Wyandottes are particularly friendly. But none of them are as skittish as the Silver Lakenvelder.


"Noodles" the Silver Lakenvelder

Noodles is a complete nutcase. She is convinced that humans are evil and she does her best to stay out of sight when I'm around. This is the one breed of chicken I wouldn't get again. I don't need lap chickens, but I prefer to work around birds that aren't so neurotic and skittish.

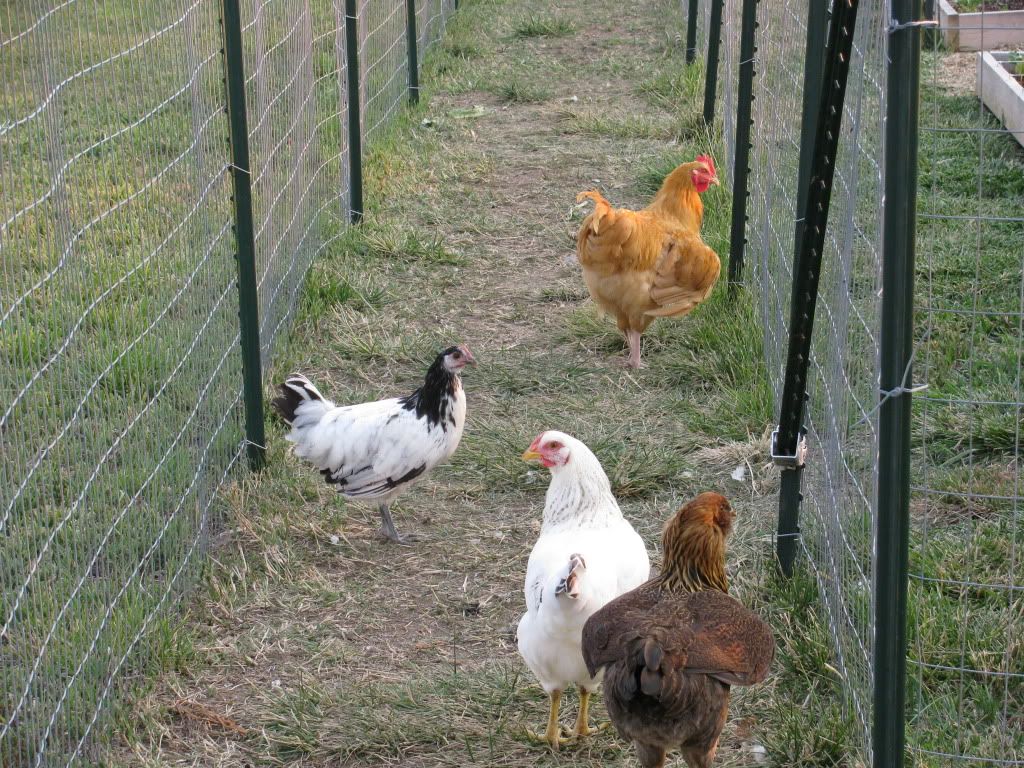
The chicken moat turned out to be a great idea

Here's Mr. Man leading some of the ladies (Noodles, Prissy the Delaware, and Tawny Kitaen the Easter Egger) down the moat. The chickens keep the weeds and grass down just enough that they don't kill it completely but we don't have to mow the moat. They hunt insects and eagerly wait for the treats of bugs and weeds we throw into the moat from the garden.


"Lita Ford" the Easter Egger

None of our chickens were supposed to get proper names under the theory that it's easier to eat something that you haven't named. Well, the kids started naming them and then I got into the act. I thought the Easter Eggers looked like they had big 80s hair, so I named them after 80s icons Tawny Kitaen and Lita Ford. I've started to wonder if Lita Ford is actually a cockerel, though. Any guesses?

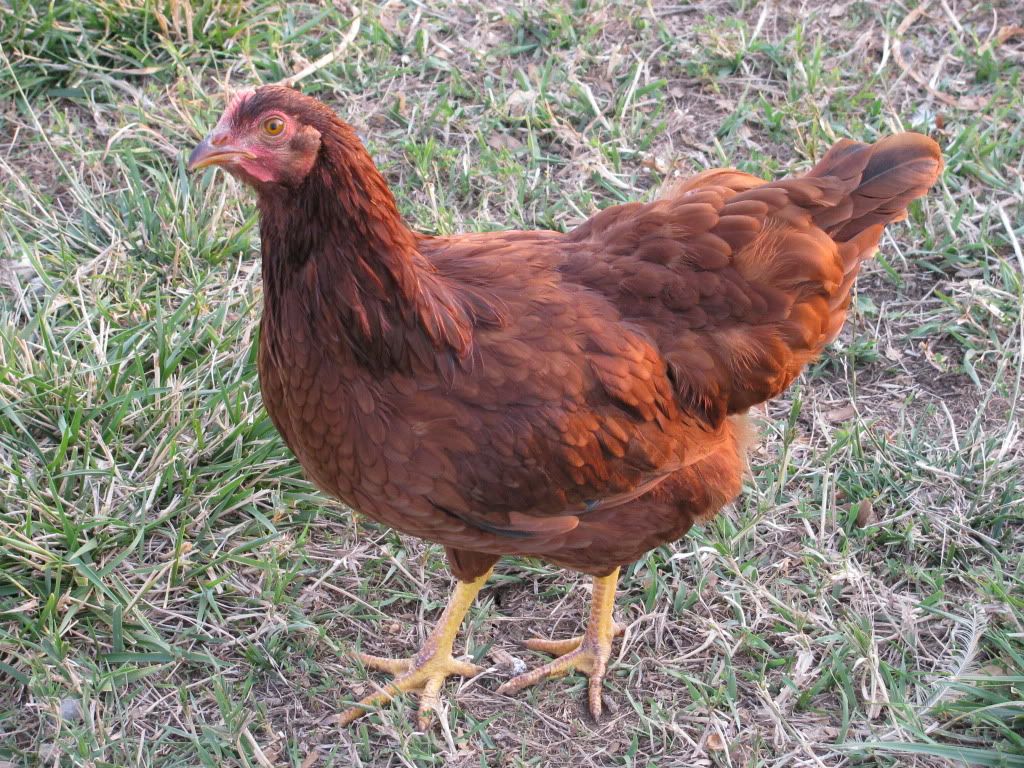
"Little Red" the Rhode Island Red


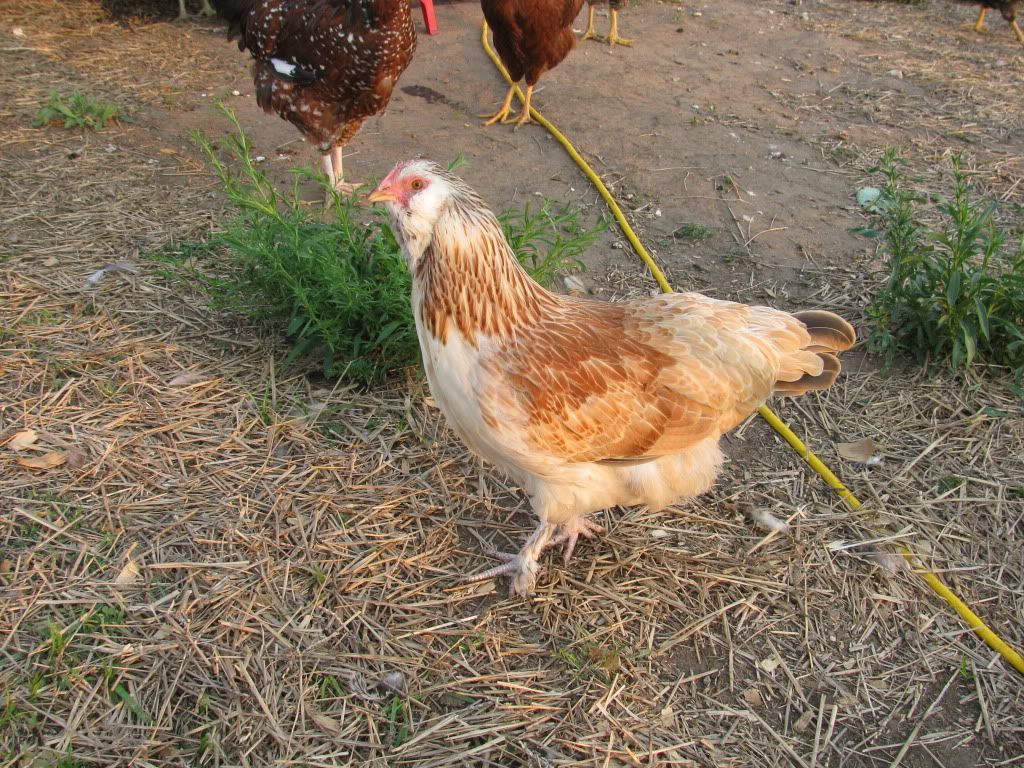
"Bella" the Salmon Faverolle

Poor Bella. Faverolles have feathers on their legs and hers always look messy and muddy. I think I'll stay away from feather-legged breeds in the future. She's a nice bird otherwise.

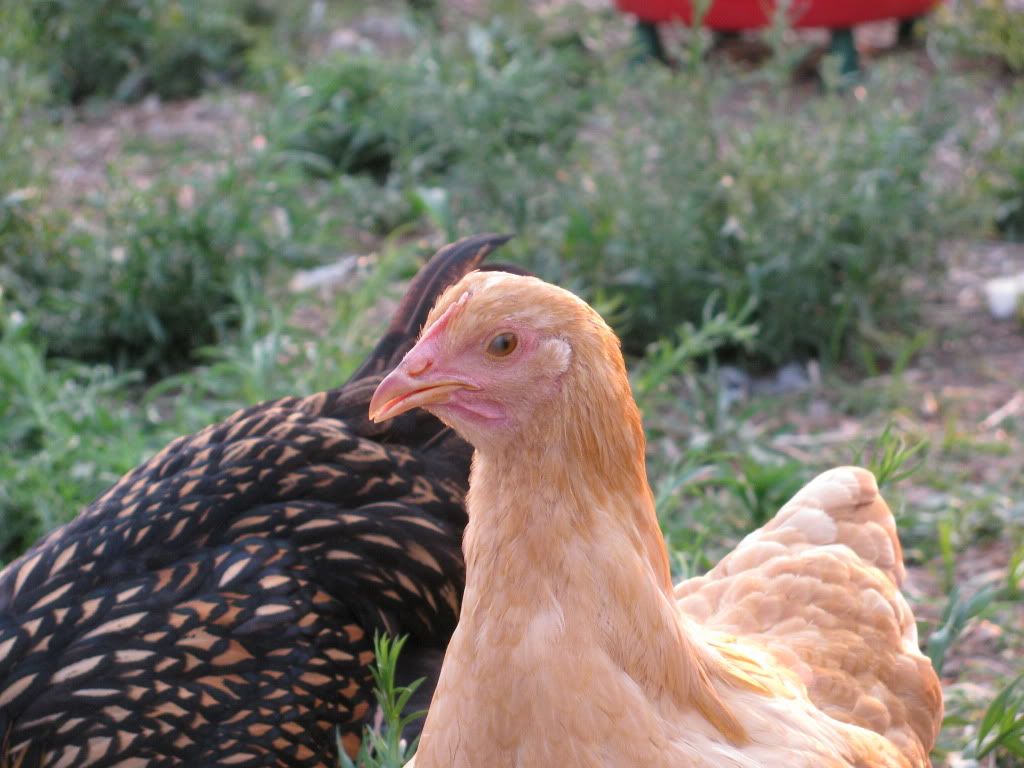
A Buff Orpington pullet

The Buff Orpingtons just kind of blend in with the crowd. From the looks of their comb and wattle development, they will be one of the later birds to begin laying. Compare this photo to the one of the Barred Rock above.

In the next week or so, I will remove the barricade that is keeping the chickens out of the nest boxes. I'll place nesting material and fake eggs in the the boxes to encourage them to lay there when they start feeling the urge. We will also be moving the turkeys into the chicken moat and our duck eggs will hatch. Plenty more   action in the poultry department on our homestead!

Fellow Poultry Keepers: What's new in your flock? 


Friday, May 25, 2012

It's all his fault, I swear!

It's all Hubby Dear's fault.

I gave him explicit instructions as to the kind of poultry feed to buy. I buy the most "natural" brand available in our locale. It's made by Cargill, so it's not exactly local or organic, but at least it doesn't have added antibiotics like all the other chick starters the store carries.

Well, Hubby Dear managed to come home with the wrong kind of feed, so we had to go back the next day and exchange it. I was going to let him haul all 80 lb of feed by himself, but he casually mentioned that the store had baby turkeys when he was there the day before. Baby turkeys? I had to go check that out.

I had been thinking about adding turkeys to the mix on our homestead. In fact, I used part of my prepping budget this month to buy Storey's Guide to Raising Turkeys because I wanted to learn more about them. I hadn't cracked the book open yet.

Although I didn't know much about turkeys, I did know that I wanted to raise heritage breeds. A heritage breed is one that may not grow as fast as the kind preferred by factory farms but is one that would taste better and would (theoretically) be able to reproduce without AI.

And wouldn't you know it?  The farm store had two heritage breeds in stock along with the standard Broad-Breasted White turkeys.

Dang, those turkey poults (the technical term for a baby turkey) were cute. The kids loved them. And, even better, they were on sale for 25% off.

.
.
.
.
.

You can see where this is going, right? Just remember this is all his fault.

.
.
.
.


Red Bourbon (foreground) and Blue Slate turkey poults 

We came home with two Red Bourbon and two Blue Slate turkey poults. Since this was a complete impulse buy, we didn't have a brooder prepared and I didn't really know much about what I was getting into. I recalled that Harvey Ussery said in The Small-Scale Poultry Flock that turkey poults were really fragile. After we set up the brooder and released the poults into their new home, they surprised me by immediately trying to fly out. So much for delicate and fragile. We scrounged up some bird netting and taped it across the top of the brooder guard. That should keep them contained for a few weeks.


Chomp, chomp!

The way they are chowing down, though, we might be moving them sooner than later. We need long term plans for their housing, stat.

And there is the little issue of the Ancona ducks that are due to arrive next month.  <sheepish grin>

I might be suffering from Poultry Acquisition Disorder, but just remember, the turkeys are all Hubby Dear's fault!