Showing posts with label tomatoes. Show all posts

Thursday, June 21, 2012

Mid-June Garden and Orchard Update

It's been a while since I did a garden update, so I thought I'd share what's going on. 

Unfortunately, May was extremely hot and dry here, which caused our cold weather crops like peas, lettuce, and spinach to die prematurely.  If it's not one thing, it's another. 

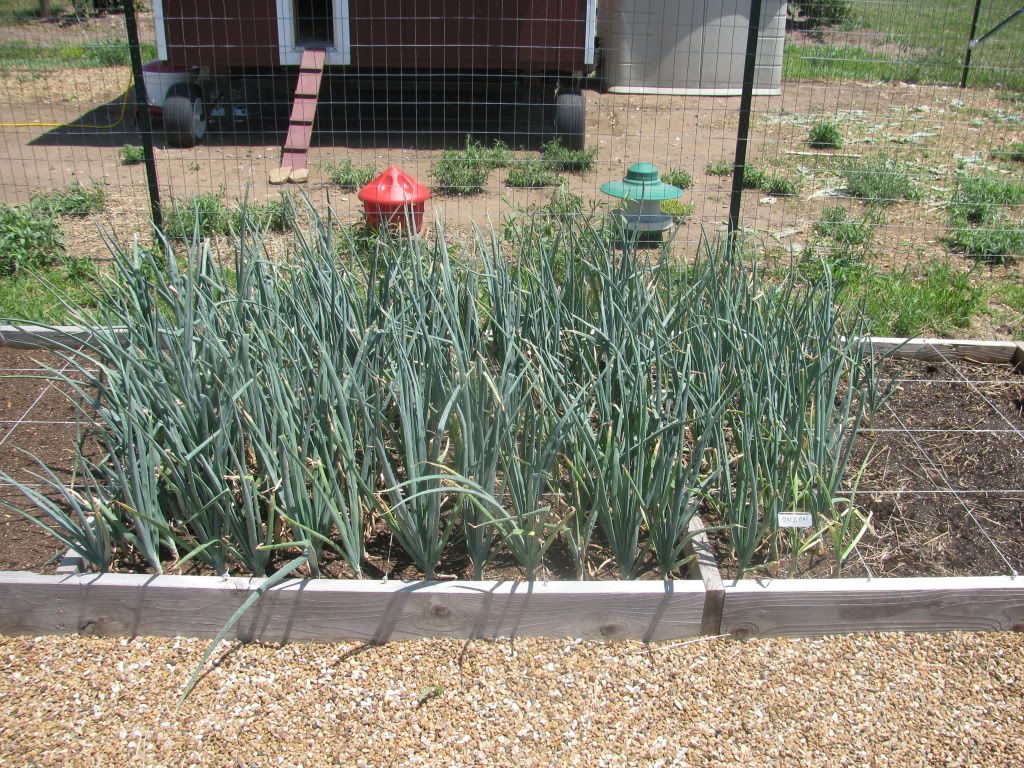
Our garden on June 18. It's looking bare since so much has been harvested or pulled out. 

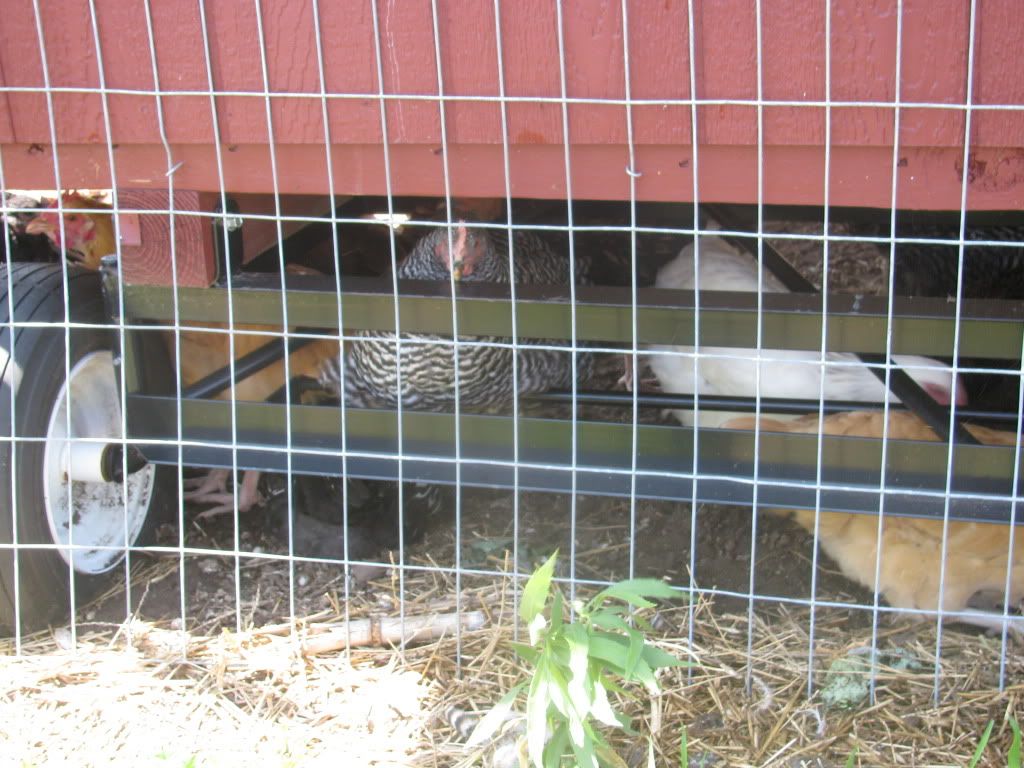
The chickens have the right idea. 

The chickens spend the hot part of the day underneath their coop. 

When it's hot like this, it's best to just stay in the shade! I've been spritzing their run with the hose a couple of times a day and putting ice cubes in their water. They seem to be weathering the heat well. Hopefully by this time next month I'll be getting eggs from my lovely ladies! 
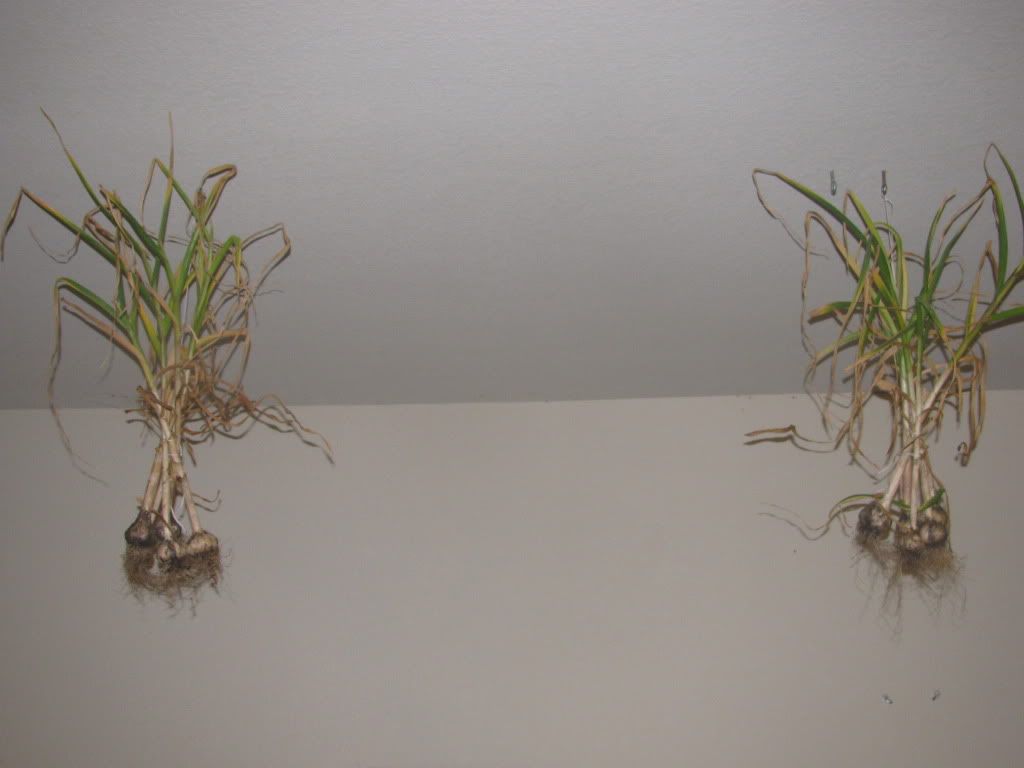

Drying garlic

We harvested around 40 heads of garlic. We gathered them into bunches of five or six heads and have suspended them in our garage to dry for a month or so. Once they are dry, I'll cut them off their stalk - we grew 'Music', a type of hard-neck garlic - and put them into storage. I plan to save our best heads back to use as seed garlic for next year's crop. I am also going to try dehydrating garlic in my Excaliburand grind my own garlic powder.

'Copra' onions

The onions are doing well and will probably do even better now that the garlic is gone. Our garlic plants were three feet tall and were shading them.
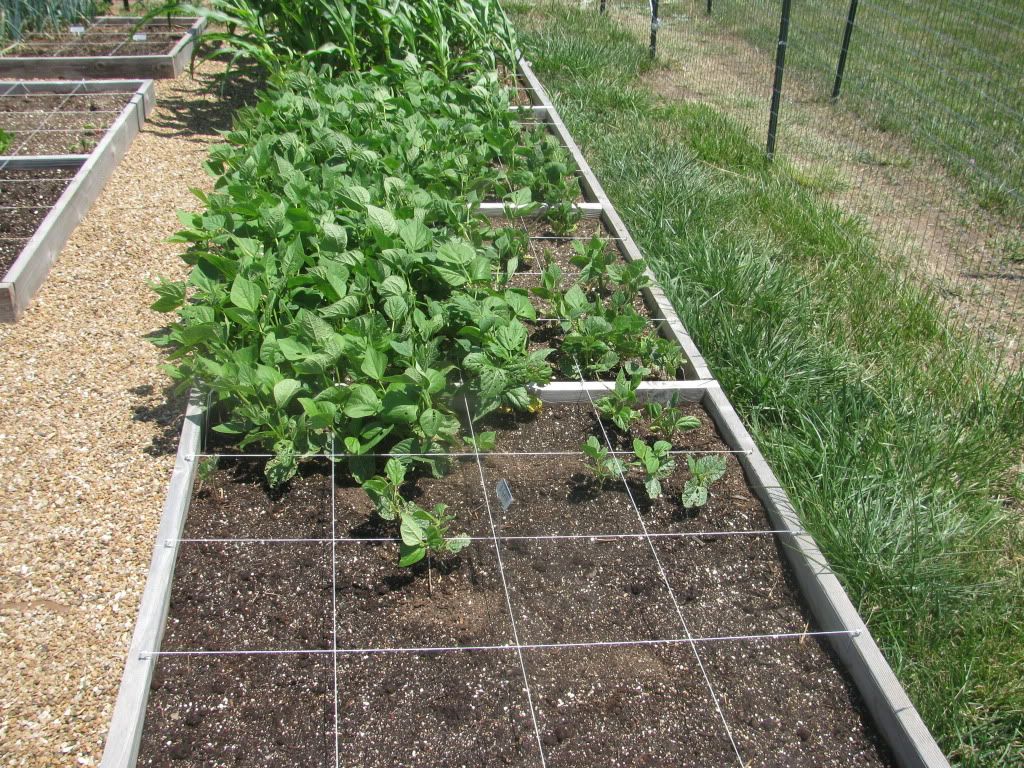

Our green beans had spotty germination

Our green beans had spotty germination, as did our carrots, cucumbers, watermelon, zucchini, and cantaloupe. We replanted the bare spots. We also planted extra vine plants in the space vacated by the peas. We will soon have a riotous mess in those bare areas!
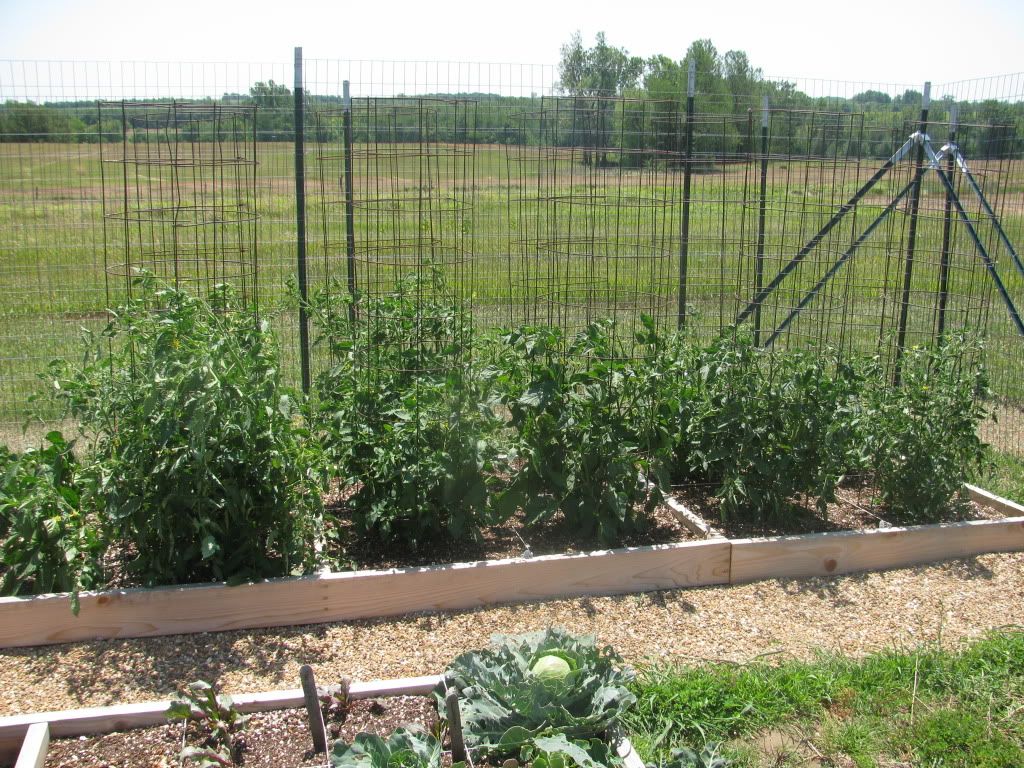

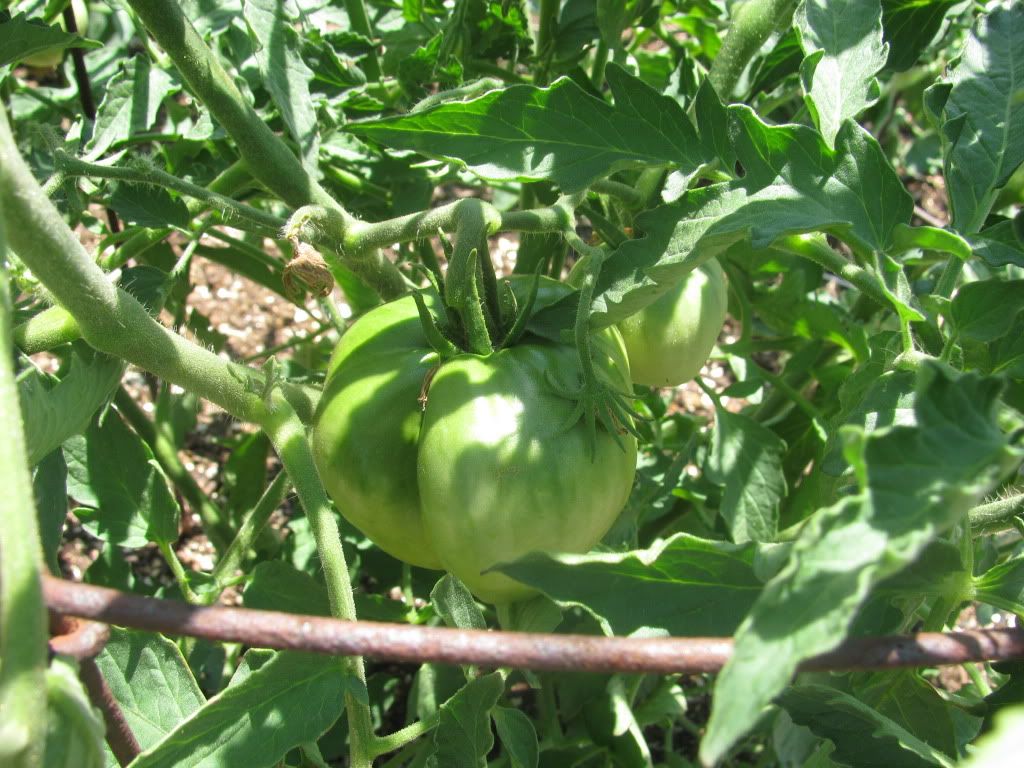
Lots of varieties of heirloom tomatoes


Ripen already!! I can't wait for that first homegrown tomato of 2012.
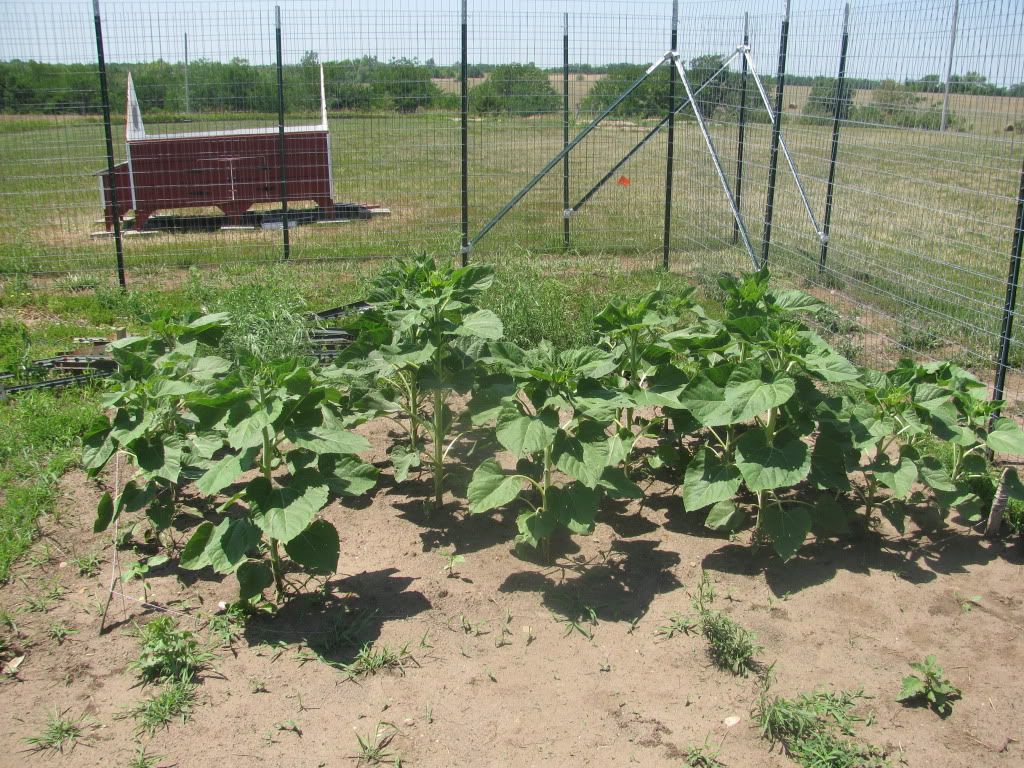


We planted some black oil sunflowers in this open area

We are growing some Peredovik black oil sunflowers for a treat for our chickens.
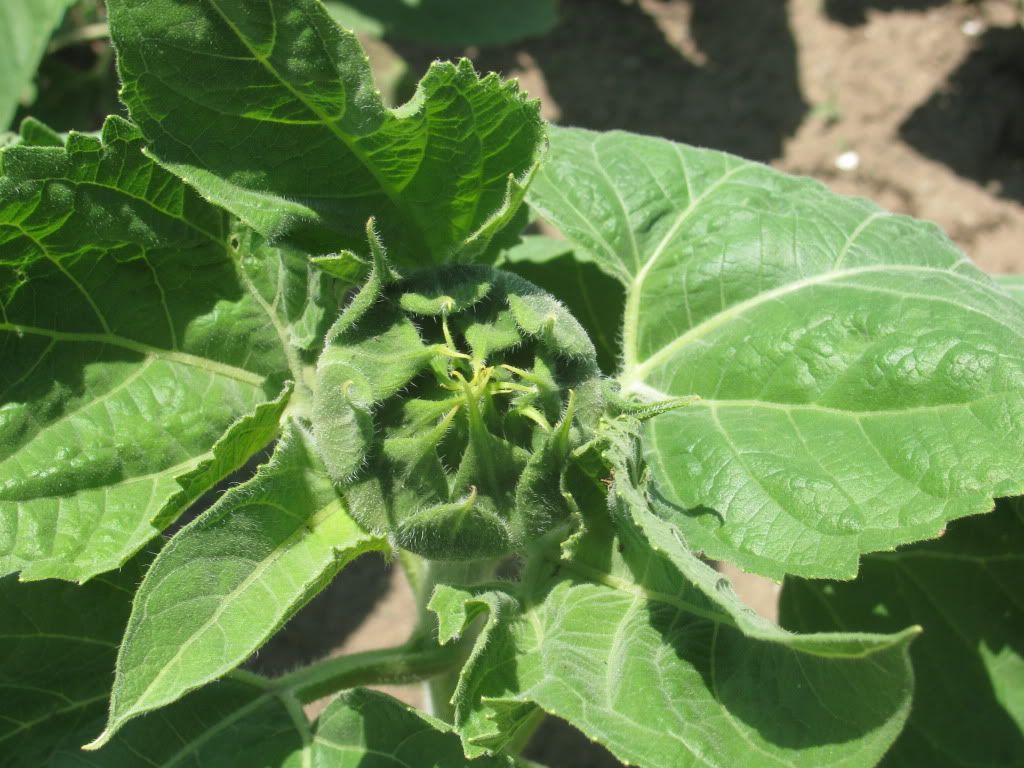

Sunflower bud


The Berries

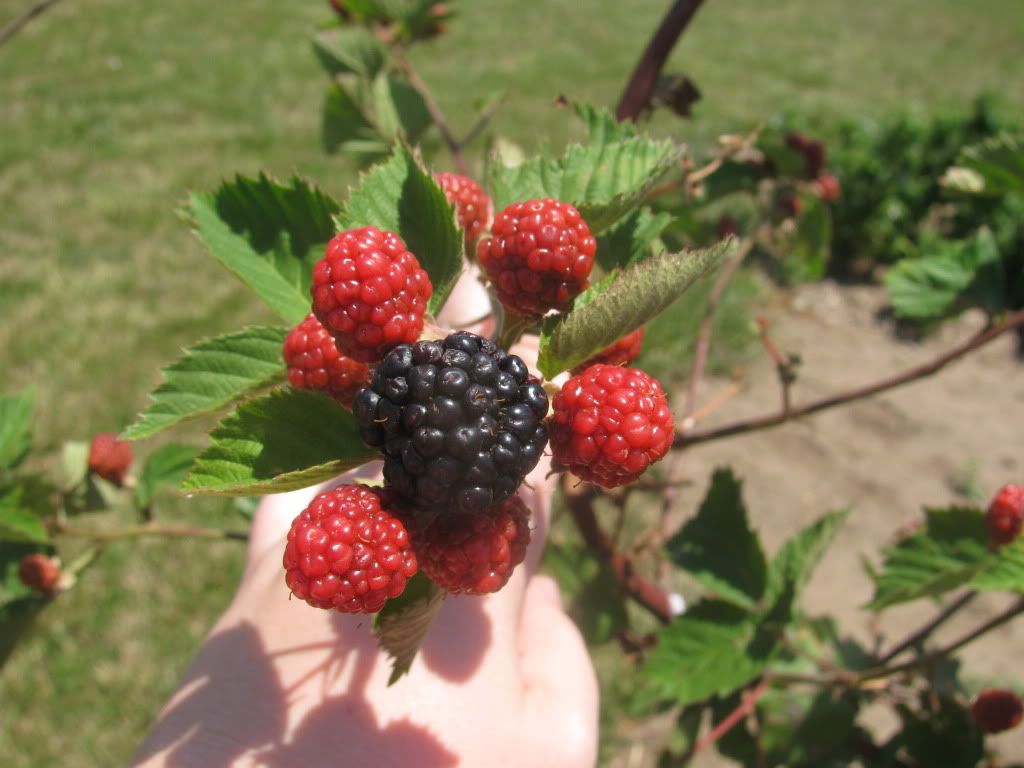
The heat has led the blackberries to begin ripening a full month earlier than last year.
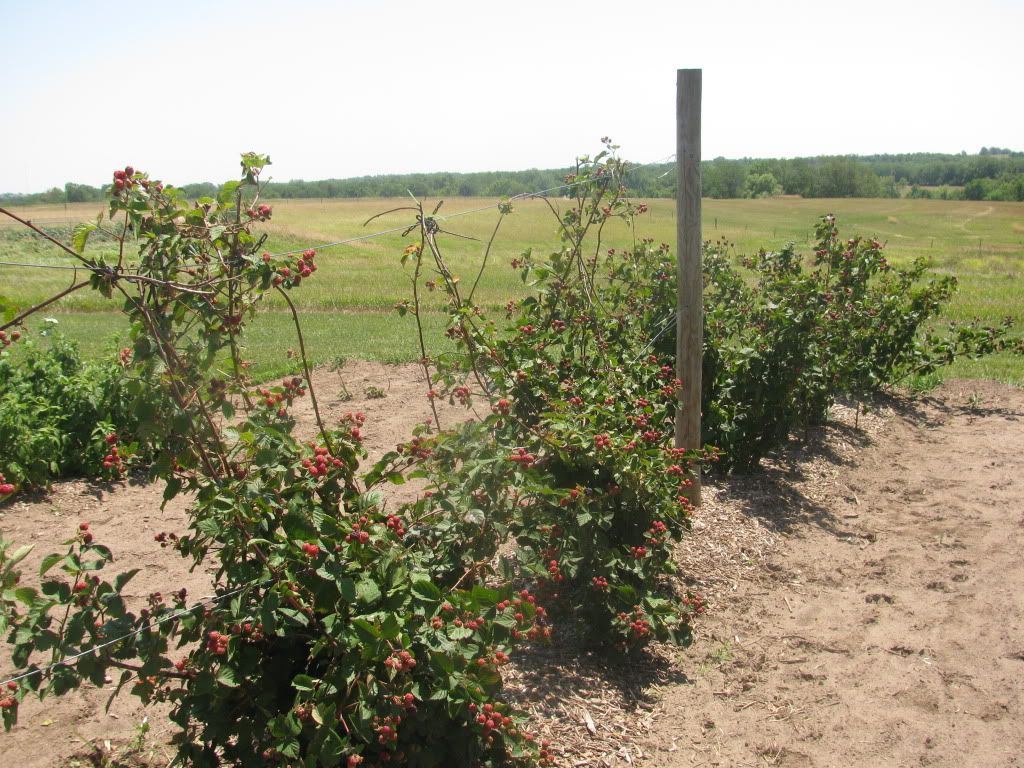


I've only picked enough to eat out of hand, but in the next week or so, we should be harvesting buckets of berries. Time to dig out the canner and make some blackberry jam!
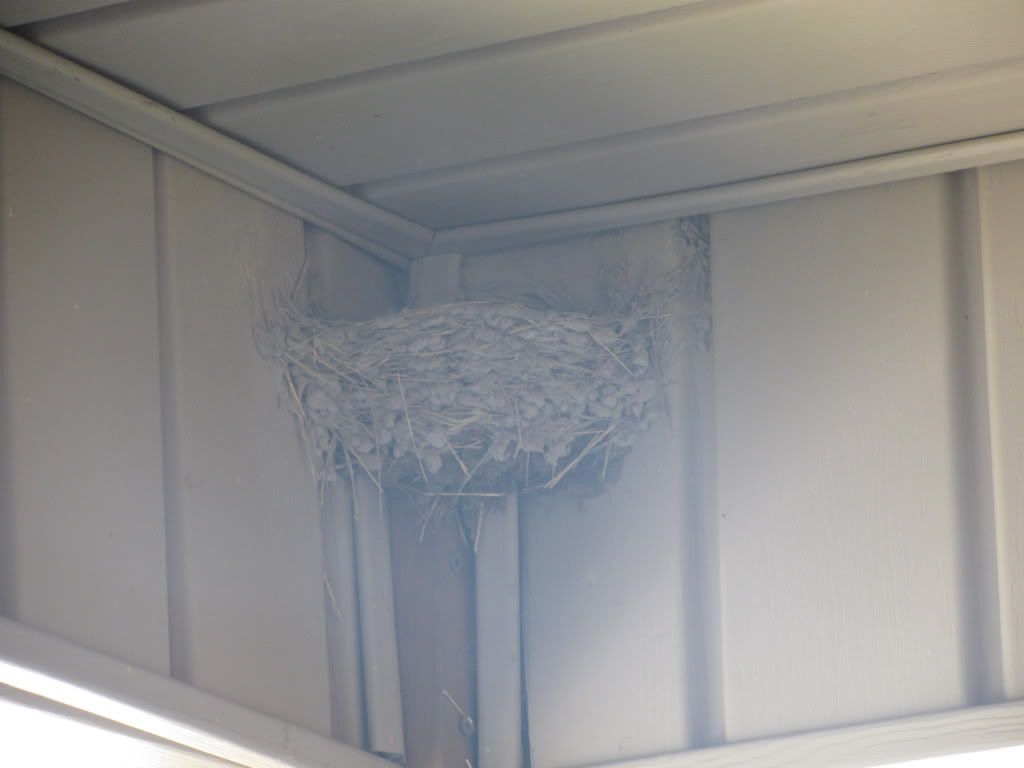


Barn swallow nest

One of the things we are doing to help control the wasps that plagued our blackberries last year is allow barn swallows to nest on our property. We had been knocking down the nests simply because the birds make such a mess on our porches and deck. Barn swallows eat an amazing amount of insects, however, so we are leaving them alone this year. Hopefully this will cut down on the wasps sucking the juice out of my berries!

We're getting a few strawberries from our everbearing plants and little bits of raspberries, too, though our big raspberry harvest will be in September. Or August, the way things are going this year!
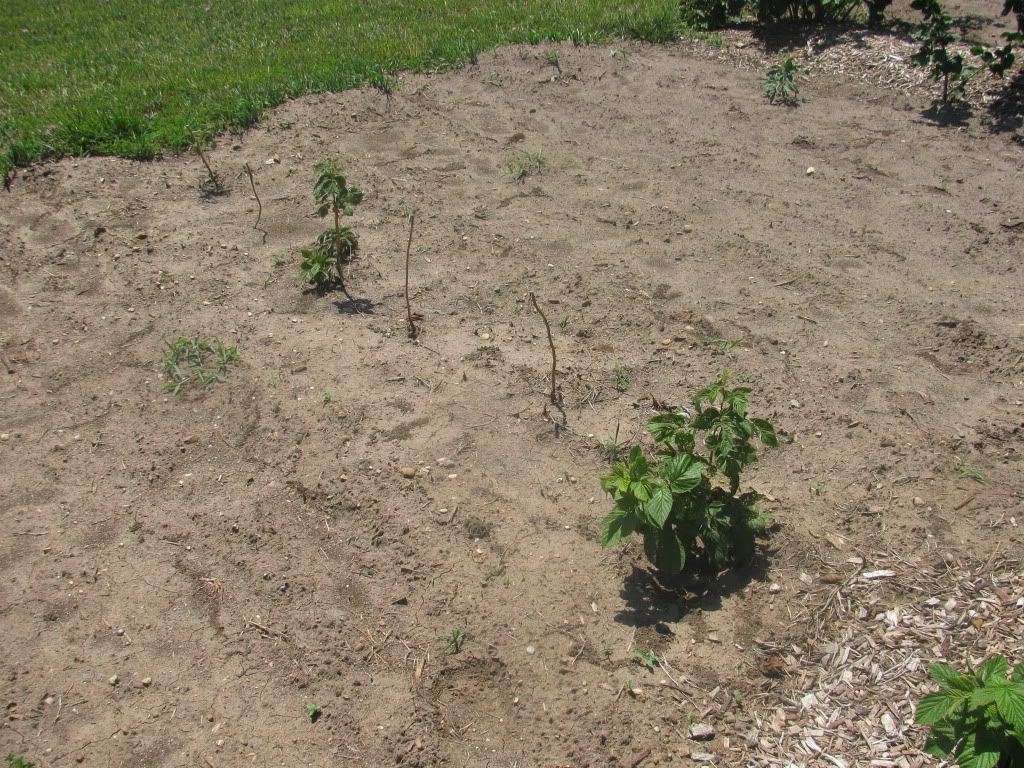
Only about half of the new raspberries appear to have survived

The good news about the raspberry canes we planted this spring is that we have a few survivors. Hopefully they will make it through the heat of summer and we can fill in the row with extra canes from our established raspberries.
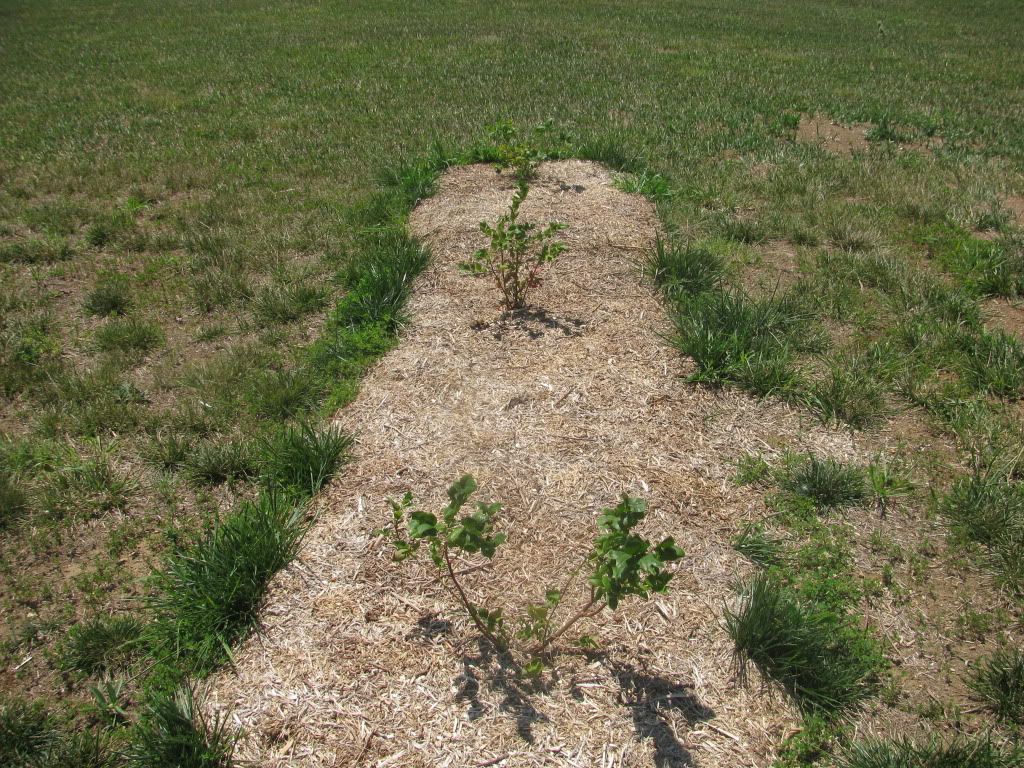

Blueberries going strong

Our blueberry bushes seem to be doing well and they've grown quite a bit. We planted two year old bushes, so hopefully we'll get a crop from them next year.

The Orchard

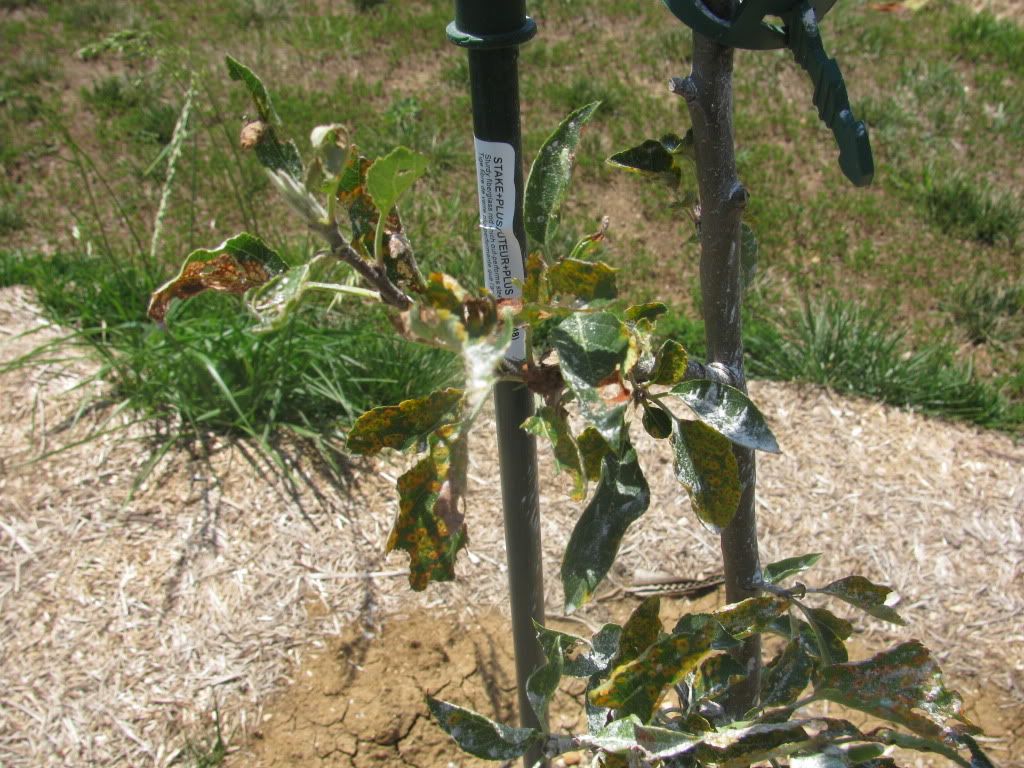
Our little orchard faced some struggles this month. Two of our newly-planted apple trees came down with a bad case of Cedar Apple Rust. 
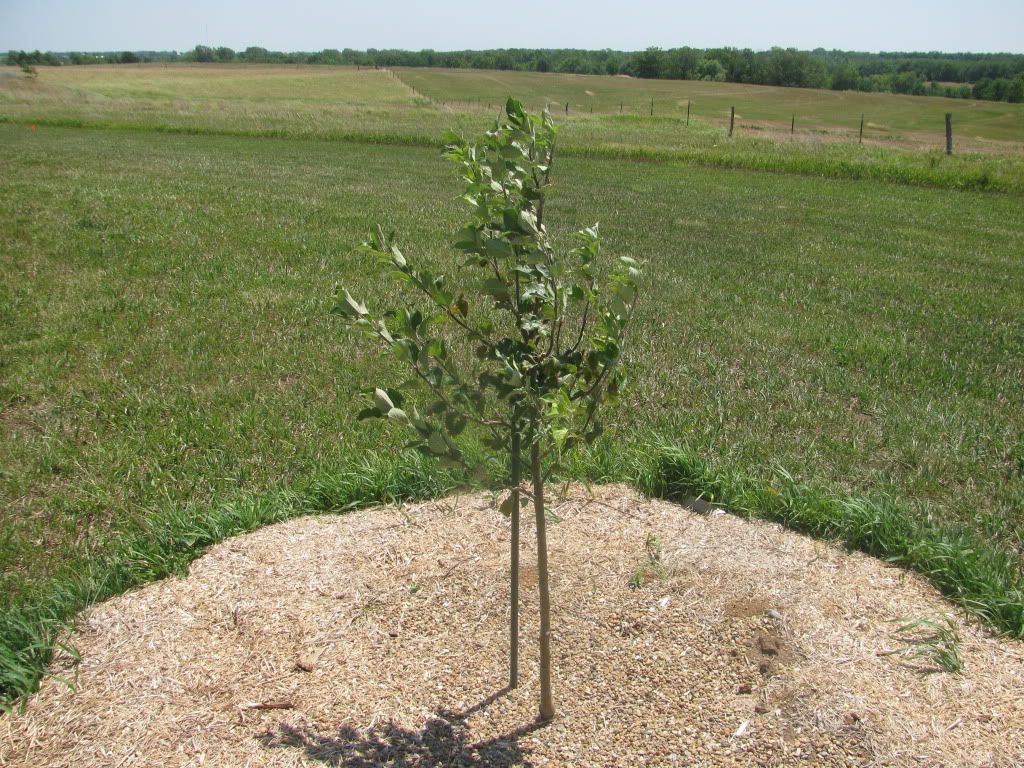
Our Jonafree apple tree has managed to overcome the Cedar Apple Rust 

The GoldRush? Not so much. It's growth is being stunted by its struggle with rust.

I really didn't think we'd have to worry about disease pressures this early! And I didn't think Cedar Apple Rust would be a problem since we don't have any cedar trees on our property.
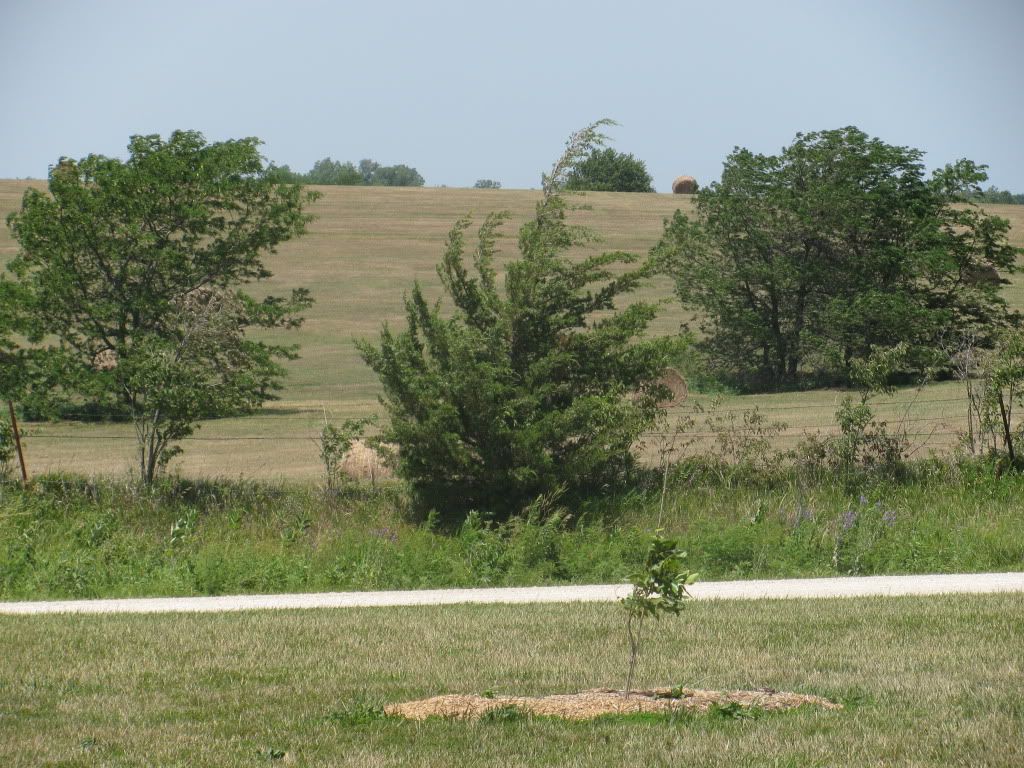

What's that right across the road from our orchard?


Earth to Emily! There are cedar trees right across the road! After I did more research, I found out that to eradicate the chance of Cedar Apple Rust, I'd have to get rid of all the cedar trees within a square MILE of our property. As that's not going to happen, I'm going to have to pay close attention to the weather conditions next spring so I can stay ahead of the rust. In the mean time, I have been using an organic disease control spray that seems to be helping somewhat.
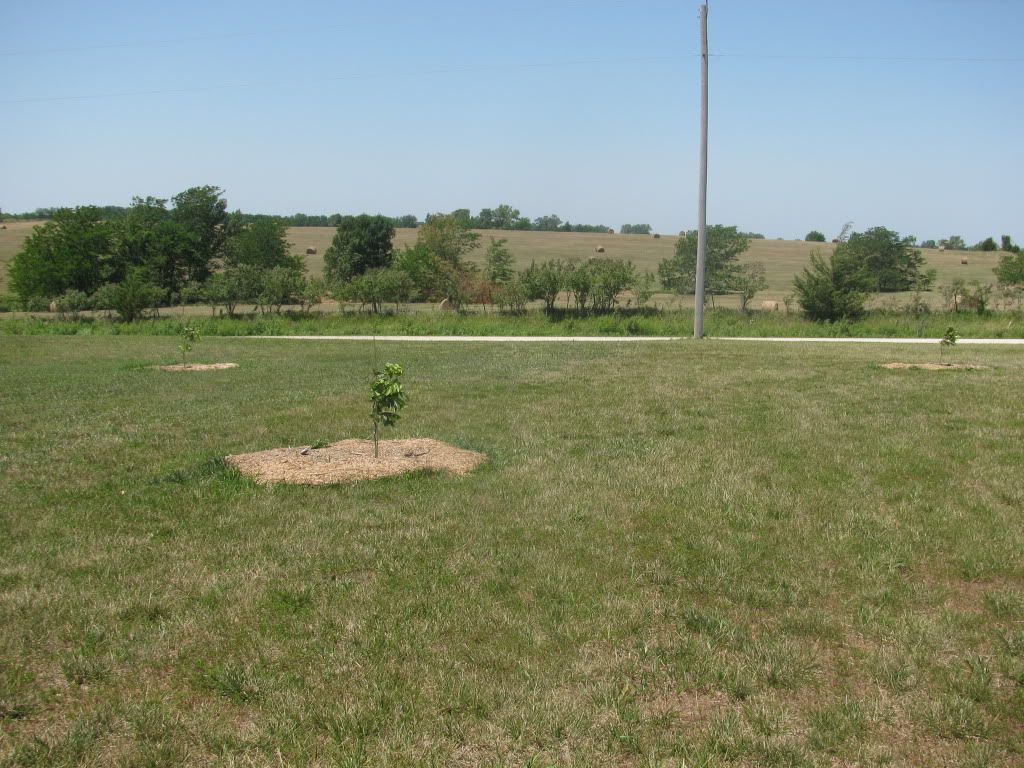
Our pecan trees

Perhaps the most impressive growth has been from our three pecan trees. They might not look so impressive to you, but considering they were mere twigs when we planted them last November, I'm pleased.

Oh, but I'm forgetting the real star of the show, our cherry tree.
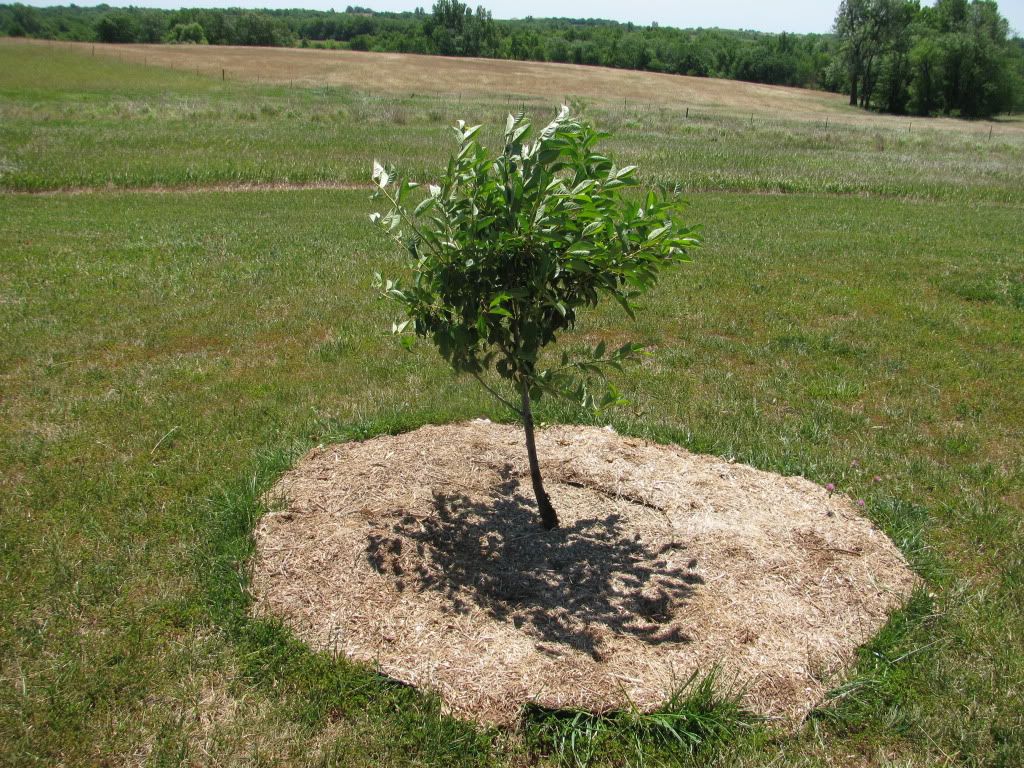
Our not-quite-as-dwarf Montmorency cherry

We got this tree for free four years ago and have pretty much neglected it. This year we have lavished it with care. It got a proper mulching, fertilization, and holistic sprays in the spring. It has responded with enthusiastic growth of nearly two feet!

I also pre-ordered the new additions to our orchard for the fall - two standard-sized pear trees (Starking Delicious and Seckel) and an All-in-One Almond tree. I was really tempted to order a lot more but I remember how hard Hubby Dear and I have to work to bust through our concrete soil. Three trees at a time is probably all we can handle.


Between the garden and my poultry projects, we've been busy. What's growing at your house? 


Saturday, November 26, 2011

The Results of the Green Tomato Ripening Experiment

As you may remember, Hubby Dear and I decided to try two different ways of ripening the green tomatoes we were left with when frosty weather set in last month. We wanted to see which method, if any, could extend our harvest of fresh, ripe tomatoes into the winter months.


October 18: Green and under-ripe tomatoes saved from the frost

The first, most tedious method, involved picking the remaining tomatoes from each plant, dipping the tomatoes into a bleach water solution, allowing them to air dry, and then placing them in a single layer inside a newspaper-lined cardboard box. This took a while to accomplish and then I had to find an out-of-the-way place to stash the cardboard boxes.

At first, the bleach/cardboard method seemed to work just fine, but after a few weeks, the tomatoes started shriveling up as they ripened.


November 19: Something doesn't smell so good...

By mid-November, things had taken a decided turn for the worst and we had to throw away the remaining tomatoes.

October 18: Fresh from the garden

The other procedure we tried involved uprooting an entire plant and placing it upside down in our garage.


November 26: the foliage is brown, but the tomatoes are still ripening

This couldn't be easier. All we have to do is pick the tomatoes as they ripen. I don't think they taste quite as nice as your typical backyard tomato, but they sure beat anything you'll find in a grocery store. Every so often, one of the tomatoes will shrivel, but not to the extent of the other ripening method.

The winner by a landslide is obviously method two. Unless a tomato plant is simply too large and unwieldy to bring inside without mutilating it, this is going to be our go-to procedure.

Homegrown tomatoes during the Christmas season? I'm loving it!

Tuesday, November 1, 2011

October in Review and November 2011 Preps


Is it just me or did October go by in the blink of an eye? I can hardly believe it is November and that Christmas is just around the corner. 

I don't feel like I did very much to prep this month. I bought a few new books to add to our survival library and added some odds and ends to our food storage (another gallon of oil and a few canned goods) but that's it. Hmm... I'll have to do better in November! 

I did have my first successful culinary experience with a Sun Oven.It makes me feel a lot more secure to know that I can bake bread without electricity - assuming that the sun is shining!

We also harvested the last tomatoes and peppers of the year. Both of the methods we are using to ripen green tomatoes are working well. It feels luxurious to have so many delicious tomatoes on hand when it is so cold outside.

Last, but certainly not least, we completed our chicken moat. I've wanted chickens for at least five years and I'm so excited that I finally get to buy chicks this spring! 


For November:

  • We still need to plant the seed garlic we bought last month. Gotta get that in the ground soon.
  • Our three pecan trees are due to be shipped soon so we'll be planting them as well.  
  • I plan to process my pie pumpkins and freeze the pulp. The last of our cayenne peppers should finish drying this month and I'm planning on grinding them up for ground red pepper. We shall see if I can accomplish both of those objectives without chopping off any body parts or suffering wicked chile burns. 
  • I've been using a borrowed Sun Oven for my solar oven experiments. I think I'm going to bite the bullet and buy one of my own. It is definitely an investment, but I think it is worth it. Yes, I've had some less than successful experiments, but I'm finally figuring out how to make the Sun Oven work for me. 
  • I plan on taking advantage of the holiday sales to stock up on food storage items. I'm going to focus on chocolate chips, brownie mixes, sugar, flour, and other baking items. 
  • Speaking of baking, I have a problem that I need your help with. It's time for another "Ask the Readers" post. Stay tuned for that later this week.


How did you prepare in October? What are your plans for this month? 

Thursday, October 20, 2011

Putting Up the Last of the Summer's Harvest

We just had our first hard frost of the year. Although we were sad when it happened, we were thankful that it occurred a bit later than is typical for our region. We still had tomatoes, peppers, and other tender summer vegetables flourishing, and it was a blessing that they did not get killed any earlier. When it was clear that the weather was finally going to get cold and stay cold, we made plans for one last picking party and decided what to do with it all.

Hubby Dear picked all the peppers in various stages of ripening. It was easy for me to decide what to do with them; I have well over 4 gallons of peppers in my freezer and zero room left, so dehydration was the only option available.

My pile of peppers

This pile of peppers pretty much filled up my 9 tray Excalibur Dehydrator but when it was dried, it only measured a little over 1quart!

It never fails to surprise me how tiny everything turns when it is dehydrated 

In addition to the bell peppers, we picked another pound of jalapenos (which I'll make into jalapeno jelly) and another 100 cayenne peppers. I plan to turn the cayenne peppers into ground red pepper or red pepper flakes once they all dry.

The tomatoes were a bit trickier. I didn't feel like frying green tomatoes or canning relish, so we decided to try a couple of different methods of ripening them indoors.

Upside down Roma beside chicken moat debris

The first and easiest method simply involved ripping a tomato plant out of the ground and leaving it upside down in our garage. This would not have been a simple task with one of our giant-sized tomato plants, but this Roma plant was modest in size and easily supported by the remesh tomato cage.

The tomatoes should continue to ripen and we can enjoy tomatoes straight off the vine for another few weeks. That's the theory, anyway! We've never had tomatoes survive to this point in the year to try it before.

We used another method on the green tomatoes from our other eight plants.

Hubby Dear giving the tomatoes a dip in bleach water

We mixed a weak bleach solution (1 part bleach to 9 parts water) and briefly dipped each of the green tomatoes in it. We let the tomatoes dry and then packed them in a single layers inside a cardboard box lined with newspaper. We'll check on the boxes frequently and use up any of the tomatoes that are ripe.

Will either of the two tomato ripening methods work? Which will we prefer? I'll keep you posted.

The last bit of garden business we accomplished before the frost was to dig up and bring my rosemary plant indoors for the winter.

My rosemary plant - Cheerio box added for scale! :) 
Rosemary most definitely will NOT overwinter here, so unless I want to buy a new rosemary plant each spring, I have to bring it indoors. Rosemary isn't always a happy camper inside in the winter, but it's worth a shot! My rosemary got very large this year and I took the opportunity to clip it back quite a bit and dry the clippings.


Thyme and rosemary. I prefer to air-dry woody herbs. 

Our garden hasn't been completely put to sleep yet. We still have cauliflower, beets, and other hardy fall vegetables out there. We have a pound of garlic cloves to plant sometime in the next month as well.

Are you still gardening? What's ready to harvest at your house?