Showing posts with label garlic. Show all posts

Sunday, May 12, 2013

Oh Spring, Where Art Thou? Garden and Orchard Update


This is what my garden looked like at this time last year:


The north half of my vegetable garden, mid-May 2012

2012 had an extremely mild winter which was immediately followed by one of the hottest and driest summers on record. In May, our garden looked great! Just don't ask about July or August...

This spring has looked more like this:

Snow in May! 

The last time it snowed here in May was when my great-grandmother was a young girl. What a contrast to last year. 

The lingering cold has really slowed down everything in our garden and orchard, but although things are growing slowly, the good news is that everything is growing. We have had abundant rain that has put a dent in the drought and things are green for the first time in a long time. That feels good. 
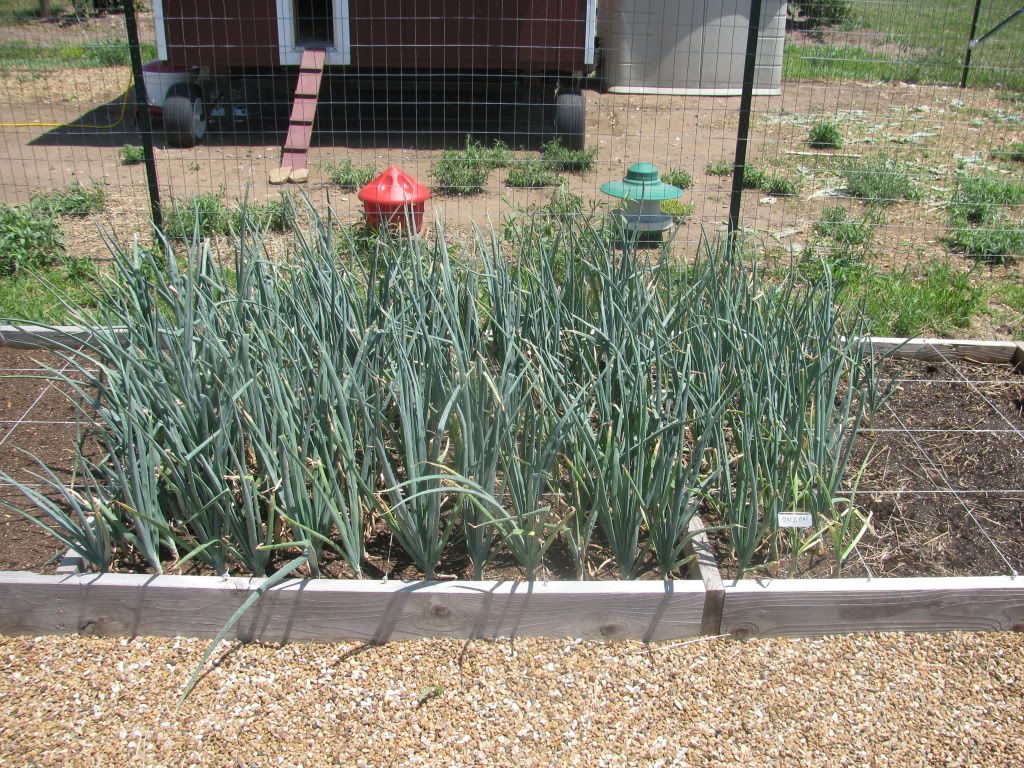
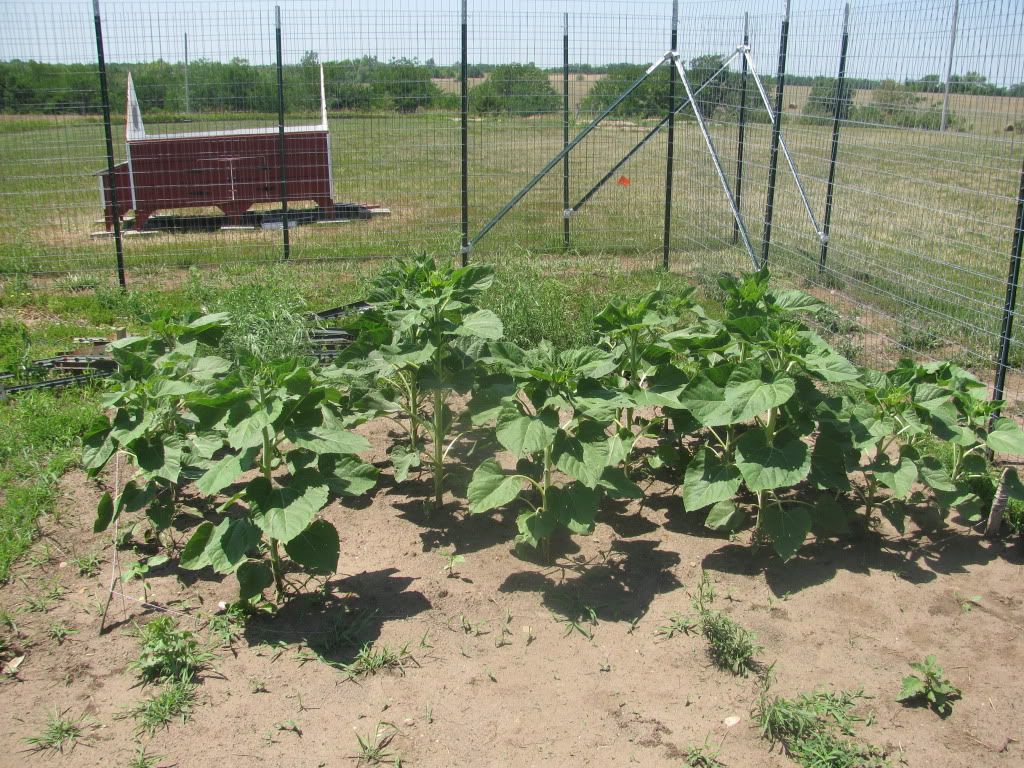

GARDEN 


The north half of our vegetable garden, mid-May 2013


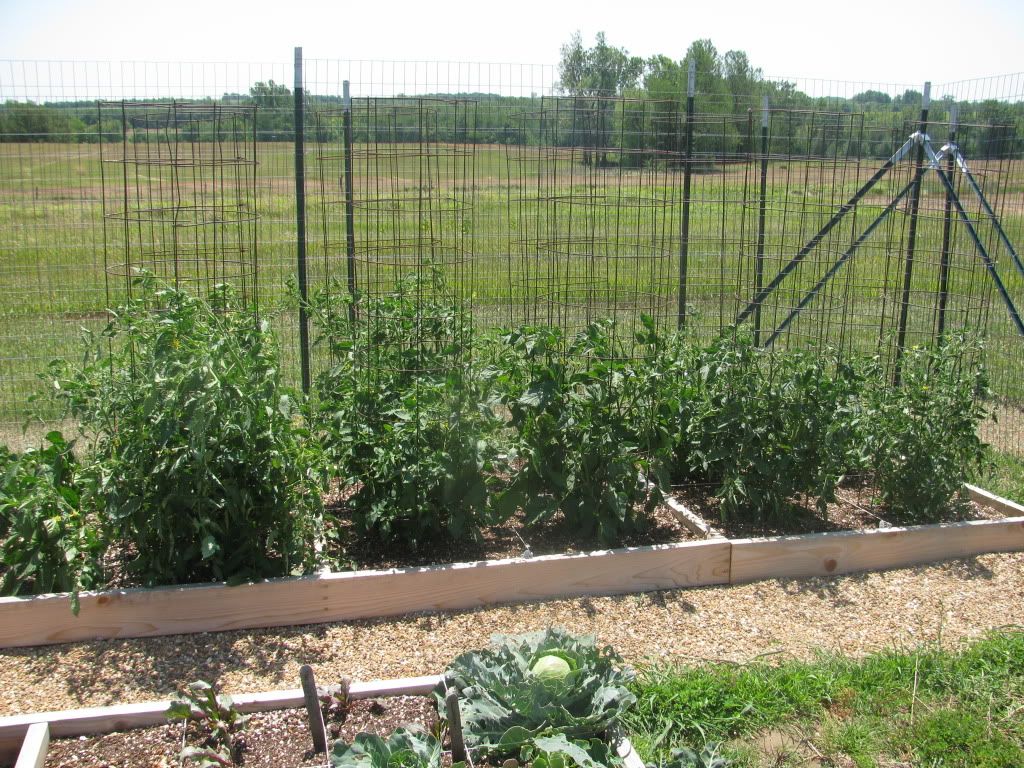
The south half of our garden, mid-May 2013

We added another three raised beds to our garden, so our vegetable garden consists of 528 intensively managed square feet. We still have to haul more bags of pea gravel to cover the new pathways. This fall we plan to add the final box to complete the garden and then start the process of doubling each box's depth. 

We follow the Square Foot Gardening method, but have changed things to suit us as we have gone along. The Square Foot Gardening method claims that you only need a 6" deep box, and for many plants, that is true. When there is a drought, however, deeper soil retains moisture a lot better and some plants really appreciate the extra depth.  

We put a lot of effort into starting our own transplants this year. After all the time and energy we poured into that, it was really disheartening when our transplants were subjected to snow and freezing rain time and time again. Even the cold hardy plants like cabbage and broccoli really took a beating, but they are slowly making a come-back. This would have been a great year to have cold frames or row covers set up. Oh well, some other year, perhaps. 


Broccoli to the rear, cauliflower in front


Radishes and cabbages. The cabbage in the front right was one of our original  group
that was planted and got frozen. The outer leaves died off, but it has grown back.
The cabbage to the rear of the photo was one we planted later on.  


Lettuces and spinach in various stages of growth


Forellenschluss lettuce

I love this lettuce! Forellenschluss is German for 'speckled like a trout'.


'Encore' lettuce mix

Doesn't this picture make you want to take a bottle of ranch dressing out to the garden and chow down right there? No? Maybe that is just me. ;)


Strawberry blossoms


'Little Marvel' peas in the foreground, Swiss Chard in the back. We are growing lots of chard
this year for poultry feed.   


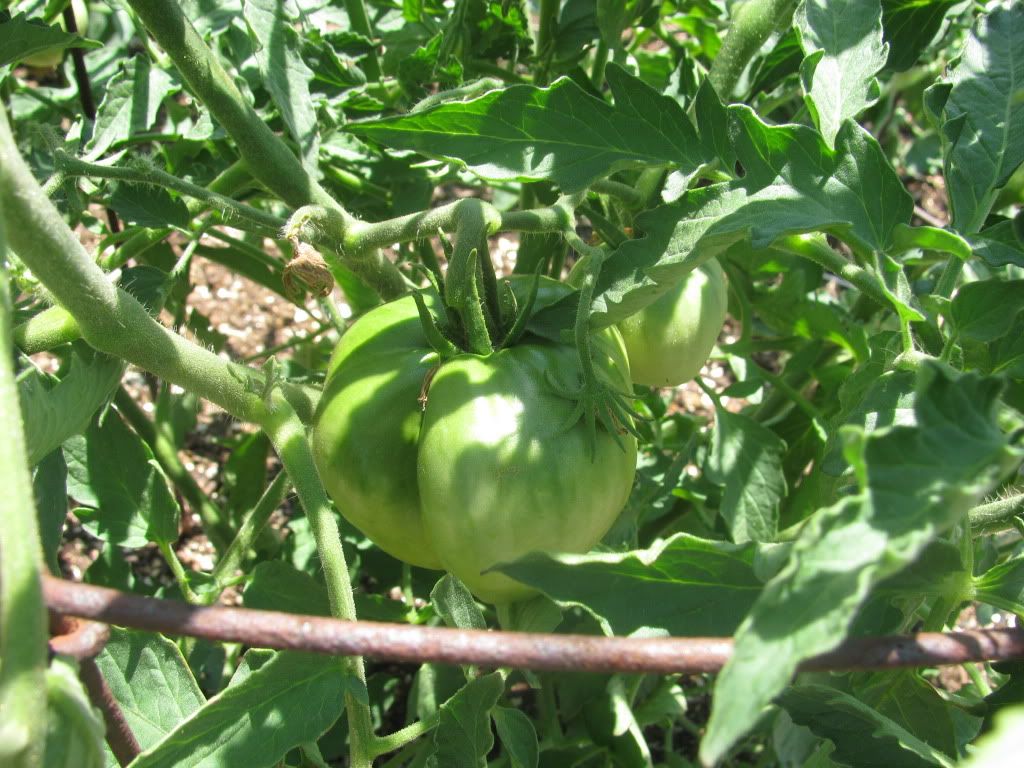
These barely visible sprouts may not make the most interesting photo, but they are really exciting to us.
Carrots! Lots and lots of carrots! We have had the hardest time growing carrots. I think the moist,
cool conditions must have been just right for them to germinate.   


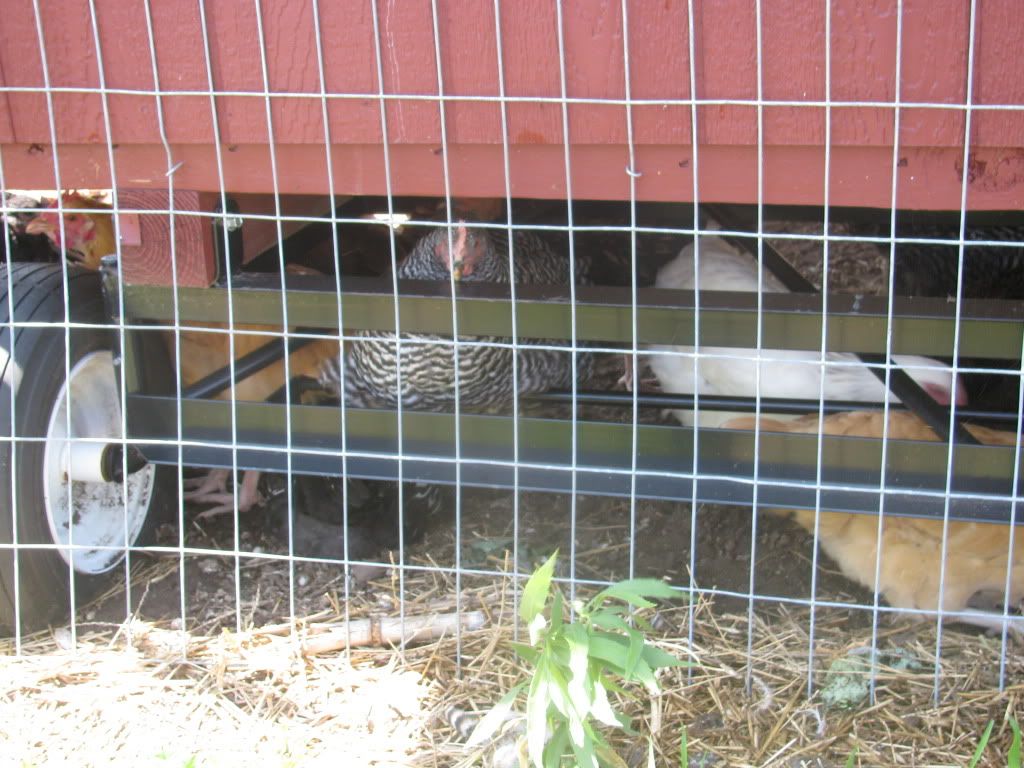
Garlic and some of our onions

The only fly in the ointment is our garlic. You can see that it is coming in pretty patchy. All of the cloves have sprouted, but most of them are still tiny. Strange.
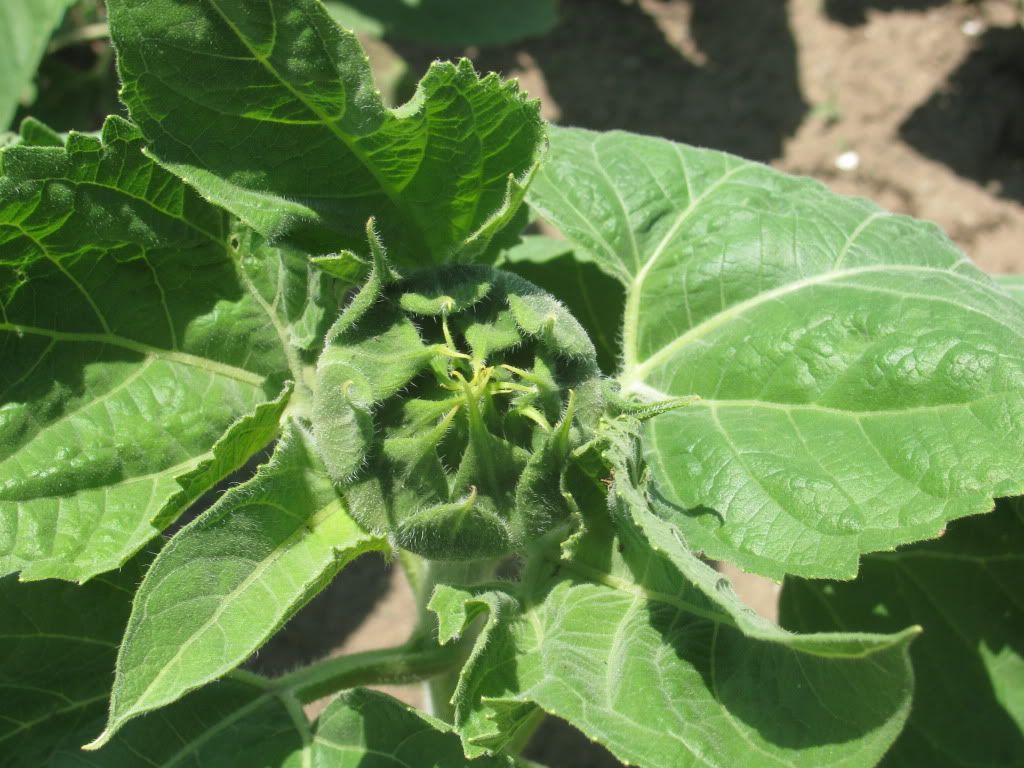
ORCHARD


Things are slowly developing in the orchard, too.

'Montmorency' cherry blossom

One of our first tasks in the orchard this spring was to install limb spreaders in the trees that needed them.

May 5th - limb spreaders in place, starting to leaf out

It is important to attain a crotch angle (Yes, I just said that! I promise it is a real term!) of around 45 degrees between the limbs and the trunk. This assists light penetration and air circulation which are both important for healthy trees. Limbs with narrow crotch angles are also more prone to splitting away from the trunk under a heavy load of fruit. We will leave the limb spreaders in place until fall when the branches should have set into their new positions.

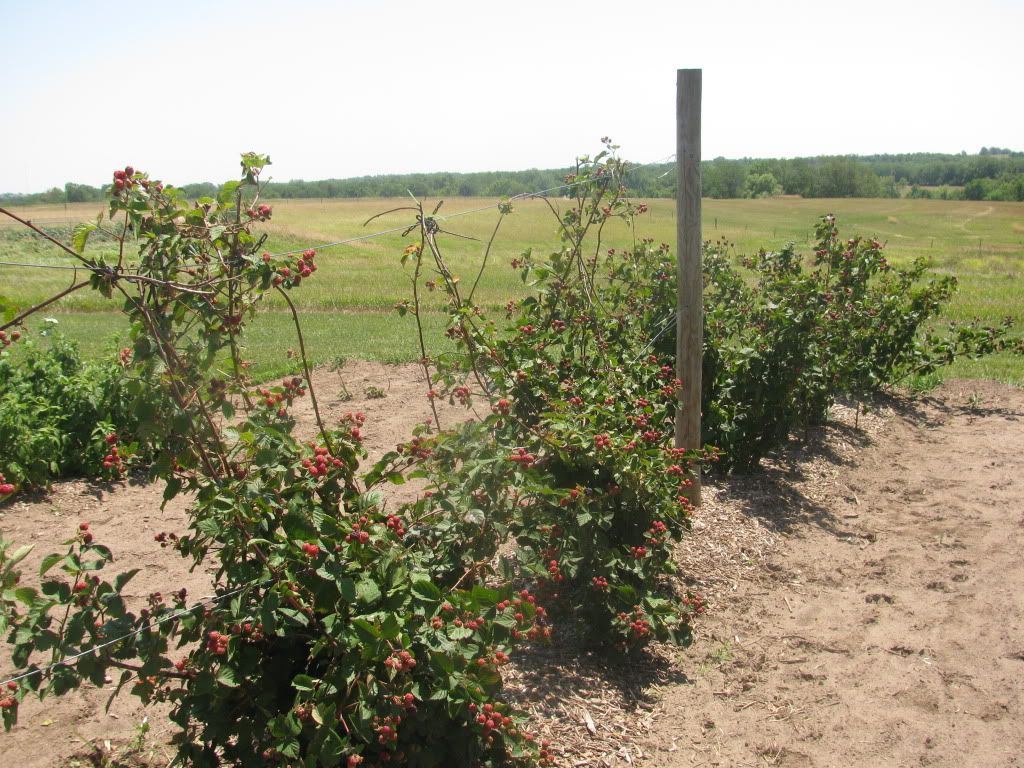
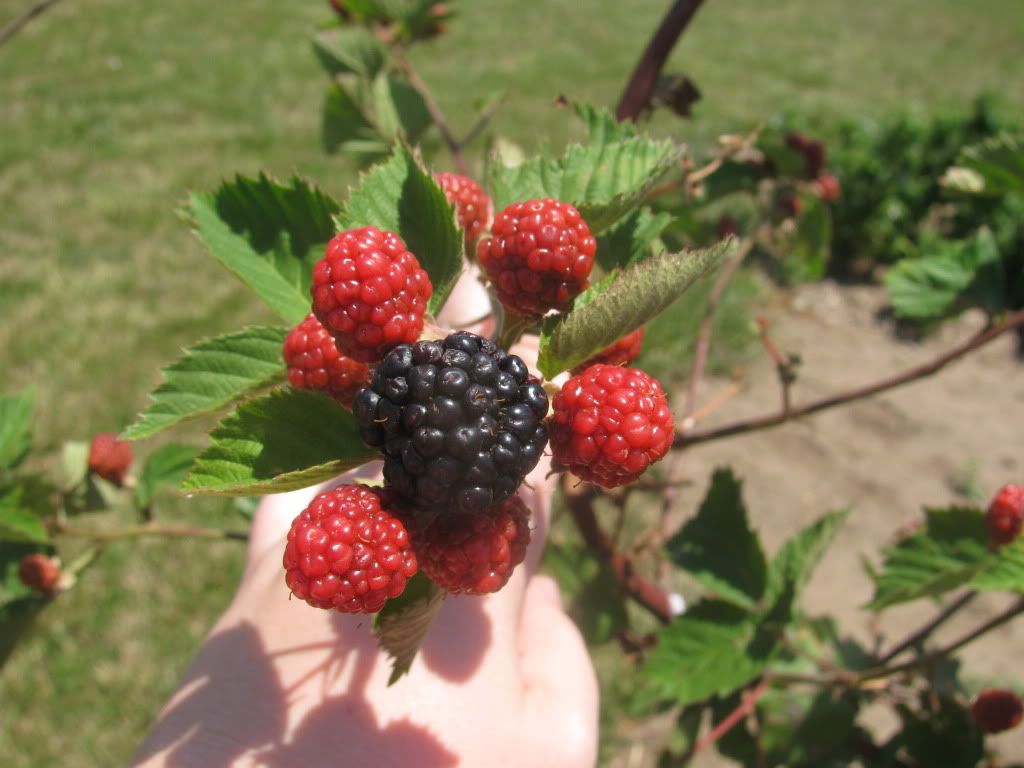
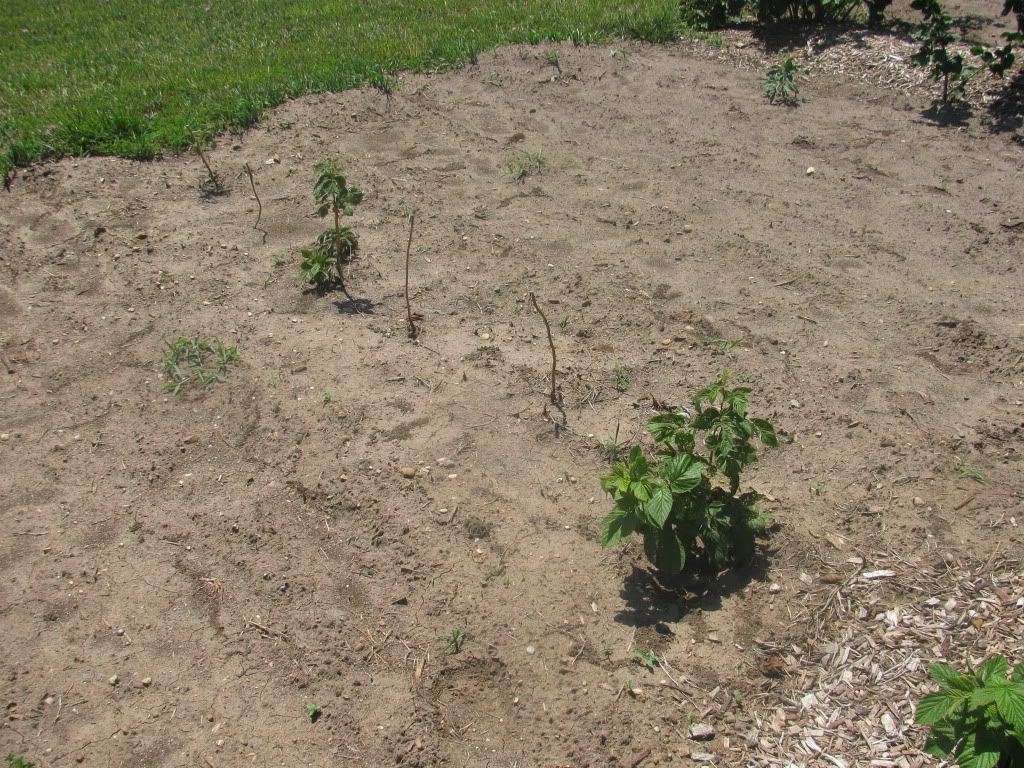
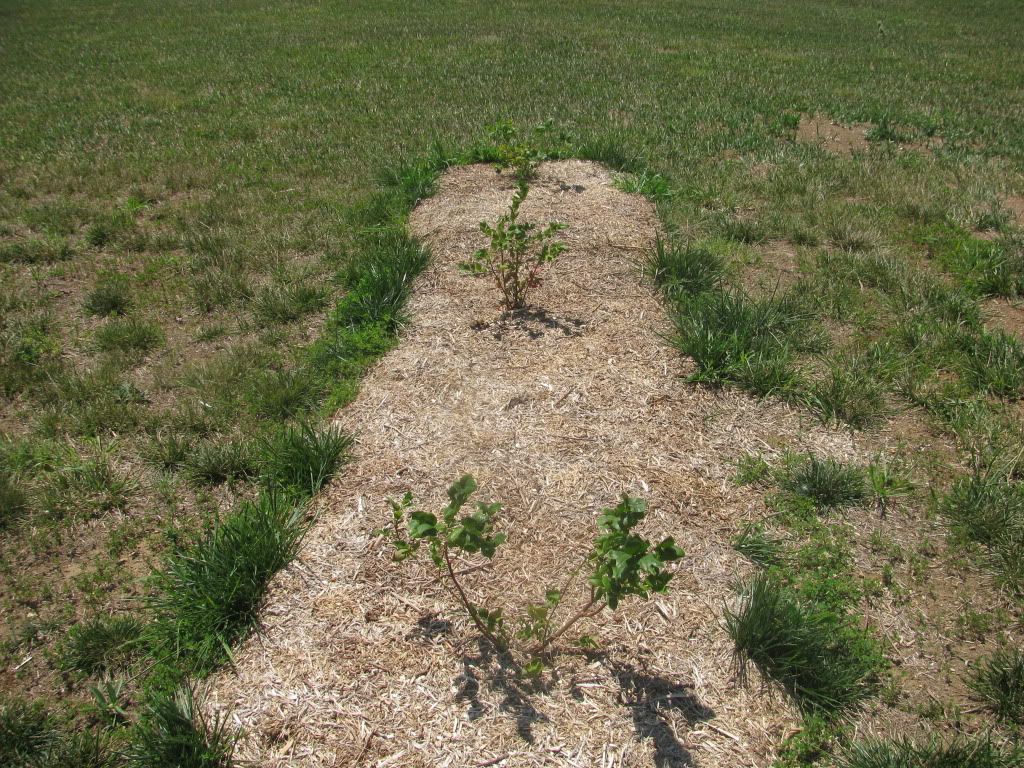
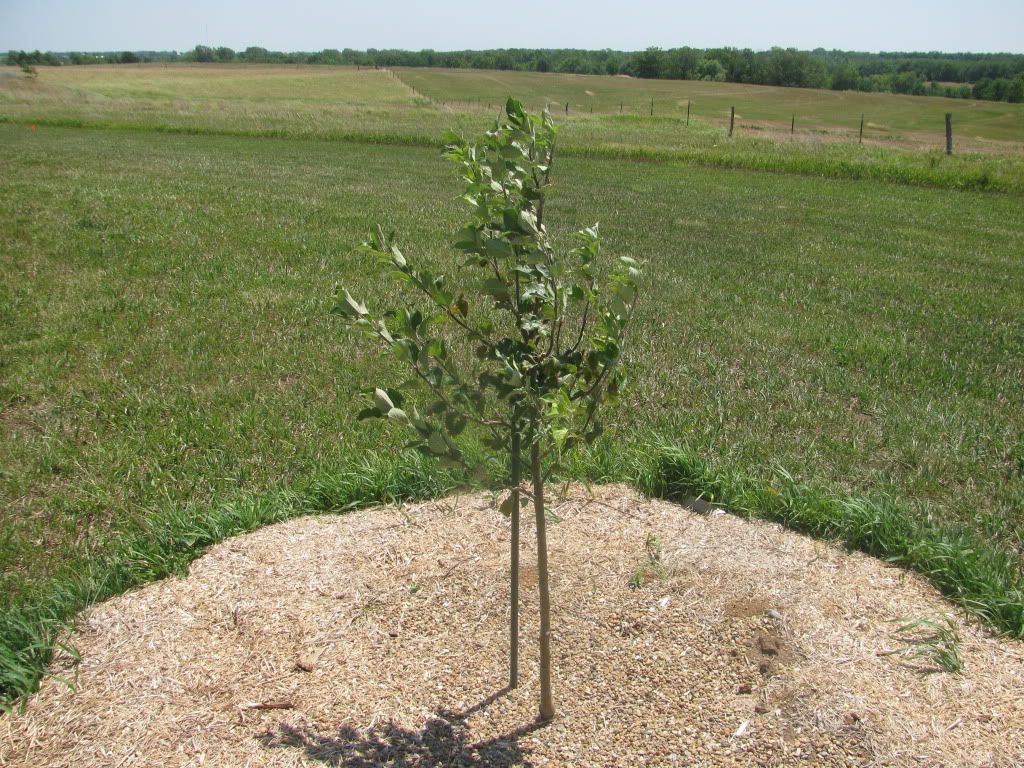
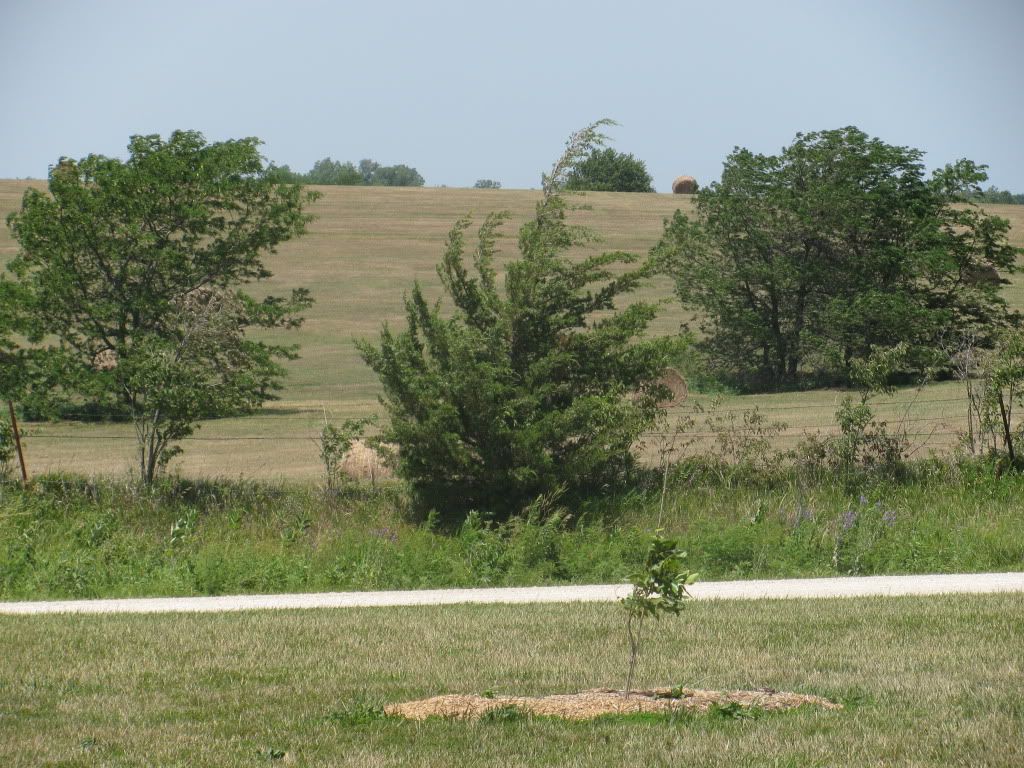
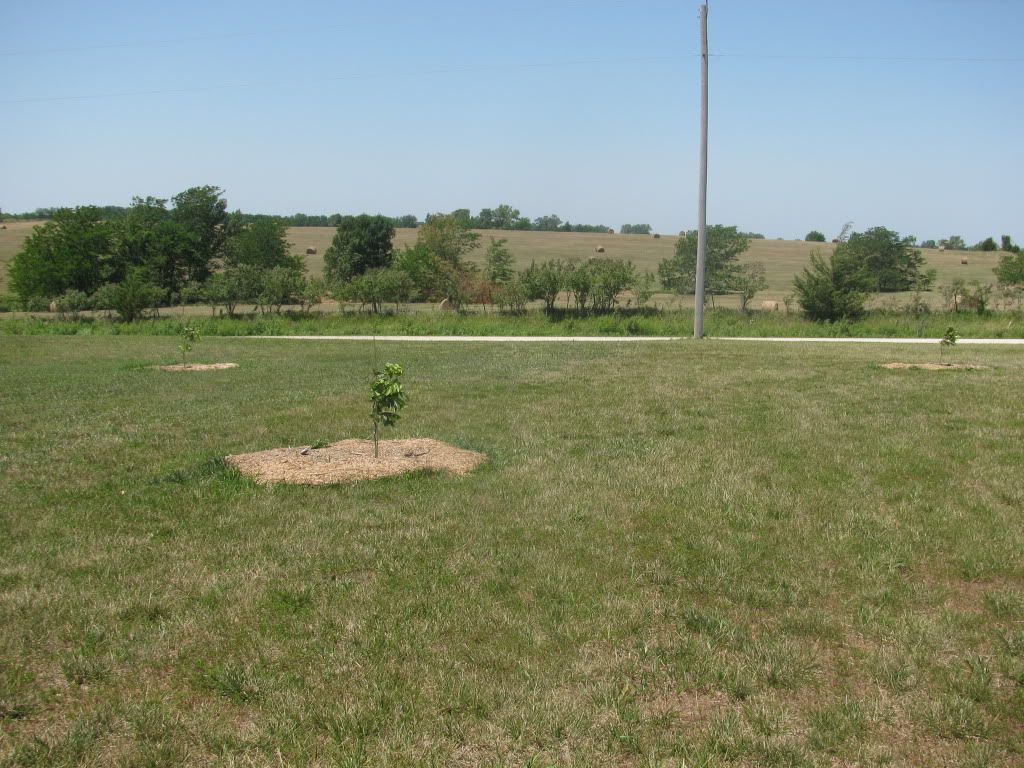
We also planted four new trees: a 'Stanley' prune plum, 'Surecrop' pie cherry, 'Sunglo' nectarine, and 'Contender' peach. Our orchard now consists of: 1 row each of blackberries and raspberries, 3 blueberry bushes, 3 apple, 3 pecan, 2 cherry, 2 pear, and 1 each of almond, peach, plum, and nectarine trees.

Our new 'Sunglo' nectarine

We have gotten the tree planting method espoused in The Holistic Orchard down to a science. If you want to learn the correct way to plant a fruit tree, check out the post I wrote on the subject here. We'll continue to get practice since our orchard is far from complete. (Insert Hubby Dear's groans as he reads this.) 

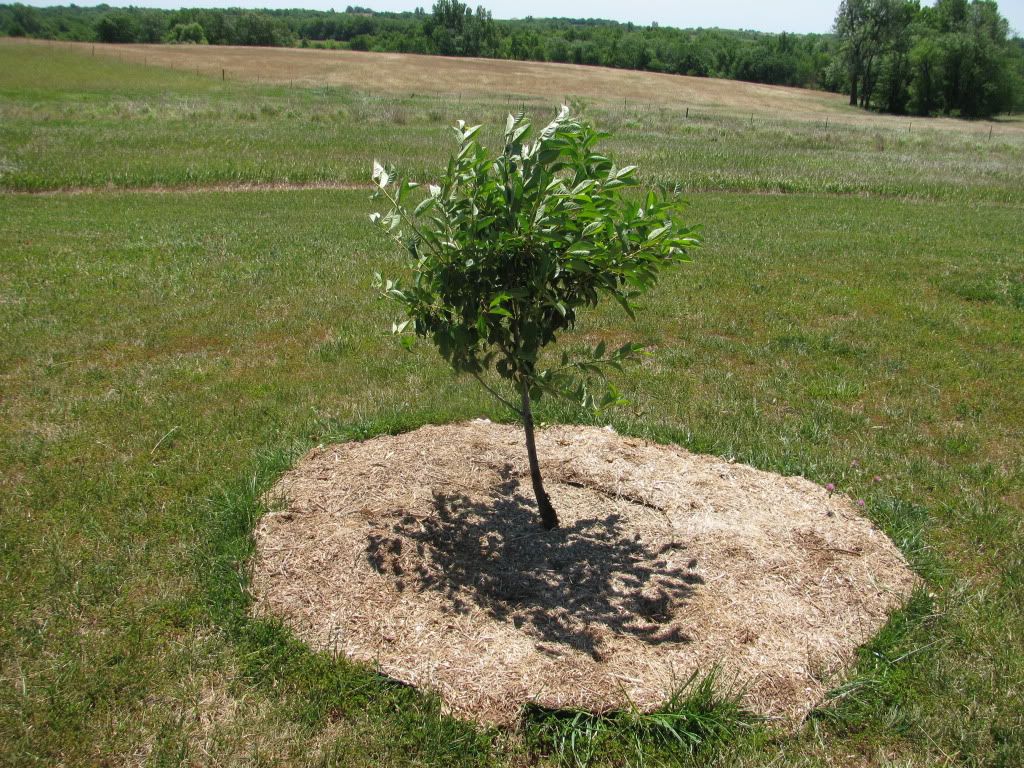
Our apple trees were just planted last spring, so I wasn't expecting any fruit this year. Our 'Jonafree' apple tree (the one with the spreaders pictured above) surprised me by going into bloom. 


'Jonafree' apple buds in various stages of development


A king blossom. The king blossom is the one in the center of a cluster of blossoms. It is the one that
will open first and  has the potential to form the largest fruit. 


'Earliblue' blueberry blossoms. 

Our blueberries are also blossoming. We've only had them a year as well, but the bushes are three years old and so this is the first year we could expect a small crop.

Of course our weather has been so wacky, I was worried that these blooms would be killed by frost. We continue to get frost warnings, so I did a little research to find out at what temperature the blooms would be killed. Here is a handy little sheet that summarizes killing frost temperatures for many types of trees.  This is another site just about apple trees and one about blueberries.

The upshot of those articles is that as long as it stays in the 30s, the blossoms will be safe. I just hope temperatures stabilize soon so that we can plant out our tomato and pepper transplants.

Has your spring been delayed like ours has been? What is growing in your garden?

Monday, November 5, 2012

How to Grow Garlic

Garlic is a staple at our house. Luckily for us, garlic is one of the most simple and rewarding garden plants we've ever grown. If you like garlic and have a few square feet of garden space, you should give it a shot.

Here's the most important bit of information you need to know: it must be planted in the fall. We wait until after the first freeze of the fall and then get it in the ground.

Last year we bought 1 lb of organically grown 'Music' seed garlic from Peaceful Valley. That worked out well for us and I'd definitely recommend finding organic seed garlic if you can. Many of the nurseries are sold out by now, however, but don't worry. You can even plant garlic straight from the supermarket, though there are no guarantees as to how it was produced or what variety it is. Read here to see how Kendra at New Life on a Homestead grew supermarket garlic.   


The seed garlic we saved from this year's crop

When we harvested the 2012 garlic crop, we selected our biggest, best-looking heads to save as seed for the 2013 crop. We stored them loosely in a mesh bag and hung it in our cool, dry basement storage room until planting time.


A square foot bed ready for planting

We prepared the garden box by stirring in a bit more compost.


Separated cloves

Then we separated the cloves from each head of garlic, discarding any that might have gone bad. 

Four cloves per square foot


We garden primarily by the square foot method. (Read more about that here.) You can plant four cloves of garlic per square foot. Plant each clove 2 inches deep with the pointy part facing up. Cover with soil.


Mulch with straw

The last step is to put the garlic down for a long winter's rest. Cover the bed with a nice layer of straw. Though you won't be able to see it, the garlic will be busy during the fall and winter months. It will put out roots and when spring comes, it will pop through the mulch.


Mid-March 2012


We had such a mild winter last year that the garlic was well out of the ground by mid-March.


You can see the garlic standing tall in the back. 'Music' grows to about 3' tall


By mid-May, the garlic was truly gigantic. All we did was keep it watered and fertilize occasionally with foliar applications of kelp. Pests ignored it completely. 


Drying 

We harvested the garlic in early June and hung it up to dry it for several weeks. That's it!


See? Growing garlic is easy! If you've never grown garlic before, why don't you give it a try this fall? 

Sunday, August 12, 2012

How to dry garlic

The one crop we've grown this year that surpassed my expectations is garlic. Garlic will last for a long time when stored in cool, dry conditions, but we have so much of it that I am worried that it will start to go bad before we use it all.  Time to find a way to preserve it before I lose it!

When I don't have garlic I grew myself (i.e. any time prior to now), I generally buy the pre-minced garlic you can find in a jar at the grocery store. Ideally, I would can all my garlic up and use it that way. You can read about how Patrice Lewis of the Rural Revolution blog cans her garlic here.

Although I am an experienced canner, I tend to follow the established guidelines and not venture into the "grey areas" of canning such as canning bacon, butter, and, as it turns out, garlic. Here is a link to an article about the safe preservation of garlic. If you read through it, you will see that they do not recommend canning garlic. It seems that pressure canning destroys much of the flavor of garlic and so canning authorities have never bothered to establish the proper processing times for garlic. That's too iffy for me and so I decided to forgo canning garlic.

With canning out, I decided to dry much of my garlic. Here's how I did it.

Drying Garlic


Peeling the garlic and trimming off the root end

I won't lie: the first step of the process is very tedious. Gather your heads of garlic and separate them into cloves. Then, peel the cloves and trim off the root ends. One reason I have mostly used pre-minced canned garlic for all these years is so I don't have to deal with the sticky, papery, garlic peels. I peeled so many heads of garlic this time that my fingers were covered with garlic juice. The peels then kept getting stuck to my fingers and transferred to the clean garlic cloves, cutting board, and pretty much everywhere else in the kitchen. It was a mess, but the good news is that the rest of the procedure is really, really easy.


I used the slicing blade on my food processor to slice the garlic into uniform pieces

Now you need to slice your garlic by hand or with a food processor. You can mince the garlic into smaller bits if you desire, but be aware that they may fall through the mesh of your dehydrator screen.


The food processor makes quick work of this task

Once your garlic is sliced, it's time to dry it. I have an Excalibur food dehydratorand I looked up the correct temperature to dry garlic in my owner's manual. I set the thermostat at 105 degrees and placed the garlic slices on the drying trays. I was worried that some of the garlic pieces were small enough to fall through the trays as they dried and shrank, so I lined the trays with plastic wrap before I put the garlic on.  I checked on the garlic every few hours and stirred it once. It took about 8 hours before it was completely crisp and dry.


The finished product

If you don't have a dehydrator, I have also read about people drying garlic in the oven. The lowest temperature my oven goes to is 170 degrees, so drying garlic in there would take careful monitoring to prevent over-browning. Ever eaten a piece of scorched garlic before? Yuck! I would turn your oven to the lowest temperature it goes, stir often, and consider propping the oven door open a bit.

What do you do with dried garlic? 

  •  Throw a few pieces into a soup or stew. It will reconstitute while it cooks and lend its flavor to the meal. You might want to fish the larger pieces out after you're done cooking the dish, though, because these babies pack quite a wallop. 
  • Grind the dried garlic in a food processor or spice grinder to make your own garlic powder.
  • My favorite: Soak a clove's worth of dried garlic in some warm water until soft. Mince and use in recipes in place of canned minced garlic!  

Enjoy! 

Thursday, June 21, 2012

Mid-June Garden and Orchard Update

It's been a while since I did a garden update, so I thought I'd share what's going on. 

Unfortunately, May was extremely hot and dry here, which caused our cold weather crops like peas, lettuce, and spinach to die prematurely.  If it's not one thing, it's another. 

Our garden on June 18. It's looking bare since so much has been harvested or pulled out. 

The chickens have the right idea. 

The chickens spend the hot part of the day underneath their coop. 

When it's hot like this, it's best to just stay in the shade! I've been spritzing their run with the hose a couple of times a day and putting ice cubes in their water. They seem to be weathering the heat well. Hopefully by this time next month I'll be getting eggs from my lovely ladies! 


Drying garlic

We harvested around 40 heads of garlic. We gathered them into bunches of five or six heads and have suspended them in our garage to dry for a month or so. Once they are dry, I'll cut them off their stalk - we grew 'Music', a type of hard-neck garlic - and put them into storage. I plan to save our best heads back to use as seed garlic for next year's crop. I am also going to try dehydrating garlic in my Excaliburand grind my own garlic powder.

'Copra' onions

The onions are doing well and will probably do even better now that the garlic is gone. Our garlic plants were three feet tall and were shading them.


Our green beans had spotty germination

Our green beans had spotty germination, as did our carrots, cucumbers, watermelon, zucchini, and cantaloupe. We replanted the bare spots. We also planted extra vine plants in the space vacated by the peas. We will soon have a riotous mess in those bare areas!


Lots of varieties of heirloom tomatoes


Ripen already!! I can't wait for that first homegrown tomato of 2012.


We planted some black oil sunflowers in this open area

We are growing some Peredovik black oil sunflowers for a treat for our chickens.


Sunflower bud


The Berries

The heat has led the blackberries to begin ripening a full month earlier than last year.


I've only picked enough to eat out of hand, but in the next week or so, we should be harvesting buckets of berries. Time to dig out the canner and make some blackberry jam!


Barn swallow nest

One of the things we are doing to help control the wasps that plagued our blackberries last year is allow barn swallows to nest on our property. We had been knocking down the nests simply because the birds make such a mess on our porches and deck. Barn swallows eat an amazing amount of insects, however, so we are leaving them alone this year. Hopefully this will cut down on the wasps sucking the juice out of my berries!

We're getting a few strawberries from our everbearing plants and little bits of raspberries, too, though our big raspberry harvest will be in September. Or August, the way things are going this year!

Only about half of the new raspberries appear to have survived

The good news about the raspberry canes we planted this spring is that we have a few survivors. Hopefully they will make it through the heat of summer and we can fill in the row with extra canes from our established raspberries.


Blueberries going strong

Our blueberry bushes seem to be doing well and they've grown quite a bit. We planted two year old bushes, so hopefully we'll get a crop from them next year.

The Orchard

Our little orchard faced some struggles this month. Two of our newly-planted apple trees came down with a bad case of Cedar Apple Rust. 

Our Jonafree apple tree has managed to overcome the Cedar Apple Rust 

The GoldRush? Not so much. It's growth is being stunted by its struggle with rust.

I really didn't think we'd have to worry about disease pressures this early! And I didn't think Cedar Apple Rust would be a problem since we don't have any cedar trees on our property.


What's that right across the road from our orchard?


Earth to Emily! There are cedar trees right across the road! After I did more research, I found out that to eradicate the chance of Cedar Apple Rust, I'd have to get rid of all the cedar trees within a square MILE of our property. As that's not going to happen, I'm going to have to pay close attention to the weather conditions next spring so I can stay ahead of the rust. In the mean time, I have been using an organic disease control spray that seems to be helping somewhat.

Our pecan trees

Perhaps the most impressive growth has been from our three pecan trees. They might not look so impressive to you, but considering they were mere twigs when we planted them last November, I'm pleased.

Oh, but I'm forgetting the real star of the show, our cherry tree.

Our not-quite-as-dwarf Montmorency cherry

We got this tree for free four years ago and have pretty much neglected it. This year we have lavished it with care. It got a proper mulching, fertilization, and holistic sprays in the spring. It has responded with enthusiastic growth of nearly two feet!

I also pre-ordered the new additions to our orchard for the fall - two standard-sized pear trees (Starking Delicious and Seckel) and an All-in-One Almond tree. I was really tempted to order a lot more but I remember how hard Hubby Dear and I have to work to bust through our concrete soil. Three trees at a time is probably all we can handle.


Between the garden and my poultry projects, we've been busy. What's growing at your house?