It's been a while since I did a garden update, so I thought I'd share what's going on.
Unfortunately, May was extremely hot and dry here, which caused our cold weather crops like peas, lettuce, and spinach to die prematurely. If it's not one thing, it's another.
 |
| Our garden on June 18. It's looking bare since so much has been harvested or pulled out. |
The chickens have the right idea.
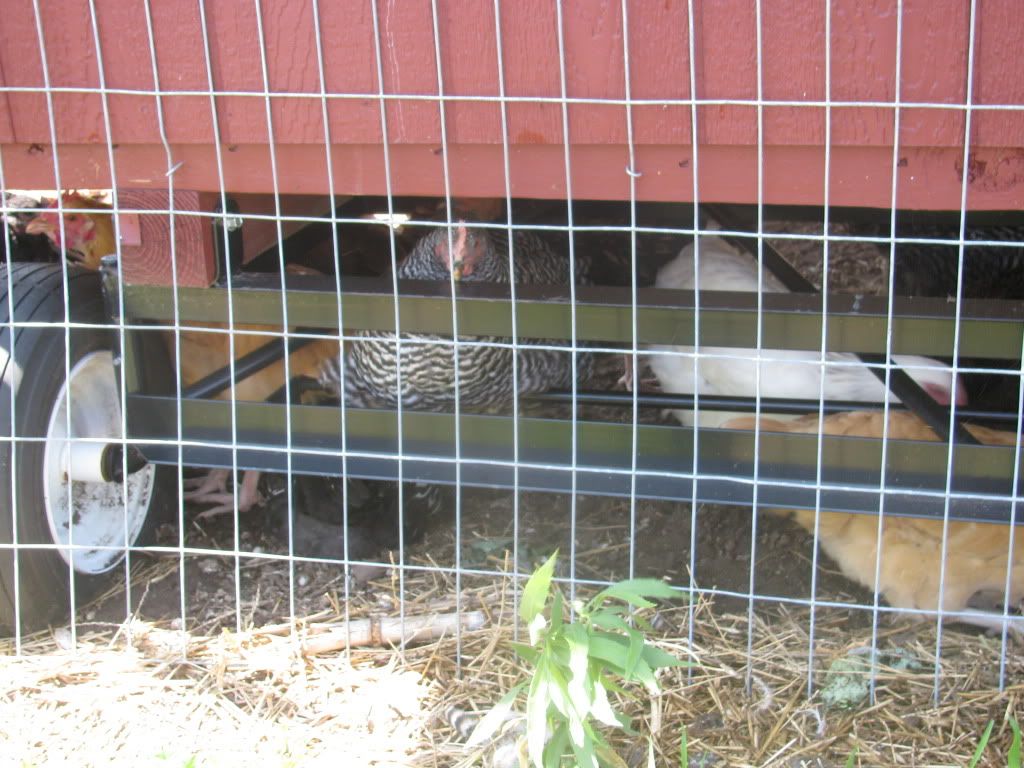 |
| The chickens spend the hot part of the day underneath their coop. |
When it's hot like this, it's best to just stay in the shade! I've been spritzing their run with the hose a couple of times a day and putting ice cubes in their water. They seem to be weathering the heat well. Hopefully by this time next month I'll be getting eggs from my lovely ladies!
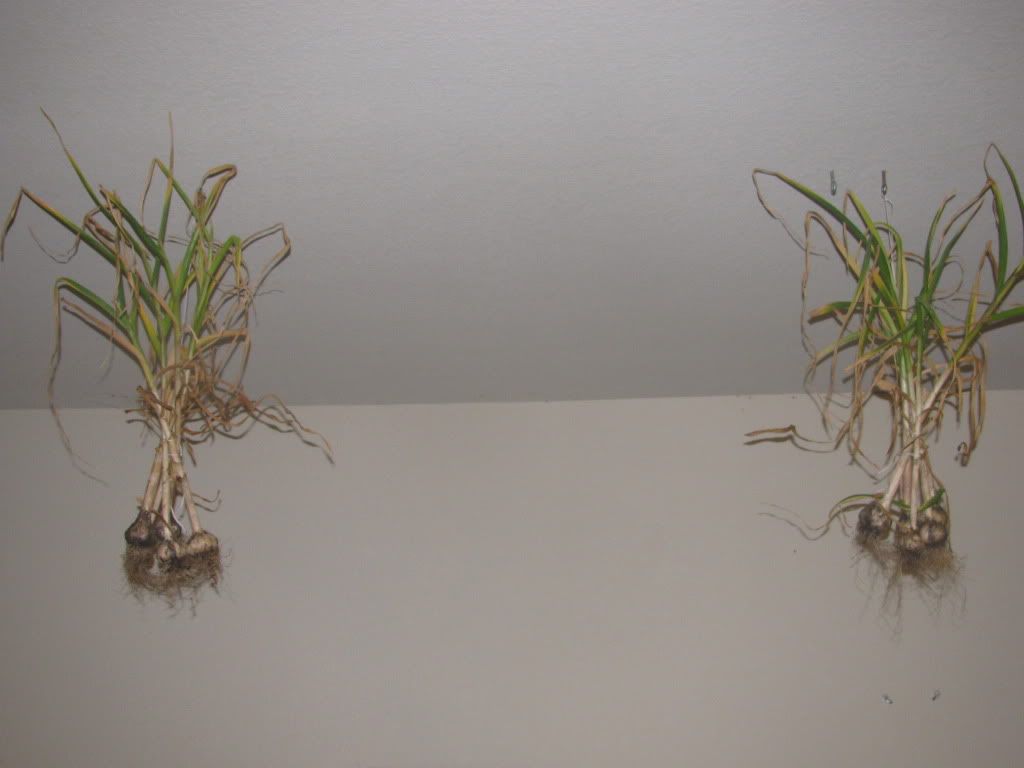 |
| Drying garlic |
We harvested around 40 heads of garlic. We gathered them into bunches of five or six heads and have suspended them in our garage to dry for a month or so. Once they are dry, I'll cut them off their stalk - we grew 'Music', a type of hard-neck garlic - and put them into storage. I plan to save our best heads back to use as seed garlic for next year's crop. I am also going to try dehydrating garlic in my Excalibur
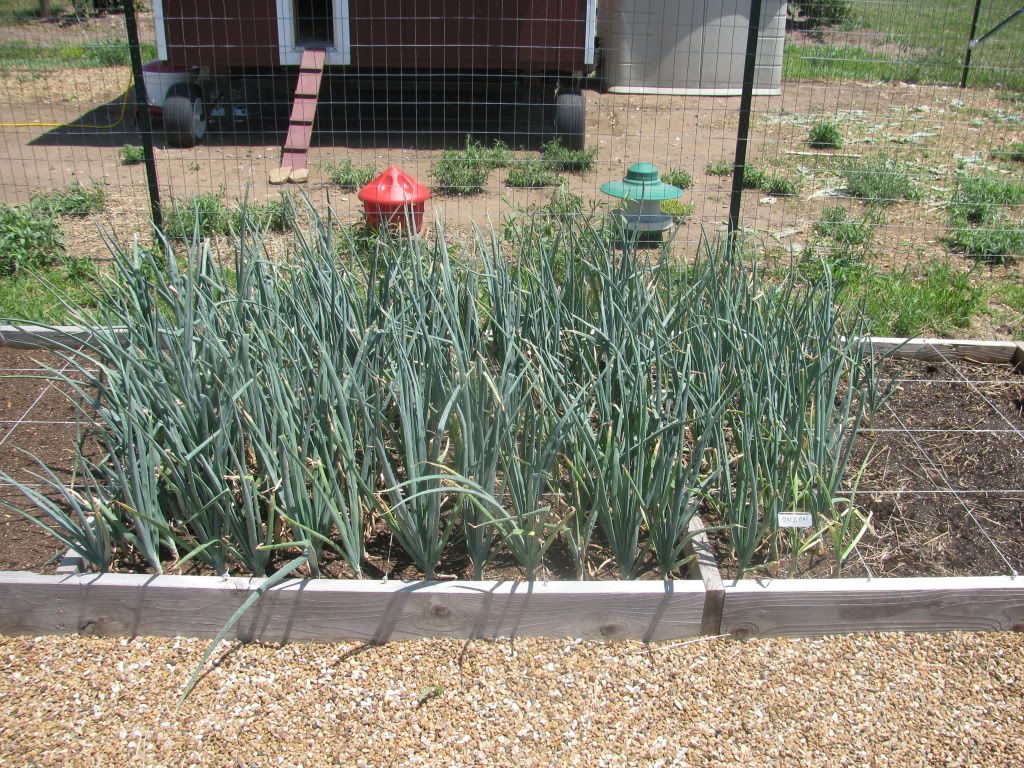 |
| 'Copra' onions |
The onions are doing well and will probably do even better now that the garlic is gone. Our garlic plants were three feet tall and were shading them.
 |
| Our green beans had spotty germination |
Our green beans had spotty germination, as did our carrots, cucumbers, watermelon, zucchini, and cantaloupe. We replanted the bare spots. We also planted extra vine plants in the space vacated by the peas. We will soon have a riotous mess in those bare areas!
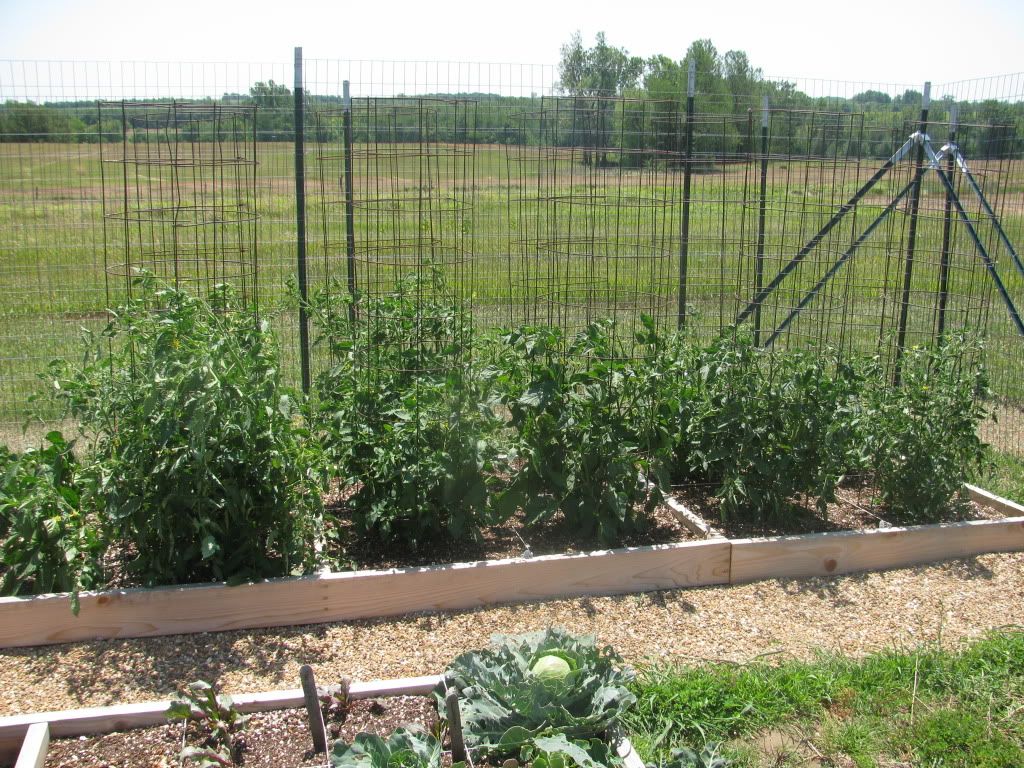 |
| Lots of varieties of heirloom tomatoes |
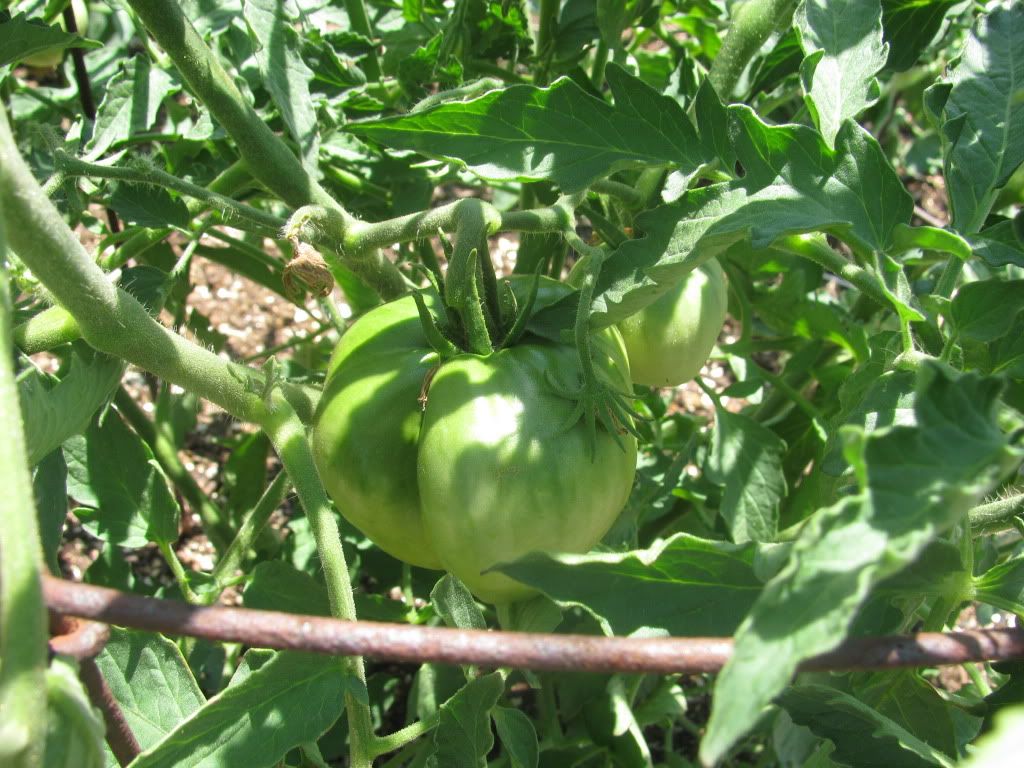
Ripen already!! I can't wait for that first homegrown tomato of 2012.
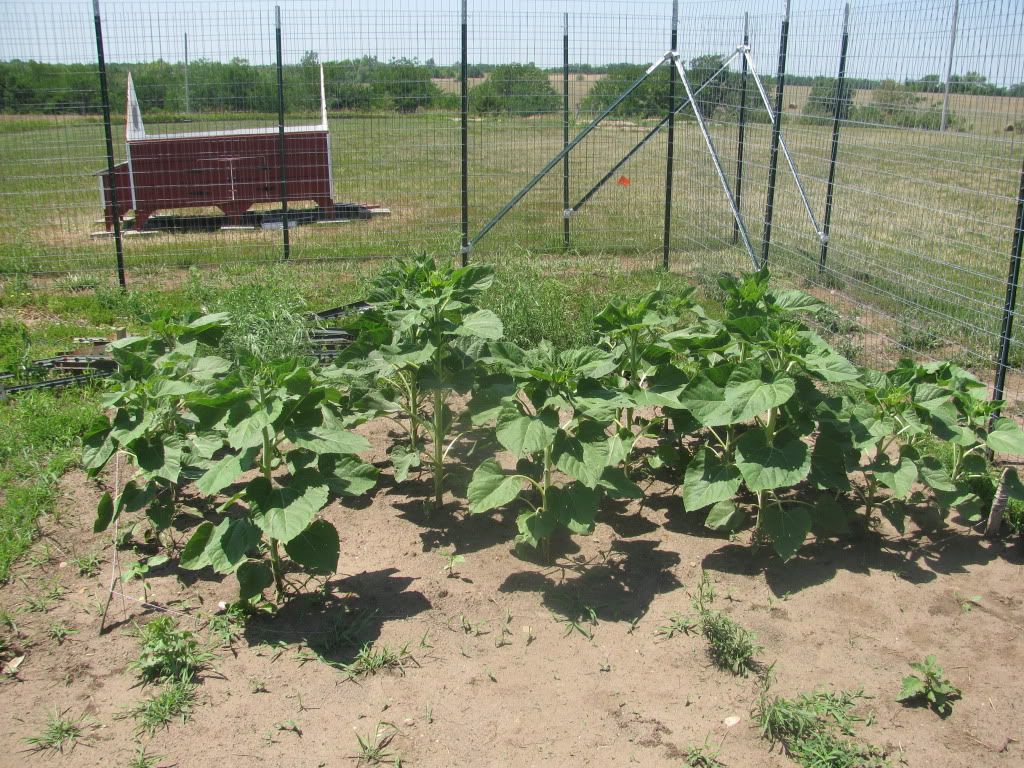 |
| We planted some black oil sunflowers in this open area |
We are growing some Peredovik black oil sunflowers for a treat for our chickens.
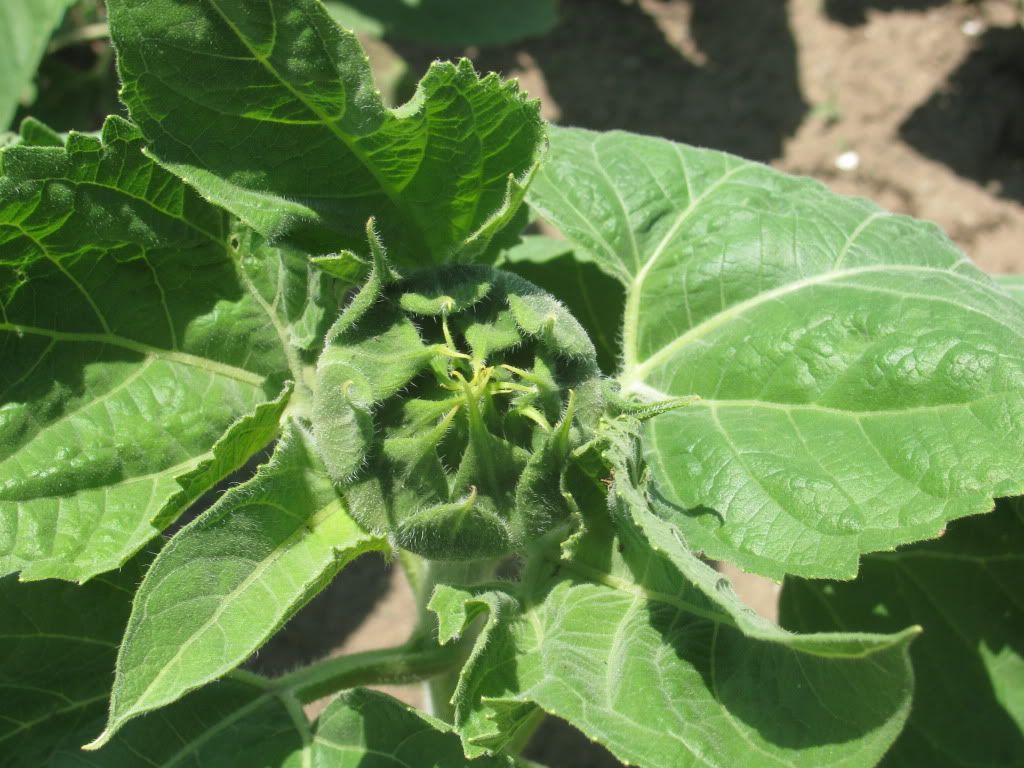 |
| Sunflower bud |
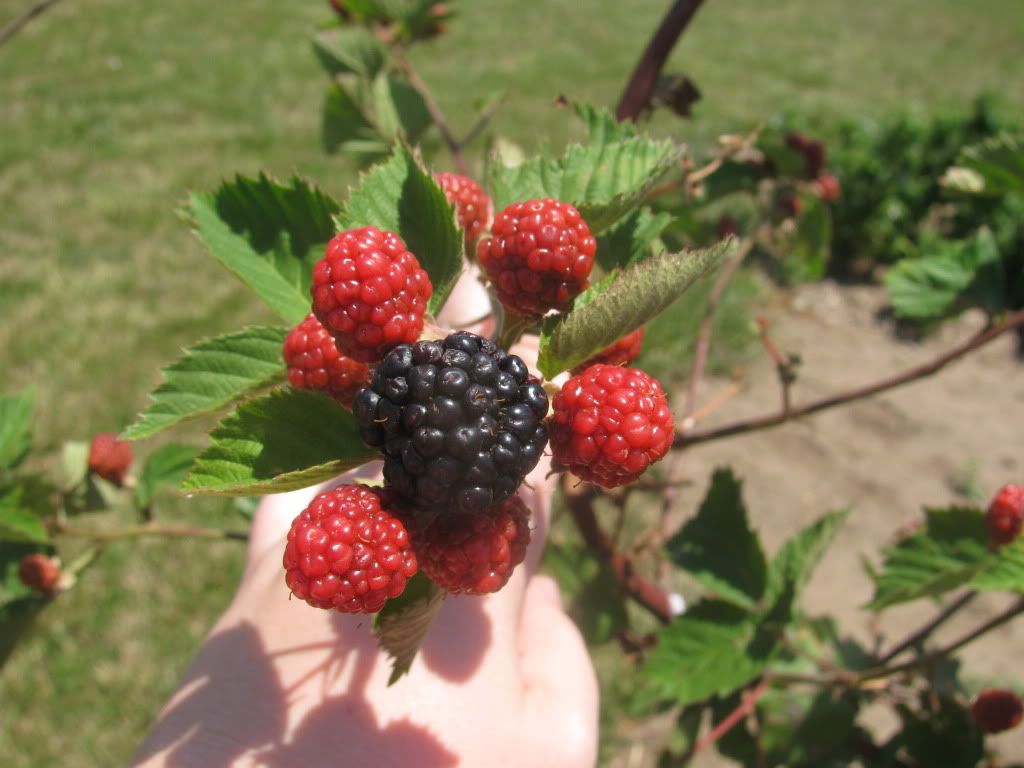
The Berries
The heat has led the blackberries to begin ripening a full month earlier than last year.
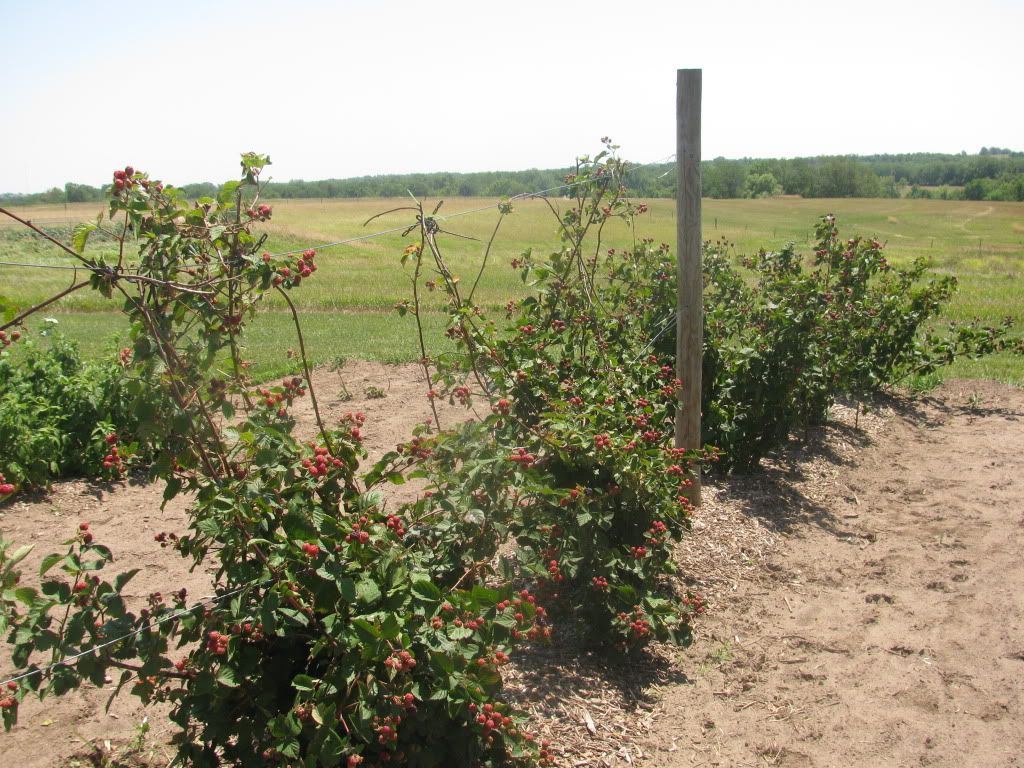
I've only picked enough to eat out of hand, but in the next week or so, we should be harvesting buckets of berries. Time to dig out the canner and make some blackberry jam!
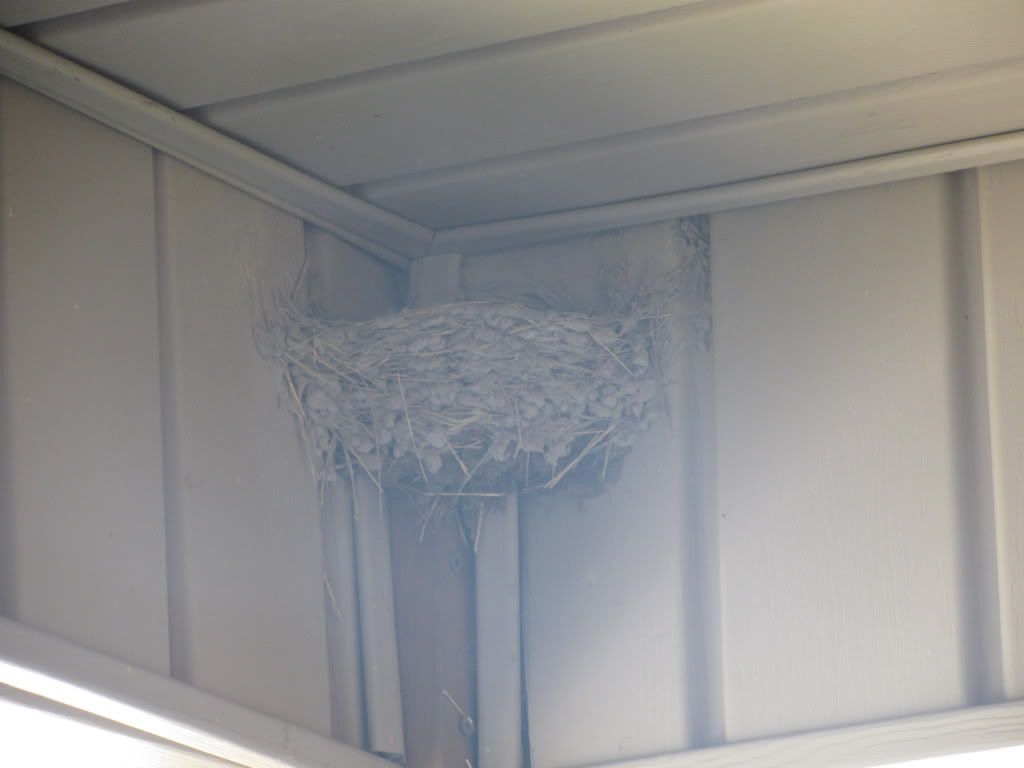 |
| Barn swallow nest |
One of the things we are doing to help control the wasps that plagued our blackberries last year is allow barn swallows to nest on our property. We had been knocking down the nests simply because the birds make such a mess on our porches and deck. Barn swallows eat an amazing amount of insects, however, so we are leaving them alone this year. Hopefully this will cut down on the wasps sucking the juice out of my berries!
We're getting a few strawberries from our everbearing plants and little bits of raspberries, too, though our big raspberry harvest will be in September. Or August, the way things are going this year!
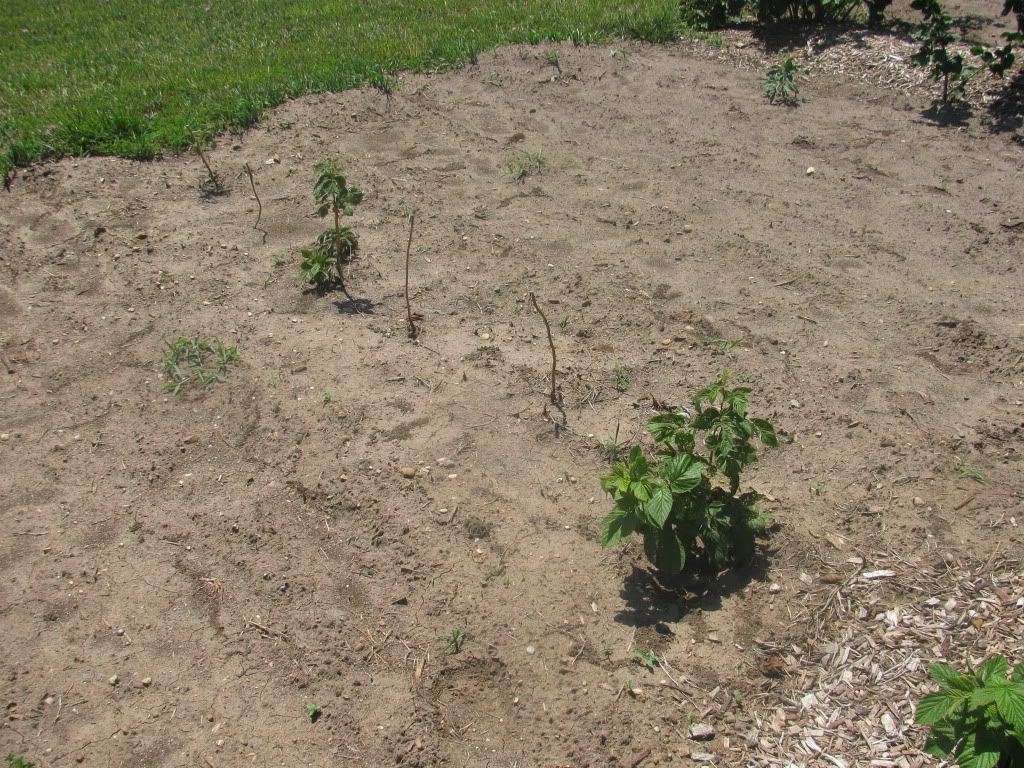 |
| Only about half of the new raspberries appear to have survived |
The good news about the raspberry canes we planted this spring is that we have a few survivors. Hopefully they will make it through the heat of summer and we can fill in the row with extra canes from our established raspberries.
 |
| Blueberries going strong |
Our blueberry bushes seem to be doing well and they've grown quite a bit. We planted two year old bushes, so hopefully we'll get a crop from them next year.
The Orchard
Our little orchard faced some struggles this month. Two of our newly-planted apple trees came down with a bad case of Cedar Apple Rust.
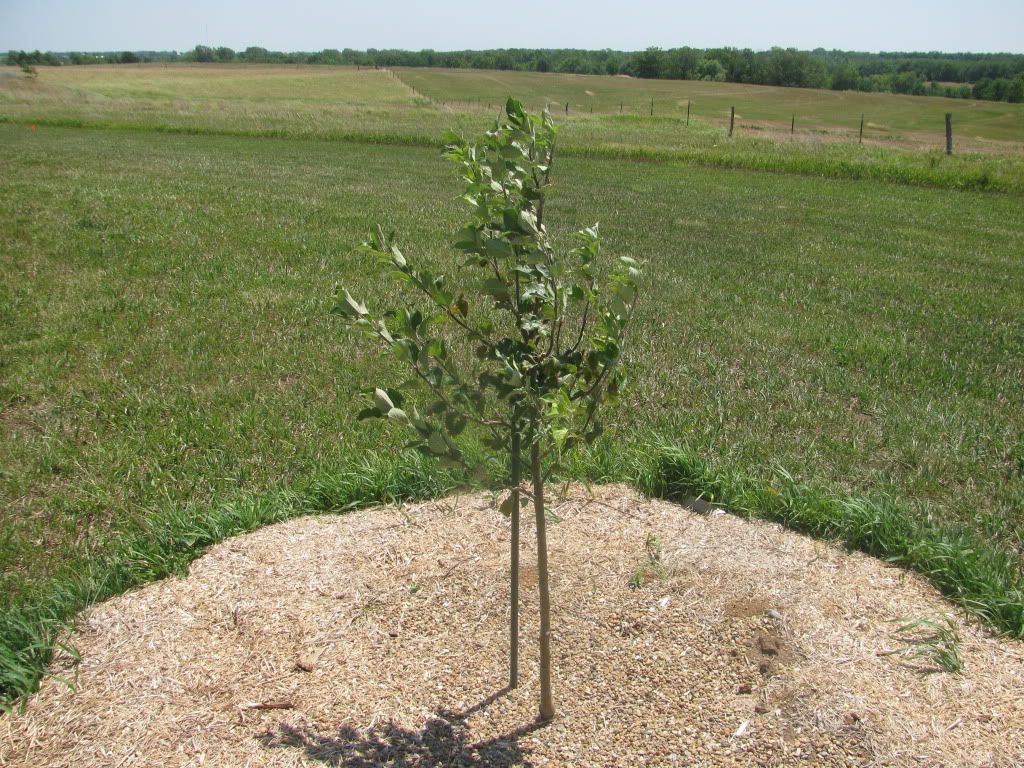 |
| Our Jonafree apple tree has managed to overcome the Cedar Apple Rust |
 |
| The GoldRush? Not so much. It's growth is being stunted by its struggle with rust. |
I really didn't think we'd have to worry about disease pressures this early! And I didn't think Cedar Apple Rust would be a problem since we don't have any cedar trees on our property.
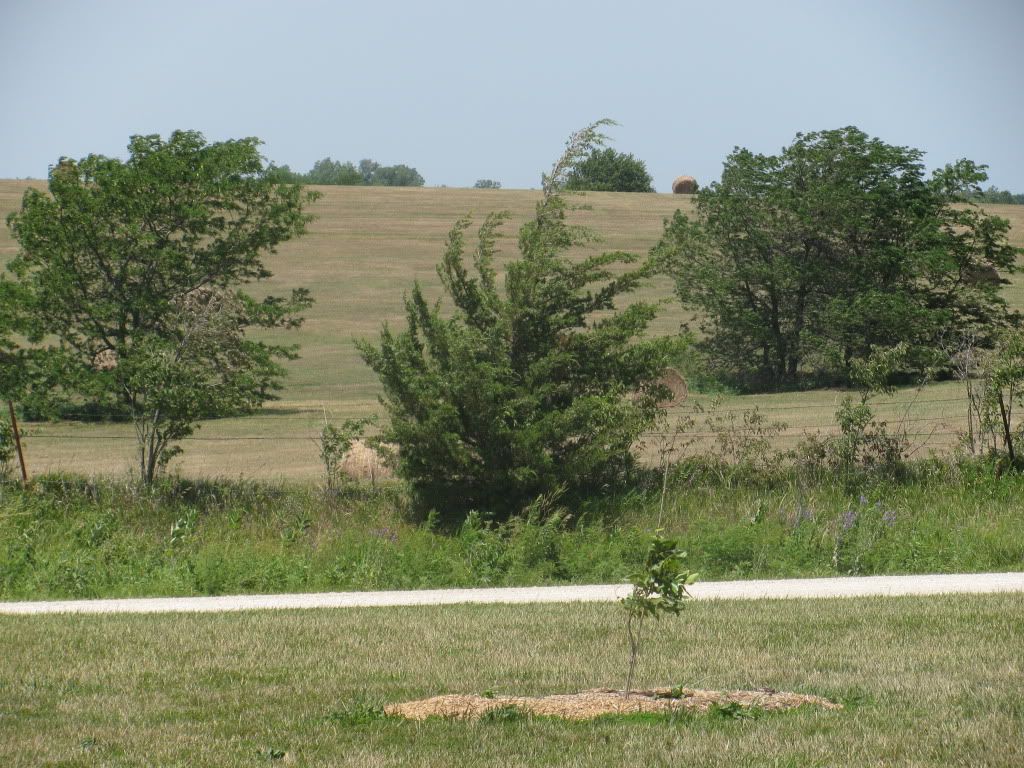 |
| What's that right across the road from our orchard? |
Earth to Emily! There are cedar trees right across the road! After I did more research, I found out that to eradicate the chance of Cedar Apple Rust, I'd have to get rid of all the cedar trees within a square MILE of our property. As that's not going to happen, I'm going to have to pay close attention to the weather conditions next spring so I can stay ahead of the rust. In the mean time, I have been using an organic disease control spray that seems to be helping somewhat.
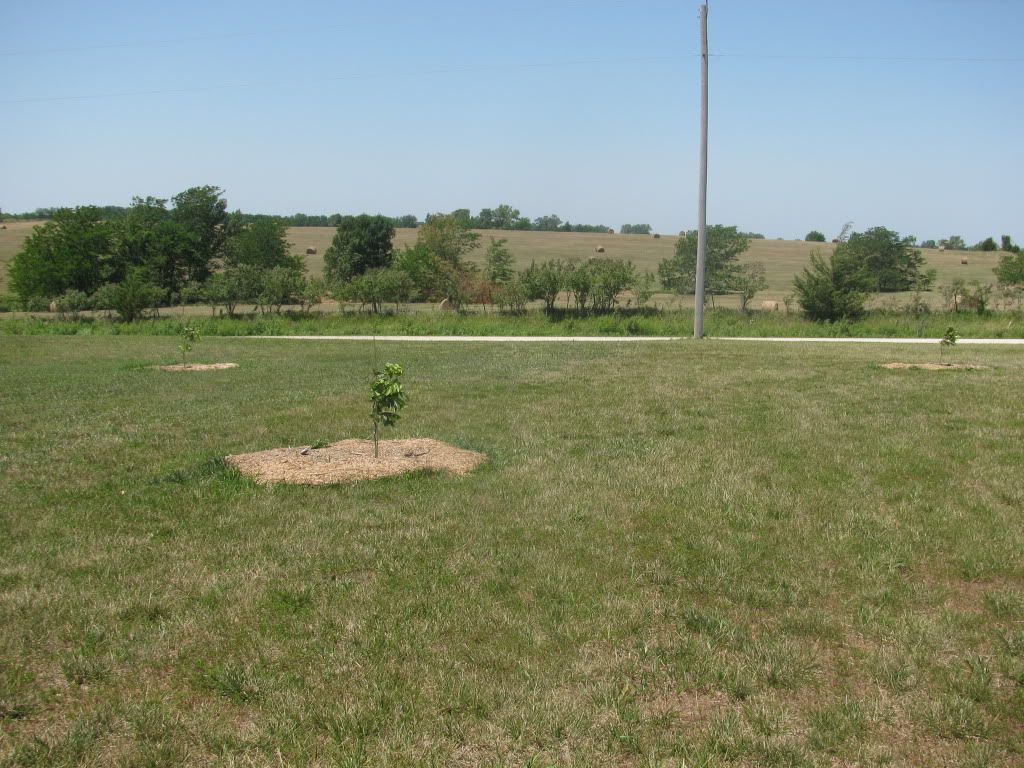 |
| Our pecan trees |
Perhaps the most impressive growth has been from our three pecan trees. They might not look so impressive to you, but considering they were mere twigs when we planted them last November, I'm pleased.
Oh, but I'm forgetting the real star of the show, our cherry tree.
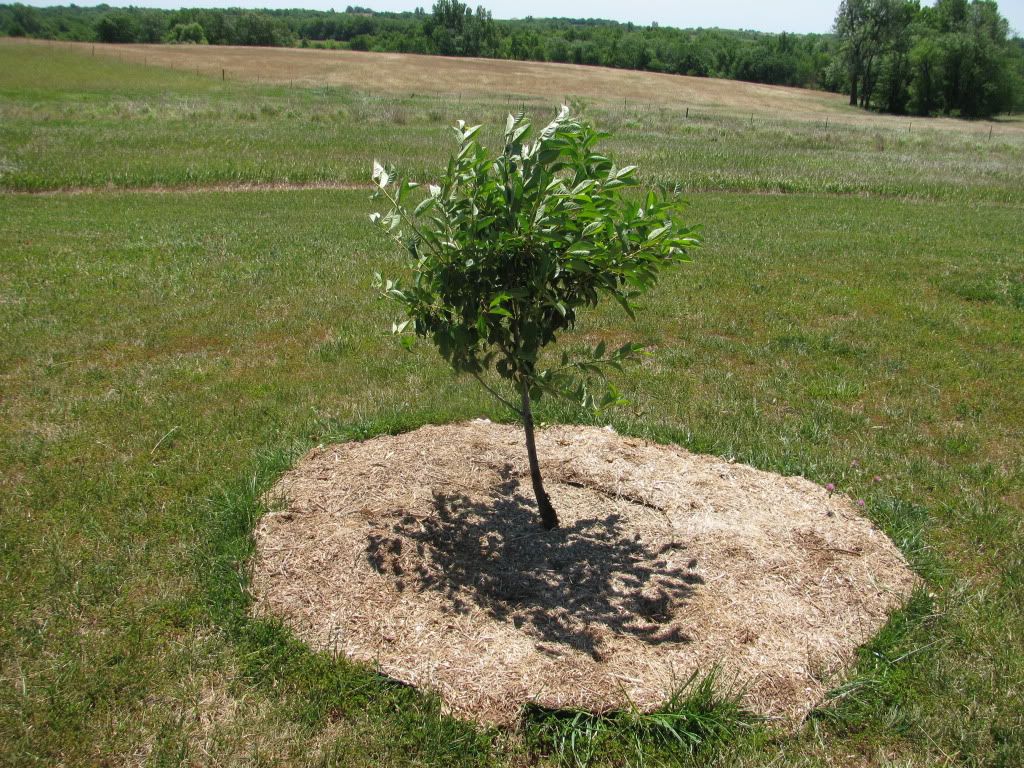 |
| Our not-quite-as-dwarf Montmorency cherry |
We got this tree for free four years ago and have pretty much neglected it. This year we have lavished it with care. It got a proper mulching, fertilization, and holistic sprays in the spring. It has responded with enthusiastic growth of nearly two feet!
I also pre-ordered the new additions to our orchard for the fall - two standard-sized pear trees (Starking Delicious and Seckel) and an All-in-One Almond tree. I was really tempted to order a lot more but I remember how hard Hubby Dear and I have to work to bust through our concrete soil. Three trees at a time is probably all we can handle.
Between the garden and my poultry projects, we've been busy. What's growing at your house?


