Tuesday, October 16, 2012

Brainstorm with Me: Ways to Cut a Budget to the Bone

I have a confession to make. I love to spend money.

While some women may fantasize about their next shoe or handbag purchase, I am decidedly low-maintenance in those departments. Our vehicles are modest, paid-for (thank you, Dave Ramsey), and we plan to run them into the ground. I don't even wear my wedding ring on a regular basis, so jewelry is not a temptation of mine, either. But I do like to spend money on things that interest me - books, preparedness items, homesteading paraphernalia, and poultry.

Who knew poultry would hold such fascination for me? It's become a passion and a small business.

It is that crazy love for poultry that has motivated me to tighten our budget. You see, I really want to build a much larger poultry house that will comfortably hold more birds. Since we do not believe in going into debt, I've got to save up all the cash to fund my project ahead of time.

I started by brainstorming a list of ways that we could cut our budget significantly. Here's where the list stands. Try not to laugh if you have this frugality thing down pat!

Ways to save money: 


1) Stay away from frivolous, impulse purchases! No more tempting items from Amazon.com "just because". I also blow a lot of cash at Sam's Club on a regular basis. I get sucked into their magazine and book area and leave with a lot fewer $ in my pocket. I think I'll just need to stay away from that part of Sam's entirely.                                                                                                                                                                     

2) Try buying the kids' clothes at thrift stores or consignment shops. This will be a completely new experience for me, but I know this will cut quite a bit from our budget. We spend about $2,000 per year (gulp) on clothing for our four kids at the moment. Hubby Dear and I spend very little on clothing for ourselves but I'll definitely check out what they have for us as well.

3) Eat out less. We spend about $175/month on eating out. I will make an effort to eat at home even when it would be easy or convenient to eat out. 

4) Spend a lot less at Christmas. Hubby Dear loves to give gifts and he really spoils the kids at Christmas. We've already been talking to the children about how we have too much "stuff" in our house and that we are going to focus on the true meaning of Christmas this year. We plan to slash our gift budget and buy things for people in need instead. 

5) Coupon more. I am a coupon drop-out. I thought that it was taking up too much of my time for too little benefit. But when you are saving every penny, coupons can make a difference. Too bad we live nowhere near the stores where you can get the best "extreme couponing" deals.

6) Cut back on paper towel use. With four children at home, we go through a lot of paper towels. I am going to buy some more dish cloths and try to reduce the amount of money we spend on paper towels that way. 

7) Eliminate Cut back on pop consumption. I am a complete and total Coke Zero addict. I know it is unhealthy for me and it certainly is not cheap. I am going to try and drink less pop and substitute either iced tea or water with lemon. Pray for my family while I go through detox! ;)

8) Recycle all those aluminum pop cans for $. I'm not sure people still do this any more or if it is available in our area.  I'll need to check this out. 

9) Stop buying the pricey Omega 3 supplement for my chickens. It is $15 per bag and we use at least 3 bags a month. It adds up quickly and I'm definitely not making it back with egg sales. (It costs me $3.12/dozen to produce eggs and I'm only selling them for $1/dozen. Oops.)

10) Reduce processed, prepackaged foods in favor of cheaper alternatives. Bagged salads, gone. When we don't have salad greens growing in our garden, I'll have to wash and assemble my own salad. The Holy Grail of breakfast time at our house, cold cereal, is on its way out, too. My kids (and husband) inhale the stuff. I can make whole wheat pancakes and waffles ahead of time and freeze them in single-serve portions. I can make instant oatmeal packets directly out of our food storage. And of course we always have eggs around here. :) Snack foods are going to be a bit of a hard sell. I already make all our bread. 

11) Shop around for insurance. We've had the same car and home owner's insurance for 5+ years. Time to shop around and make sure we're getting the best rates. Hubby Dear is unsure of this one since he finds it very important to "shop local" and we don't have a lot of choices for insurance agents out here. He may change his tune if it save us a lot of $$. 

12) Find some budget-friendly meals. My family will not go for the Hillbilly Housewife's $70/week meal plan, but I can certainly be more cost-conscious of the meals I fix. I also need to pay more attention to planning meals by sales the grocery store runs. 

Now that I read over the list, it seems pretty pitiful. I'm not sure a list of generalities is going to get me very far towards the chicken house of my dreams. Any ideas on more ways to save money and live frugally? I sure could use them!  

By the way, check out this Rural Revolution blog post. Patrice is collecting links to blogs with money-saving tips as well as sharing some of her own. 

Saturday, October 13, 2012

Sprouting 101 for Survival (and Poultry Feed!)

Boy, am I glad to be back and posting after that really annoying pneumonia thing. I'm finally at about 99% of my normal chipper self. I have to use an inhaler some evenings because I start wheezing right before bedtime, but other than that, I'm good. :)

Back to your regularly scheduled blog.
-----------------

"Wanted! A vegetable that will grow in any climate, will rival meat in nutritive value, will mature in 3 to 5 days, may be planted any day of the year, will require neither soil nor sunshine, will rival tomatoes in Vitamin C, will be free of waste in preparation and can be cooked with little fuel and as quickly as a ... chop."

Dr.  Clive M. McCay
Professor of Nutrition, Cornell University


Dr. Mccay wrote these words during World War II, a time when our nation was desperate to find ways to provide sustenance for both our boys overseas and the home front. His experiments found that if you take soybeans and sprout them, their vitamin content increases dramatically. Vitamin A increased 300% compared to the unsprouted seeds, Vitamin C a whopping 500-600%. Best of all, sprouting was quick and easy to do, requiring far fewer inputs than traditional farming.

Sprouts are an extremely valuable addition to your food storage. Sprouting seeds take up very little space and yet can yield a large volume of fresh food. According to this article, one pound of alfalfa seeds can yield between 10-14 pounds of sprouts. In addition to their large amounts of vitamins, Alfalfa sprouts are about 4% protein. Many of us store large amounts of powdered milk to help meet our protein needs and yet milk is only 3.3% protein. And can you imagine how wonderful those fresh greens would taste to a palate that was subsisting on canned and stored  foods?

Types of sprouts

I keep mentioning alfalfa sprouts, simply because that is the sprout that many of us are familiar with. There is a whole world of sprouts out there beyond alfalfa, however, and a variety of textures and tastes. There are literally one hundred different types of seeds that people sprout and all have their fans and detractors. Some sprouts are bold and spicy, others are mild. Before you buy mass quantities of sprouting seeds, you might consider purchasing a variety pack of seeds and seeing what type you and your family enjoy. This is a pretty good sampler that will give you an idea as to what your taste in sprouts is.

Storage of sprouting seeds

According to the sproutpeople.org website, if you store your sprouting seeds at 55-70 degrees and at 70% or less humidity, they will have anywhere from a 1-5 year shelf life, depending on the type of seed. Alfalfa lasts 4 years,  most beans will last 5 years, and grains last between 2-3 years. Check out this helpful page for a complete listing of sprouting seed shelf lives.

That's not very long in the grand scheme of food storage, is it? The good news is that if you freeze your seeds, shelf life will be increased around four to five times. My plan is to stock up on sprouting seeds and store them in hard plastic containers in the freezer. As their date of expiration approaches, I will sprout them and either eat them myself or feed them to my poultry. Sprouts make Grade A poultry food, which is a big bonus to me since our poultry operation continues to expand! (I'm now up to 29 hungry chickens, turkeys, and ducks, though that number will change soon when we butcher our first turkey. Stay tuned for that blog post, unless you are squeamish or an animal rights activist.)

How to sprout seeds for eating

If you have a brown thumb when it comes to gardening, have no worries. Sprouting is incredibly easy! Add a little water and the seeds do most of the work. You will need a container that will hold the seeds and allow you to rinse the seeds and let the water drain out. For just a few dollars, you can purchase a sprouting strainer lid that will fit on the top of a canning jar you probably already have. You can also buy a bit more elaborate setup that will make your job even easier.

I bought the Victorio VKP1014 4-Tray Kitchen Seed Sprouter.


The Victorio VKP1014 4-Tray Kitchen Seed Sprouter

It consists of four growing trays that nest on top of each other. It is really compact and doesn't take up a whole lot of counter space.


Each tray has little grooves in it that help channel the water

The kit came with a small packet of alfalfa seeds. It only takes 1/2 tablespoon of seeds per tray. You can stagger your harvest of sprouts by planting the trays on consecutive days.


The water drains through each tray and collects in the bottom reservoir 

All you have to do is pour 2 cups of water into the top tray 2-3 times per day. The water drains through the trays and keeps the seeds optimally moist for germination. It didn't take long before my seeds started sprouting.


Day One


Day Two. They look a little alarming at this stage! 


Day Three


Day Four

I only allowed my sprouts to grow for four days before I harvested them. They were delicious, far more crunchy and delicate in flavor than store-bought sprouts. I cannot emphasize enough how EASY this is. If you are a gardening drop-out, or if you live in a place where you can't have an outdoor garden, you should definitely try sprouting.

My next experiment in sprouting is growing wheat grass for my poultry. My birds enjoyed massive amounts of greens and produce from my garden this summer, but now that the first frost has occurred my garden is pretty much dead. Enter sprouts! My goal is to sprout enough greens so that my chickens and ducks can have fresh greenery every day.  


Soaking the wheat

I took 1/2 cup of wheat from the supply that I grind for our bread. If you are sprouting grains only for livestock, it would certainly be cheaper to buy feed-quality whole grains from a feed store or co-op, but this is what I had on hand. Large seeds like wheat must be soaked for 8-12 hours before you start sprouting them.

After eight hours had elapsed, I drained the wheat, divided it among the four trays of my sprouter, and watered it as described above.


Wheat Day 1: Can you see it beginning to germinate?

It wasn't long before tiny little wheat roots began to be visible. The usual method is to start wheat off in a sprouter and then to plant the sprouted seeds in some sort of planting medium. I like the convenience of my sprouter so much that I am going to see what kind of results I get from keeping them there. I'll keep you posted.  :)


References:


Any other sprouters out there? What kind of sprouting seeds do you keep as part of your food storage? 

Monday, September 24, 2012

Cough, Hack, Wheeze! A Guide to Surviving Pneumonia

Thanks for all the comments and emails sent my way during my recent hiatus from blogging. It makes a girl feel loved when she is missed. :)

The reason for my long absence is that I have been so sick that I have hardly been able to drag myself out of bed. I think I am finally on my way back to health and now I can sit down at my computer and blog about it.

My story

It all started the day after a big family wedding. I woke up exhausted and sore but attributed it to the fact that  I had spent the previous day running around in high heels while wrangling my children, all four of whom were members of the bridal party. As the day went on, my muscle aches increased and I began experiencing a vicious cycle of fever and chills.

The next day I had more of the same symptoms, but with the addition of a tight feeling in my chest. I got  noticeably winded after completing routine tasks.  Four days later my fever had finally broken, but I was still experiencing shortness of breath. Hubby Dear is an MD and had wanted me to get a chest X-ray to rule out pneumonia by about day two of my illness. After four days of misery, I finally listened to him and got an X-ray taken. The verdict: I did indeed have a bad case of bacterial pneumonia.


A chest X-ray showing pneumonia
Image from http://en.wikipedia.org/wiki/Occult_pneumonia

Since my pneumonia was bacterial in origin, antibiotics were indicated. I was prescribed a Z-pack (azithromycin). I started to feel better and by the time I finished the last dose of the antibiotic, I would say that I was at about 90% of normal. Unfortunately, my coughing and shortness of breath started to increase again over the next week. I was then prescribed another antibiotic, Levaquin (levofloxacin). I'm on day two of this round of antibiotics and I really hope this finally kills off all the baddies that are making me miserable!


Pneumonia is not for wimps 

If you look at the leading causes of death for Americans 100 years ago, you'll find that pneumonia and influenza ranked at the very top of the list. Having experienced pneumonia, I believe it. Here's what you need to know about it should you face pneumonia in a SHTF scenario.  

What is pneumonia?

Simply put, pneumonia is a lung infection. Pneumonia can be caused by bacteria, viruses, fungi, or even dust or chemicals you breathe in. Anyone can get it, but it is very commonly acquired when your body's defenses are low, such as after you get a cold or the flu. We believe that I came down with the flu and that I caught pneumonia as a secondary infection.

Although anyone can get it, some people are more at risk of pneumonia. If you smoke, are debilitated, have existing lung conditions, suffer from an autoimmune disease, or are recovering from surgery, you are at risk.

Diagnosing pneumonia

Hubby Dear suspected that I had pneumonia based on the physical symptoms I described above as well as the way they presented. There had also been a rash of young, healthy people in our area coming down with sudden onset pneumonia. The tell-tale sign was when he listened to my lungs. I call it "Rice Krispie lungs" - they are continuously snapping, crackling, and popping.


A chest X-ray is an important tool for diagnosis. Not only does it confirm that the patient is suffering from pneumonia, but it also shows whether the pneumonia is bacterial or viral in origin. Obviously in  TEOTWAWKI, you may not be able to obtain a chest X-ray.


How to treat pneumonia

If your pneumonia is bacterial in origin, you're going to need to have antibiotics to treat it. You should be stockpiling a variety of antibiotics, either via prescription from a sympathetic doctor or with fish antibiotics. Here's some helpful links about fish antibiotics you might want to check out:
http://armageddonmedicine.net/?p=6490 
http://armageddonmedicine.net/?p=6532 
http://www.survivalblog.com/2010/07/a_doctors_thoughts_on_antibiot.html

As my experience attests, not all antibiotics will work for every infection. You should have a variety on hand in case the first kind doesn't do the trick.


Otherwise, the treatment for pneumonia is pretty simple.
  • Rest. You need to have someone on hand to help with chores, children, etc. My bout with pneumonia confirmed for me the necessity of having a group of like-minded people that you can trust to help in times of need. I was flat on my back, unable to cook, clean, or even do my chicken chores. And the thing about pneumonia is that it commonly can take people up to a month to fully recover. 
  • Take medications like Advil or Tylenol to control your fever. 
  • Drink lots of water.
  • Rest. Did I mention that?   


My recommendations for you: 

  • Consider getting the flu shot every year. Since many cases of pneumonia develop after a person has the flu, preventing the flu will prevent pneumonia. Every member of my family gets the flu shot - except me since I am allergic to it. I'm the one who got pneumonia. Coincidence? 
  • There is a pneumonia vaccine for young children and adults in certain risk groups. Read about it here: http://www.cdc.gov/vaccines/vpd-vac/pneumo/default.htm
  • Start a (legal) stockpile of antibiotics and learn how to use them properly. 
  • If you smoke, stop! Smoking is a risk factor for pneumonia and pretty much every other disease out there.
  • Remember that pneumonia and influenza were top killers 100 years ago. If we experience a massive societal disruption, I expect they will become so again. 

Wheezingly yours,

Emily 

Sunday, August 12, 2012

How to dry garlic

The one crop we've grown this year that surpassed my expectations is garlic. Garlic will last for a long time when stored in cool, dry conditions, but we have so much of it that I am worried that it will start to go bad before we use it all.  Time to find a way to preserve it before I lose it!

When I don't have garlic I grew myself (i.e. any time prior to now), I generally buy the pre-minced garlic you can find in a jar at the grocery store. Ideally, I would can all my garlic up and use it that way. You can read about how Patrice Lewis of the Rural Revolution blog cans her garlic here.

Although I am an experienced canner, I tend to follow the established guidelines and not venture into the "grey areas" of canning such as canning bacon, butter, and, as it turns out, garlic. Here is a link to an article about the safe preservation of garlic. If you read through it, you will see that they do not recommend canning garlic. It seems that pressure canning destroys much of the flavor of garlic and so canning authorities have never bothered to establish the proper processing times for garlic. That's too iffy for me and so I decided to forgo canning garlic.

With canning out, I decided to dry much of my garlic. Here's how I did it.

Drying Garlic


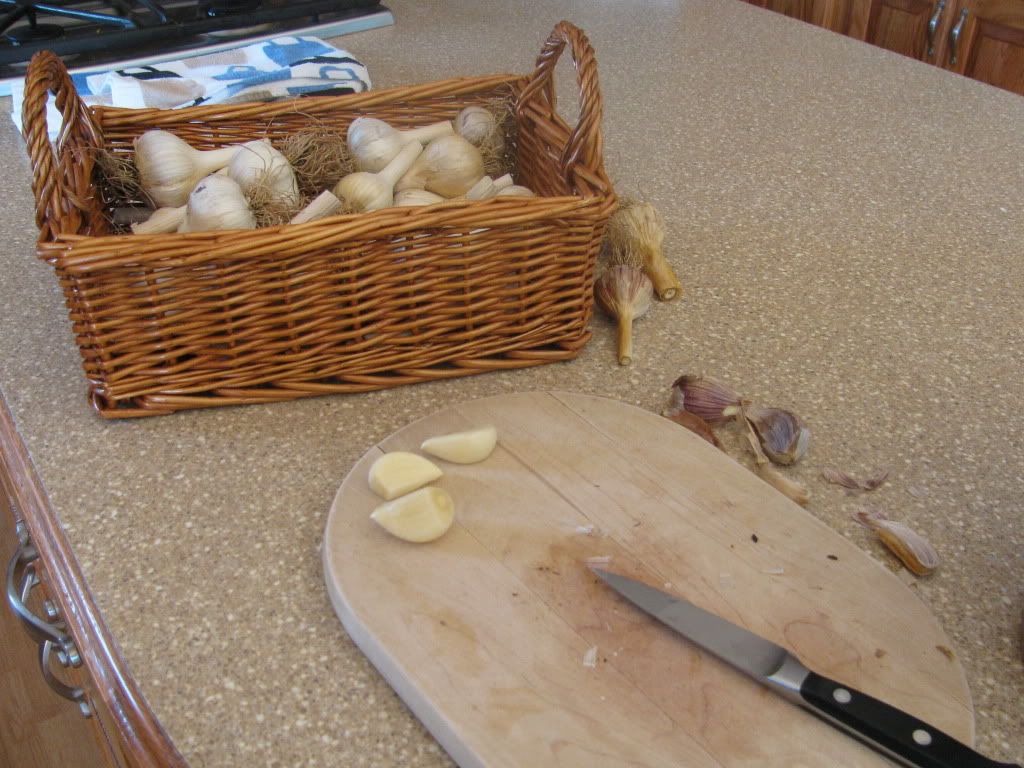
Peeling the garlic and trimming off the root end

I won't lie: the first step of the process is very tedious. Gather your heads of garlic and separate them into cloves. Then, peel the cloves and trim off the root ends. One reason I have mostly used pre-minced canned garlic for all these years is so I don't have to deal with the sticky, papery, garlic peels. I peeled so many heads of garlic this time that my fingers were covered with garlic juice. The peels then kept getting stuck to my fingers and transferred to the clean garlic cloves, cutting board, and pretty much everywhere else in the kitchen. It was a mess, but the good news is that the rest of the procedure is really, really easy.


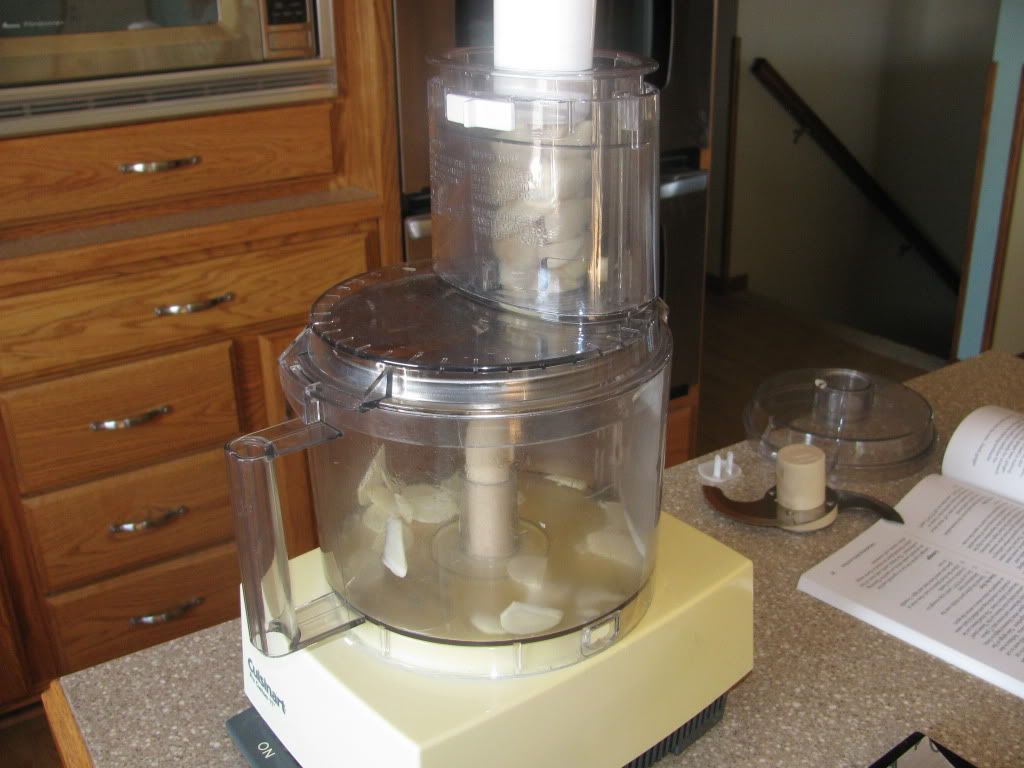
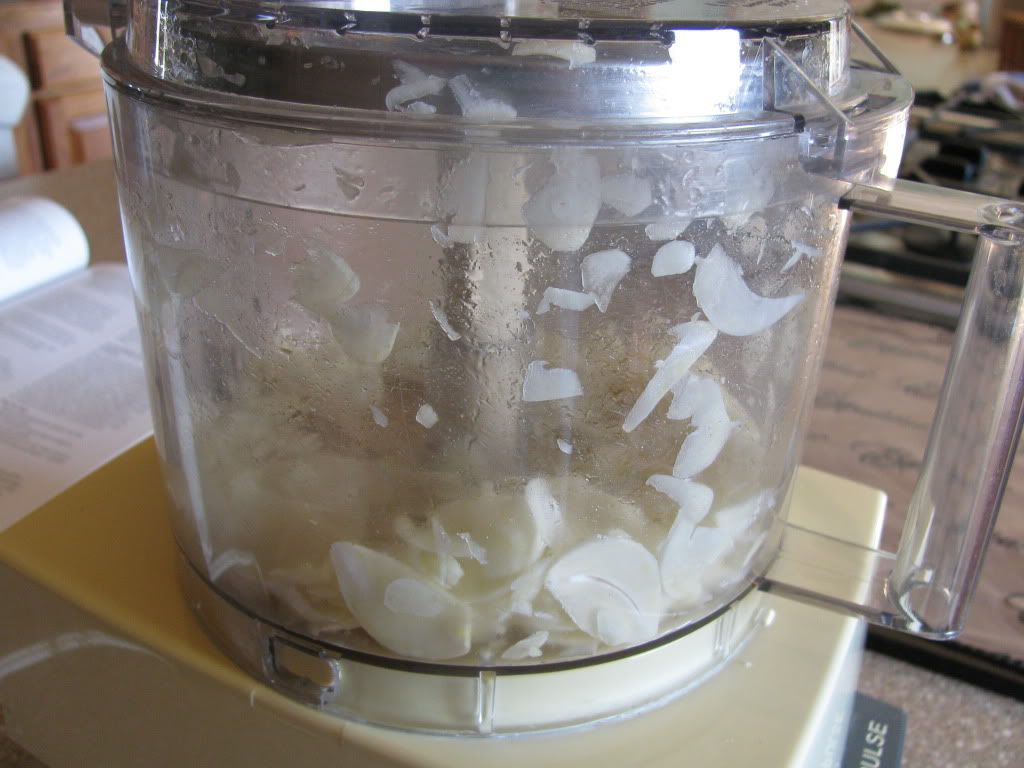
I used the slicing blade on my food processor to slice the garlic into uniform pieces

Now you need to slice your garlic by hand or with a food processor. You can mince the garlic into smaller bits if you desire, but be aware that they may fall through the mesh of your dehydrator screen.


The food processor makes quick work of this task

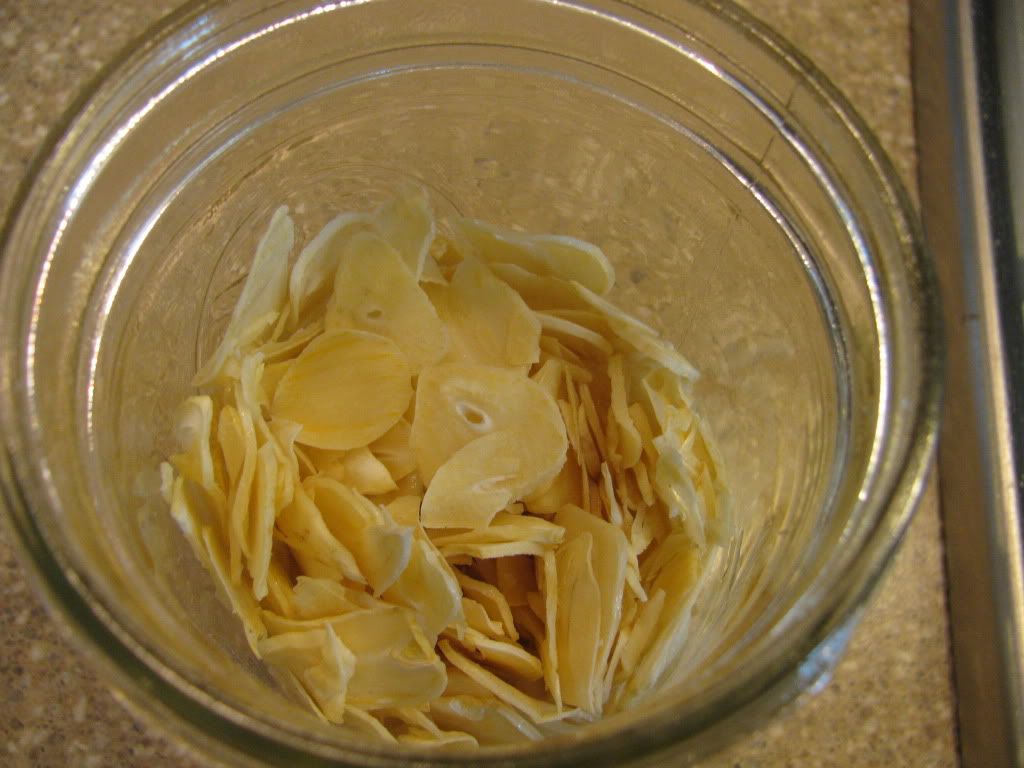
Once your garlic is sliced, it's time to dry it. I have an Excalibur food dehydratorand I looked up the correct temperature to dry garlic in my owner's manual. I set the thermostat at 105 degrees and placed the garlic slices on the drying trays. I was worried that some of the garlic pieces were small enough to fall through the trays as they dried and shrank, so I lined the trays with plastic wrap before I put the garlic on.  I checked on the garlic every few hours and stirred it once. It took about 8 hours before it was completely crisp and dry.


The finished product

If you don't have a dehydrator, I have also read about people drying garlic in the oven. The lowest temperature my oven goes to is 170 degrees, so drying garlic in there would take careful monitoring to prevent over-browning. Ever eaten a piece of scorched garlic before? Yuck! I would turn your oven to the lowest temperature it goes, stir often, and consider propping the oven door open a bit.

What do you do with dried garlic? 

  •  Throw a few pieces into a soup or stew. It will reconstitute while it cooks and lend its flavor to the meal. You might want to fish the larger pieces out after you're done cooking the dish, though, because these babies pack quite a wallop. 
  • Grind the dried garlic in a food processor or spice grinder to make your own garlic powder.
  • My favorite: Soak a clove's worth of dried garlic in some warm water until soft. Mince and use in recipes in place of canned minced garlic!  

Enjoy! 

Saturday, August 11, 2012

I Need Cheered Up! Plus, Egg Taste Test and Poultry Drama

I feel like I am not progressing very far in my preparedness efforts these days.

Our garden has been severely stunted by the unrelenting heat, drought, and insect pressure, so it hasn't produced nearly as much as it should. I'm thankful we are getting enough tomatoes to slice and eat on sandwiches, but my vision of massive amounts of canned tomato sauce is not to be this year. Most of the things that I was planning on freezing or canning have fried in our record-breaking heat. 

That's depressing. 

I also haven't bought a lot of preps because I spent my entire June-September prepping budget on items for the duck house build/chicken moat expansion. My Poultry Acquisition Disorder has definitely taken a toll on prepping. 

Sigh. Can somebody cheer me up and make me feel like I'm not a prepping loser? 

------

Alright, enough whining. 

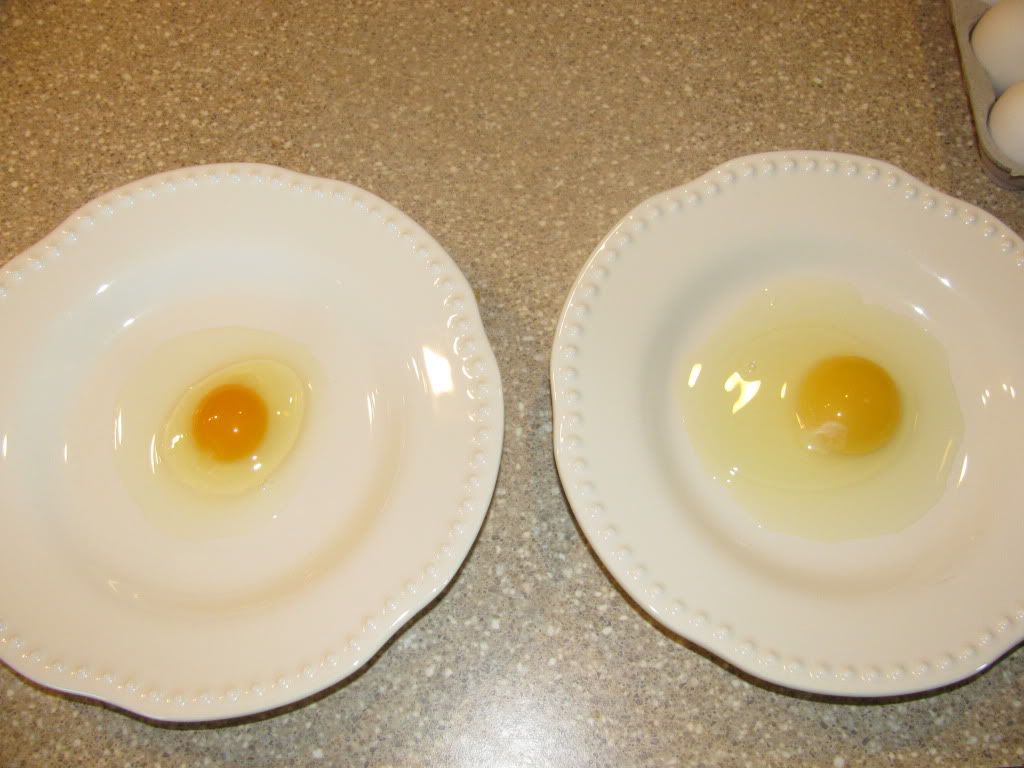
The last time I blogged, I showed you all the first egg my dear little pullets laid. Not long after I completed that post, I cracked it open and compared our egg to a run-of-the-mill one from the grocery store. 

Our egg on the left, store egg on the right

Our egg was definitely smaller than the store-bought egg (1.3 oz vs. about 2 oz) but look at the difference in the color of the yolk and the firmness of the white! The store-bought egg is positively runny while our egg stands up nice and tall. 

I fried each egg separately and had the family do a taste test. Yes, all of us just had to sample that little bitty egg! The difference between the eggs was incredible. Our egg was so much more flavorful and almost buttery-tasting in and of itself. The store-bought egg was positively pallid in comparison, both in color and in flavor. 


The eggs just keep coming!

Since that first day, we have been nearly swimming in eggs. My girls are currently averaging 8 eggs a day, which is plenty for us and some to give away. Hubby Dear has people at work asking for eggs, so we might end up selling a few dozen here and there, too. I also plan to explore other methods of egg preservation so that we will never run out of eggs during the winter months when production will slow down. 


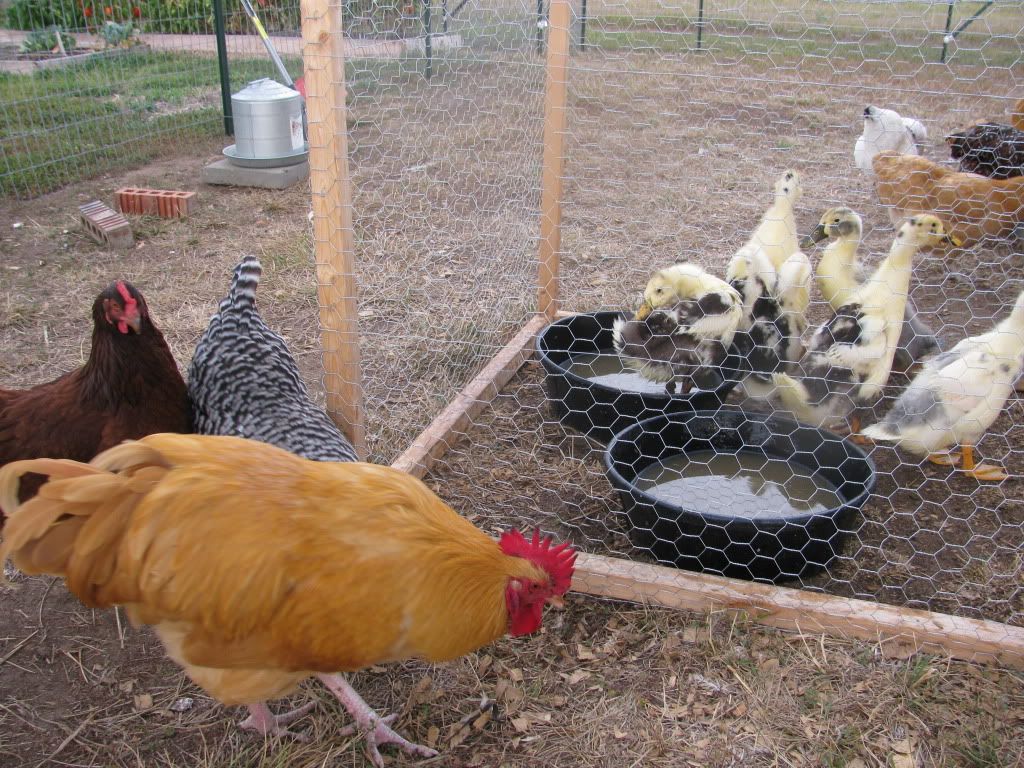
The ducks finally moved outside at four weeks of age

The same heat that destroyed my garden also prevented my five remaining ducklings (I gave away four to friends) from moving outdoors. I didn't spend 28 days nurturing these guys in an incubator only to have them fry in the 110 degree temperatures! The duck gurus I asked were very adamant that ducklings do not do well in such hot weather, so they stayed indoors for four weeks. Oh. my. word.  I can't even type out the horrors I had to clean out of that brooder in my bathroom. Finally I had enough and moved them outside one evening when it was "only" supposed to be in the upper nineties the next day. 

Ducks are creatures of habit and so the move scared them quite a bit. 


Goldilocks checking out her new neighbors

Plus, they now had nosy, loud neighbors who were very interested in everything the newcomers were up to. That would be intimidating to anyone. 


Puppy, Freckles, Morning Glory, Hyacinth, and Peek-a-Boo 

After a couple of days, the ducklings were having a ball making a mess in their new home. See how brown the grass is? We need rain desperately!

Will Doofenshmirtz be nice to the ducklings when the temporary pen gets removed next week?

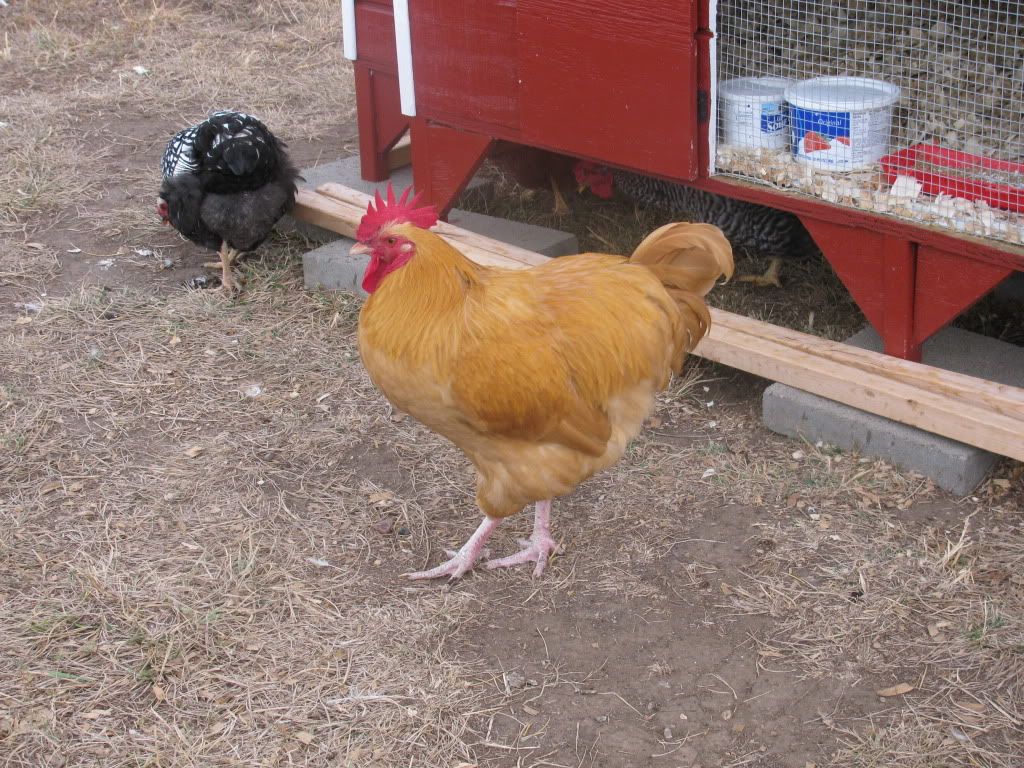
Our rooster, Doofenshmirtz, is on probation. First, he was overly eager to mate with the pullets and would viciously attack them. He got that under control but then he started to attack my two oldest children when they came to collect eggs or visit the ducks. He does not mess with Hubby Dear or I, just the girls. 


Handsome brute

We are seriously torn as to whether we should keep Doof or eat him. The farmers around here say that's just how roosters are. Since we want a rooster so that we can hatch our own chicks, that's what we have to deal with. But I also don't want to ruin the pleasure my children have in interacting with the chickens and ducks. Tough decision. 

I went ahead and ordered processing equipment in case we decide to eat the brute. We need to get killing cones, knives, and other butchering paraphernalia anyway because we are definitely eating the turkeys. 


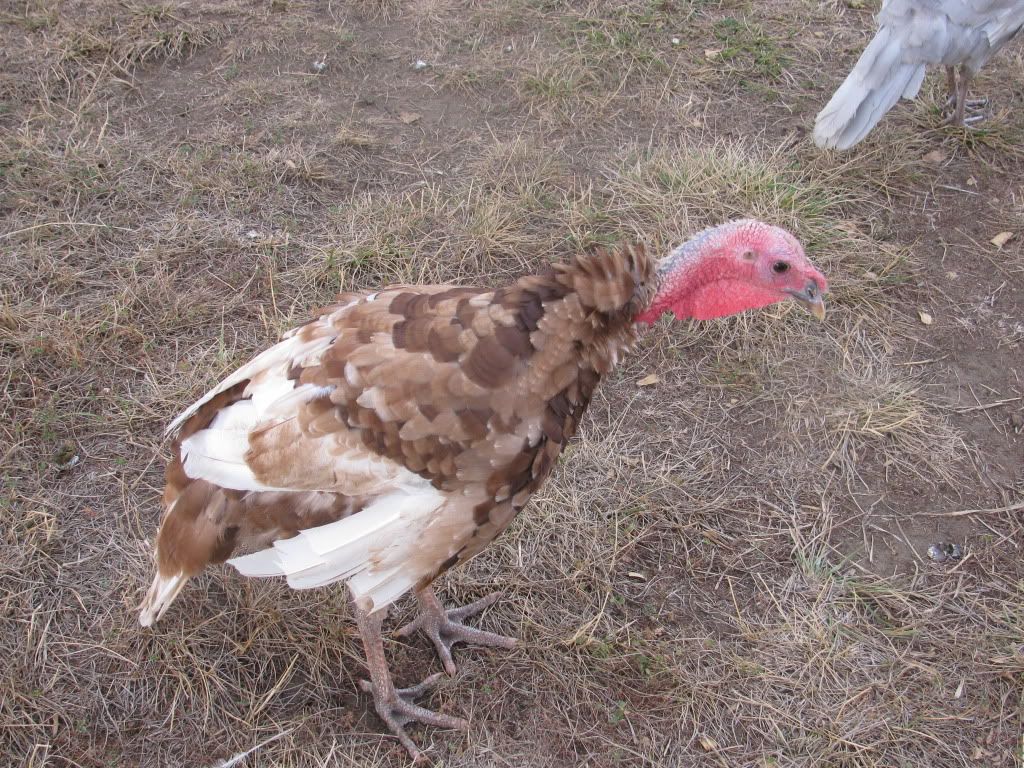
One of the Bourbon Red turkeys

Oh, the turkeys. We decided to try and house them with the chickens until butchering time. Since they are getting too big to get in the pop door (and are to ornery to do it themselves, anyway), every evening I get the joy of catching the beasts and throwing them into the chicken coop. They aren't too hard to catch, though they do shriek and kick their legs ineffectually when I pick them up. I won't miss that chore once they are gone. Picking them up every evening makes me keenly aware of just how much they need to grow before we butcher them. I feel like the witch in "Hansel and Gretel", feeling their keel bones every evening to see if they are fat enough yet to eat!  

Although it has definitely taken me a bit off course from my preparedness goals, I do so enjoy working with our livestock. I've even begun to dream about building a small barn with a brooder room, attached greenhouse, and room for a goat or two. 

Thursday, July 26, 2012

First Egg!

The onset of lay will vary greatly from chicken to chicken. In general, heavier, heritage breeds take longer to start laying (up to 26 weeks) while lighter breeds and special egg-laying hybrids tend to lay earlier (16-18 weeks). My chickens are 19 weeks old and they are all heritage breeds so I have been trying not to get too impatient.

Look at what Mini Me brought me this afternoon!

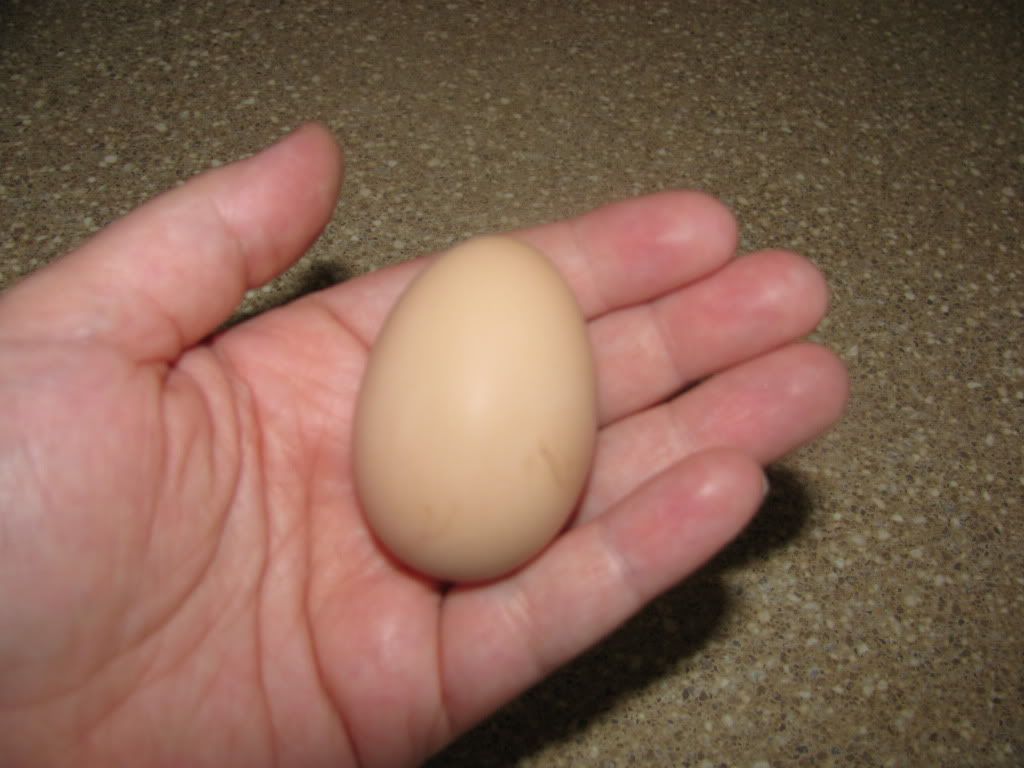
Our first egg!

I thought she was punking me when she rushed up to the house, saying she had an egg. Nope, it was the real deal!

A pullet's first eggs are smaller than the size she will ultimately lay. This one is indeed tiny.

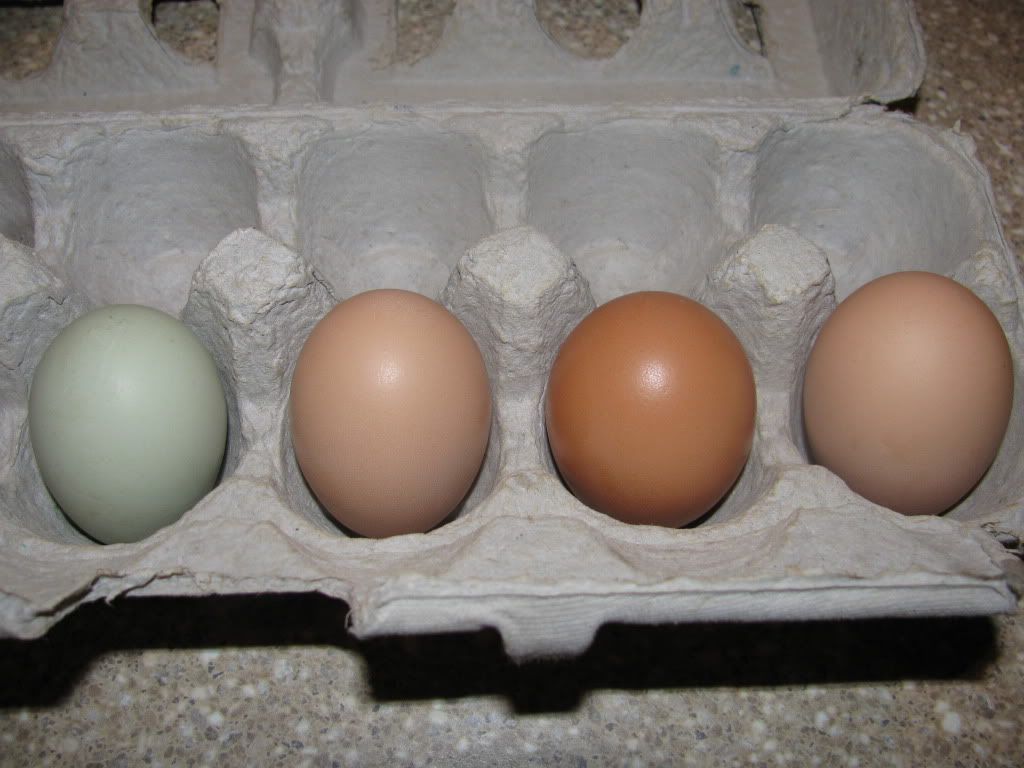
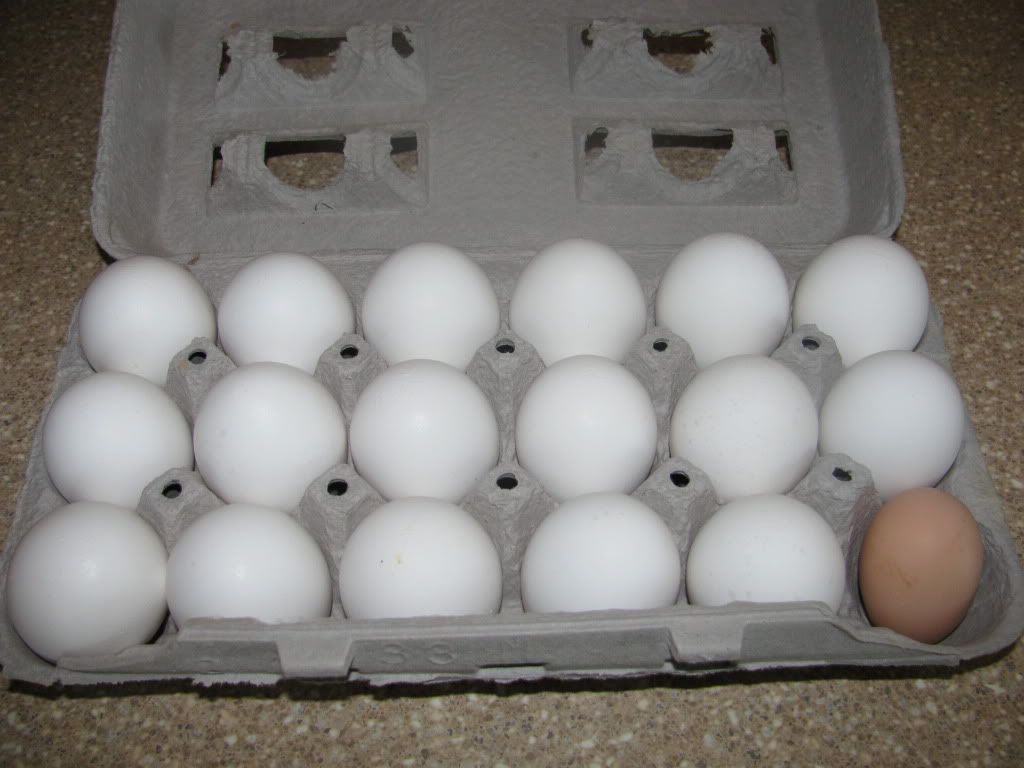
Our egg in a carton with large grade eggs from a grocery store

It weighs 1.3 oz. which puts it in the "pee wee" category. I didn't know there was an official size of egg called peewee until I looked it up!

The shell is nice and hard and symmetric. Sometimes new layers can lay strangely-shaped or soft eggs.

I can't wait to crack it open and have a taste of my first farm fresh egg! I'll write a post about that another time; I just couldn't wait to share today's news. It's amazing how excited I am about something that just came out of an animal's rear end!

Monday, July 23, 2012

A Learning Season

With the wildfires, persistent drought, and blazing heat over much of the country, this has been a hard summer for many. The farmers in my area are really suffering. Animals are dying and many folks' crops are a total loss.

Our garden and yard are feeling the effects of the heat as well. Thankfully, we do not have to depend on our garden for our living or our survival, but it is depressing to put so much time and energy into something and not reap the rewards.

A handful of heirloom tomatoes, peppers, and strawberries from our garden. 

Even though our harvest has been minimal, it has been a season of learning for me. I've gleaned some wisdom from our challenges that I'd like to share with you. Feel free to chime in with what this season may be teaching you.

  • Don't have all your eggs in one basket. Diversify the crops you plant because you never know what will thrive in the unique weather and pest conditions of each year. 

Garlic did very, very well for us this year

It's too bad you can't survive on garlic alone, because we did very well with that crop this year. We have plenty to eat fresh, dehydrate, and save to use as seed garlic for next year's crop. We also got an excellent cabbage crop (I made and froze lots and lots of bierocks). Our onions and blackberries did pretty well. We haven't harvested our potatoes yet, but they look to have done well. Everything else has struggled.

Hubby Dear and I are making a list of nutritious plants that have proven to do well in adverse conditions and are going to make sure they are part of our gardening plans. Cabbage, black oil sunflowers (to press for oil or use as poultry food), and potatoes are on the list so far. 

  • Diversify your preps. Don't just stock up on a year's worth of food for your family and think you're set. Learn how to produce your own food now because, as you can see from our example, there's no guarantee of success even after years of experience. 

  • If you can, diversify even further and get some livestock

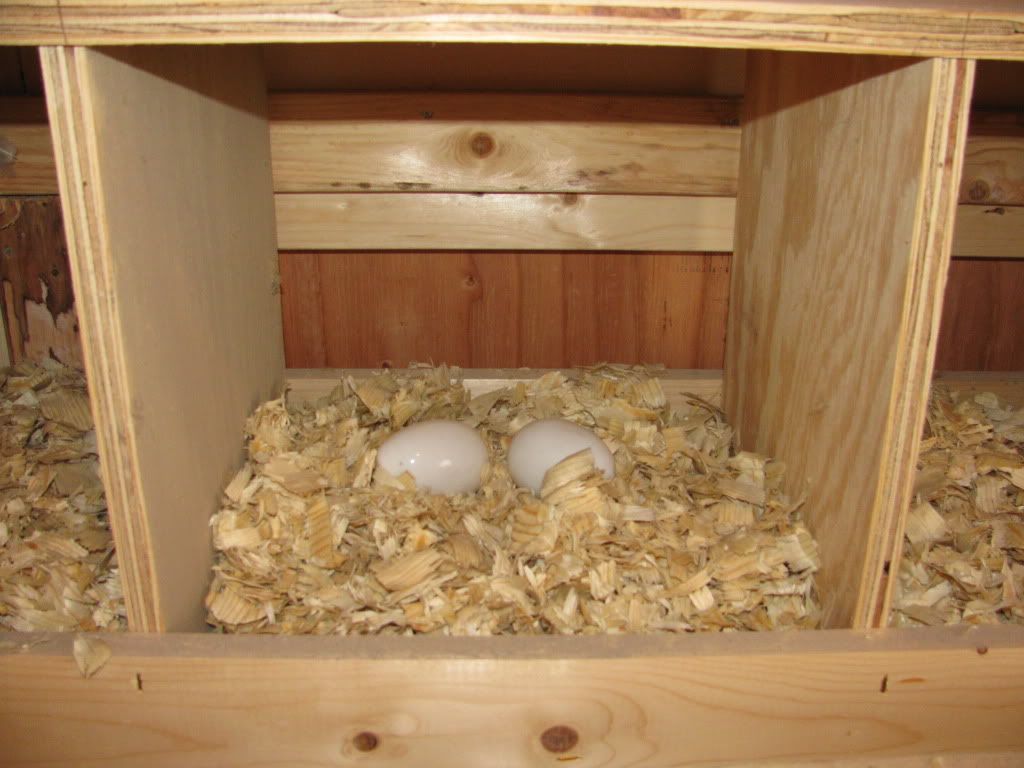
These are dummy eggs I put in the nest boxes to encourage my girls to
lay there. They should start laying soon. 

If you've never done it before, you'd be surprised how easy it is to keep chickens. If you maintain them properly, they don't have to be smelly or noisy and they truly are less work than a dog!  I can't say the same for turkeys and ducks, but they aren't too bad. If it's legal in your area, start with chickens, the "gateway poultry". 


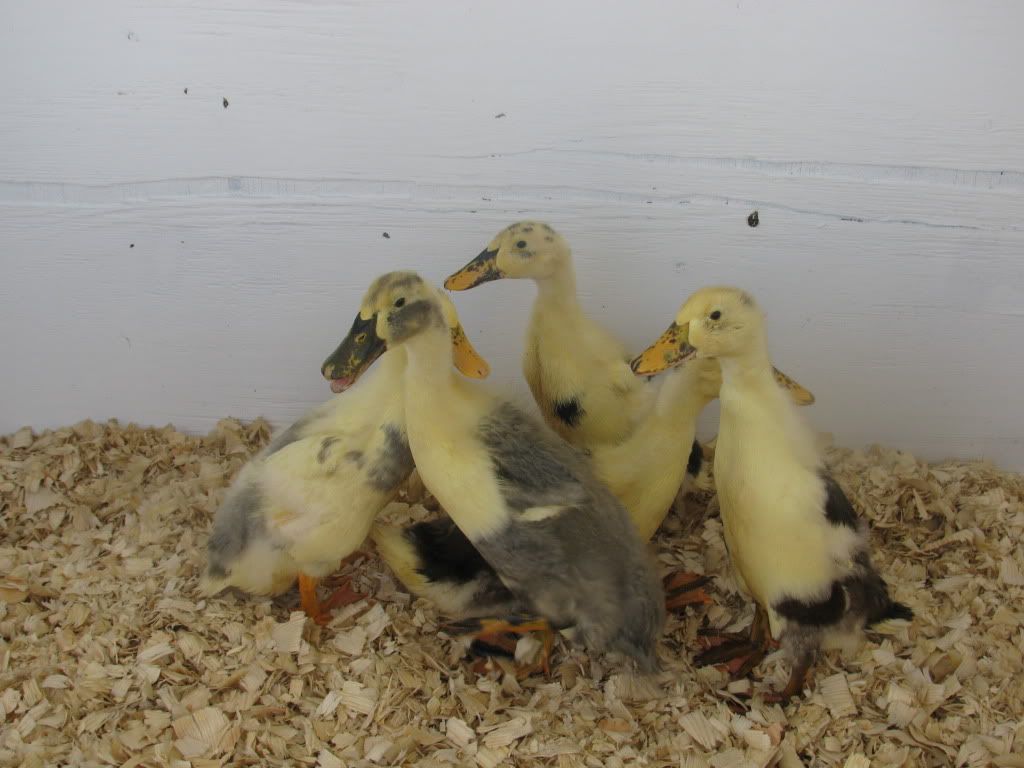
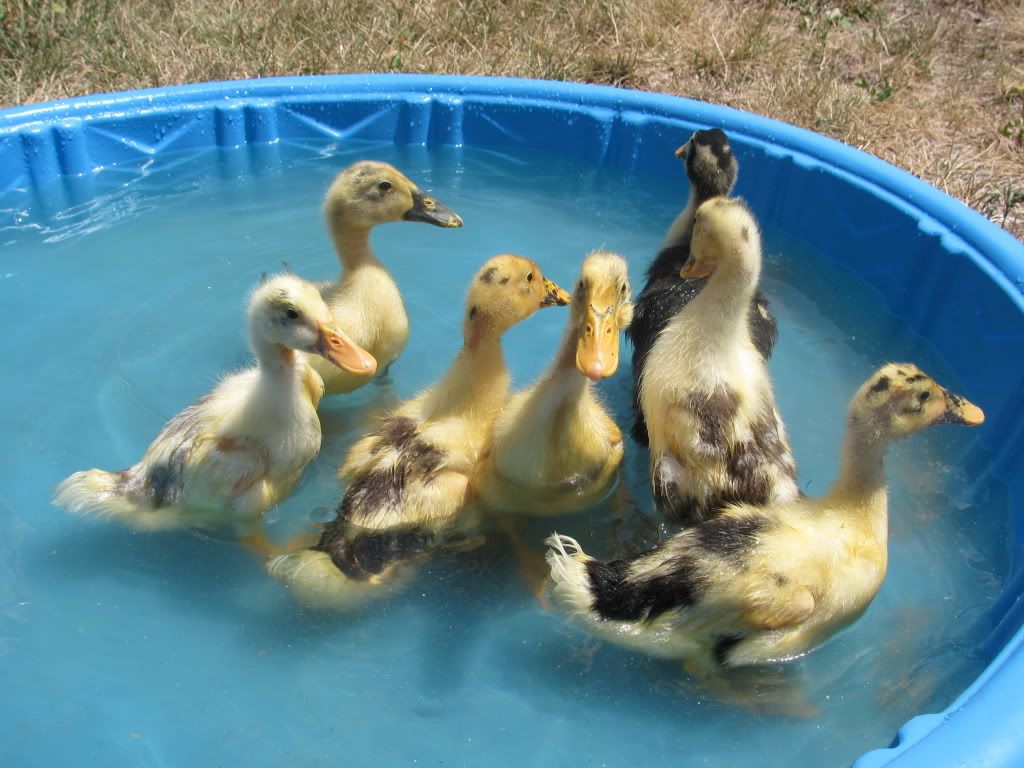
Ducks grow fast. Our ducklings are two weeks old and will be nearly full grown in a
few short weeks. Ours are pets, but Ancona ducks are excellent
layers and table birds and are capable of subsisting primarily on forage.
      
  
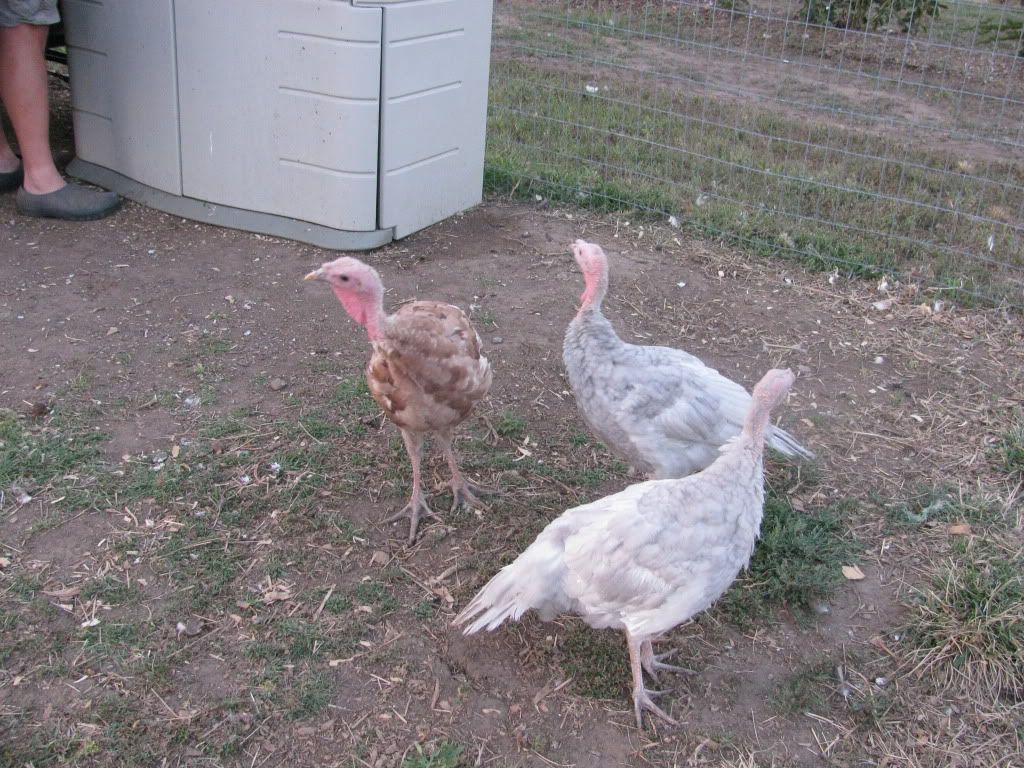
Three of our 10 week old turkeys.


  • Speaking of livestock, despite your best efforts, every now and then one of your animals will get killed. One day one of our chickens (the Easter Egger named Lita Ford) just disappeared. There was no sign of a struggle (feathers, blood, etc.) or a hole under the fence. She was just gone. The next day we saw four of our other chickens fly out of their run, so we now think that Lita probably flew out and was snagged by a coyote or dog. We're working on upgrading our run yet again so this won't happen. More trouble, more money. 

The day we noticed our chicken gone, there were lots of raptors in the skies above our homestead
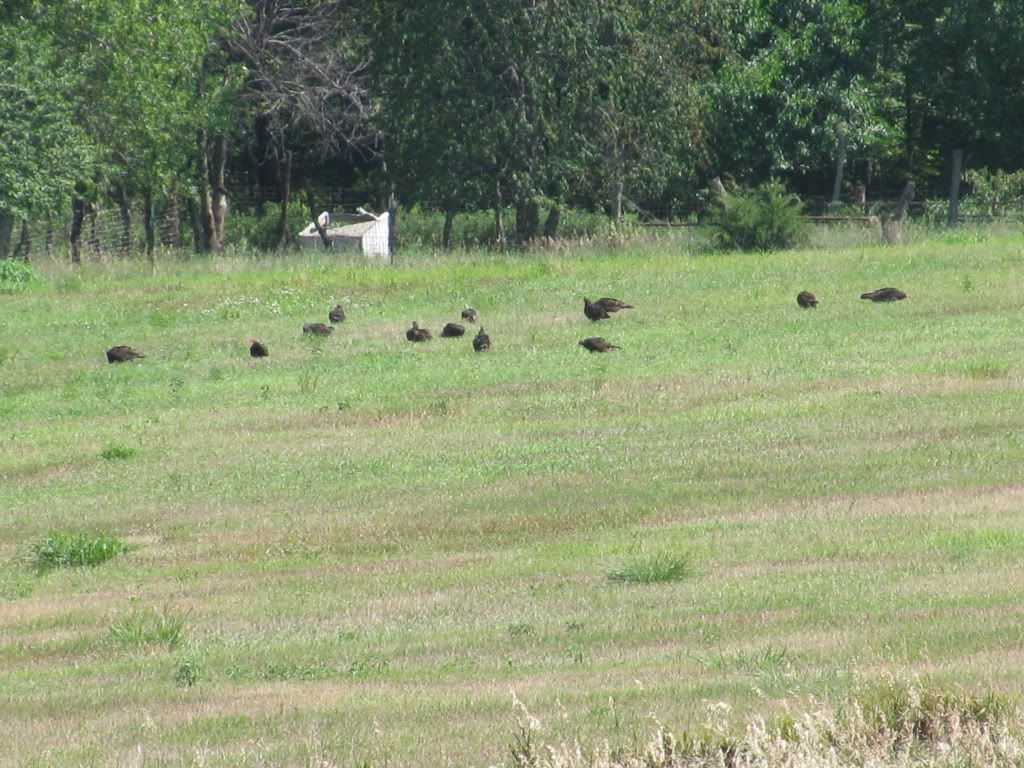
and these big birds (I didn't think they were turkeys - buzzards, maybe?) in the pasture next door.
I didn't investigate further. :(


  • Be prepared for a multiple years of hardship. Our hot and dry weather started last July. Since then, we have had unrelenting heat and drought. That's kind of nice when January feels like March, but it has real consequences. You need to have a plan to overcome it. I'm starting to think that one year of food storage isn't really enough for our family. I don't know where I'll come up with the storage space for all the food I intend to store, but I'll just have to figure it out. 

  • Buy more seeds than you think you'll need. Especially when the weather is wonky, you'll need extra seed. We had to replant many of our crops and regret not buying more seed during our big seed purchase last winter. Seeds are cheap, so stock up ahead of time! 
Oh, and those cans of survival seeds? They aren't enough. Yes, I have one that is supposed to grow a huge garden of heirloom vegetables. I don't regret that purchase, but you can bet I'll be getting some backups in place. What if you had to replant your survival garden and didn't have the seeds to do it?  

  • Be able to identify common garden pests and have remedies on hand ahead of time.  Plants are especially susceptible to pests when they are under stress from heat and lack of water. We have had our first encounters with squash vine borers and aphids and, thankfully, we had items stored that could treat them. I like the book Good Bug Bad Bug because it has photos of common garden insects and suggests organic treatments for each kind of pest.

  • Spend time in your garden. Observe your plants carefully and act early if you notice a problem.

  • You can never have enough water stored. Our rural water district is getting way too much of Hubby Dear's paycheck because we are irrigating non-stop. If we had invested in rain barrels, we could be using stored water. Even the little bits of rain we've been getting add up to a surprisingly large amount when you collect everything that falls on your roof. 

What have you learned during this season? 

Wednesday, July 11, 2012

Are you prepared to handle Mount Washmore?

My week and a half without a functioning washing machine ended Monday afternoon. Let me tell ya, you really learn appreciate the conveniences of modern life when you have to do laundry for six people by hand! I'm glad that I faced this little challenge when I still had hot water flowing from from the tap and power to run the dryer.

This caused me to put some thought to the essentials you need to do your family's laundry in an emergency scenario. Clean laundry might not be your first concern during TEOTWAWKI, but I guarantee that you will be thankful to have a plan in place.

Breathing Hand Washer
Image from lehmans.com
Basic List of Laundry Supplies:
  1. Water - Do you have enough water stored to do laundry in an emergency? I know that I don't, but I hope to remedy this problem in the next few months. I do, however, have some natural bodies of water nearby. If I collected water from these sources, ran it through a rudimentary filter to catch sediment, and then boiled it, I could use it for my laundry. Sounds like a hassle, doesn't it?  
  2. A large pot or kettle - You need to be able to heat the large amounts of water it takes to clean your clothes. I plan on using my water bath canner.
  3. A way to heat water - I hope you've already thought about how you will cook your family's food during an emergency. Woodstove, outdoor grill, butane stove, whatever - the same thing can do double duty and heat water for your laundry. Just make sure you have enough fuel on hand to do the job. Of course if you are relying on some tiny little camping stove, it might not be capable of heating huge kettles of water.  
  4. A three month supply of laundry detergent - Track the amount of detergent you use over the course of three months, then make sure you have that amount on hand at all times. Don't forget to rotate your stored detergent since it does technically expire. A quick Internet search revealed that it lasts 9 months to a year if it is unopened. 
  5. A "washing machine" - When I washed all my family's laundry by hand, it was literally with my hands in hot soapy water. It got the job done, but I was left with tired, waterlogged hands at the end of it. A minimal investment in a plunger-type hand washer would have made my life so much easier. I washed my clothes in my laundry sink. You might set aside a couple of clean five gallon buckets for this purpose if you do not have a dedicated laundry sink. 
  6. A wringer - This is a more pricey investment, but key to a more enjoyable laundry experience. Otherwise you will have to use your hands to wring out excess moisture from your wet laundry and I can assure you from experience that you will not find wringing multiple pairs of jeans or a mound of towels to be fun. Lehman's sells two wringers ("good" and "best")and you can attach them to a 5 gallon bucket, chair, or other hard surface. 
  7. Somewhere to hang clothes to dry - An outdoor clothesline or indoor drying racks. Check out all the options that Lehman's has. No, this post was not sponsored by Lehman's! I just really like them. :)

For extra credit: 


You'll note that I haven't addressed ironing. That's because I don't iron if I can possibly help it! If ironed clothing is important to you, Lehman's does has a selection of irons you can use off the grid.

Have you ever had to wash clothes by hand for an extended period of time? What are your must-haves to do laundry in an emergency situation? 

Monday, July 9, 2012

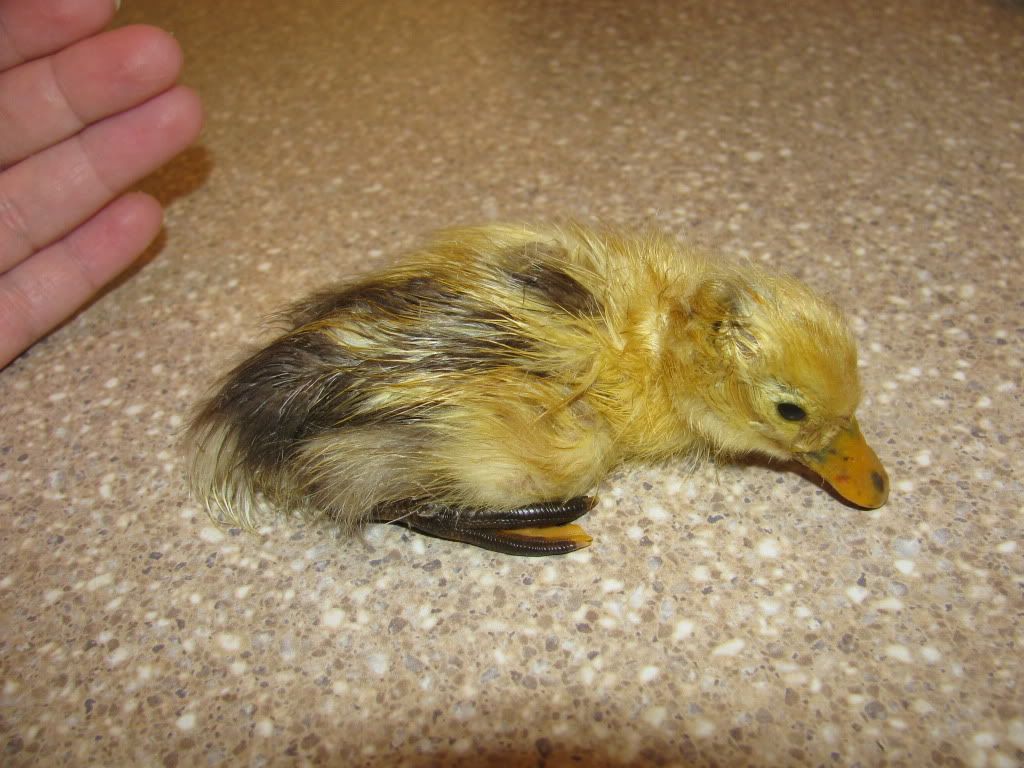
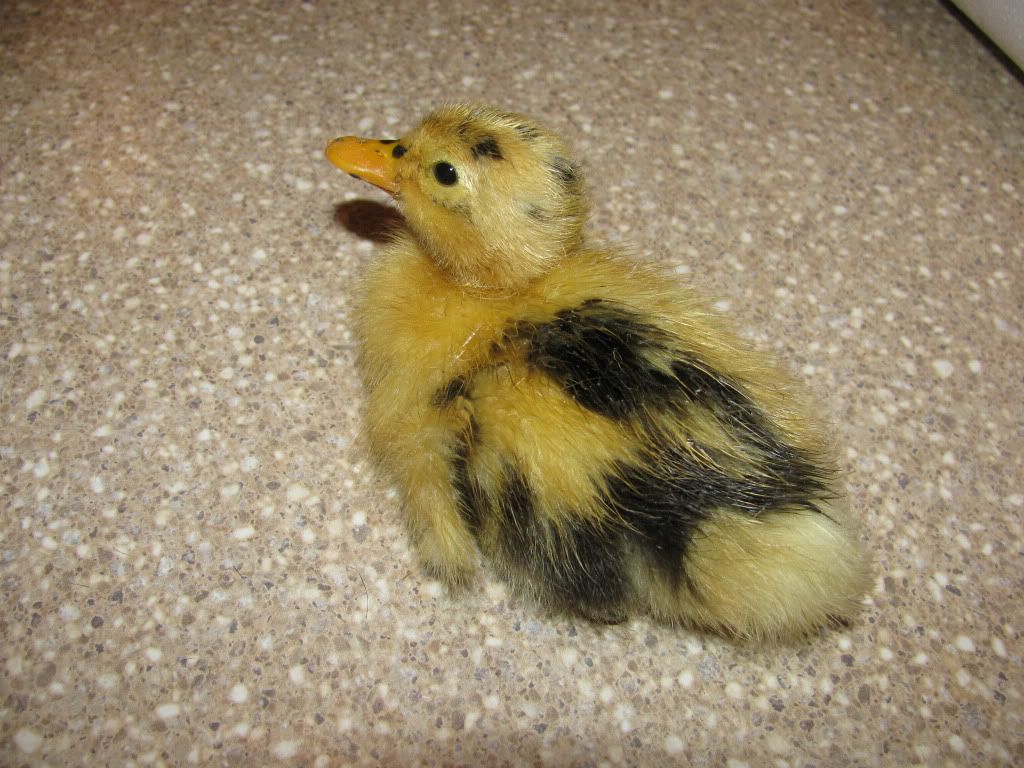
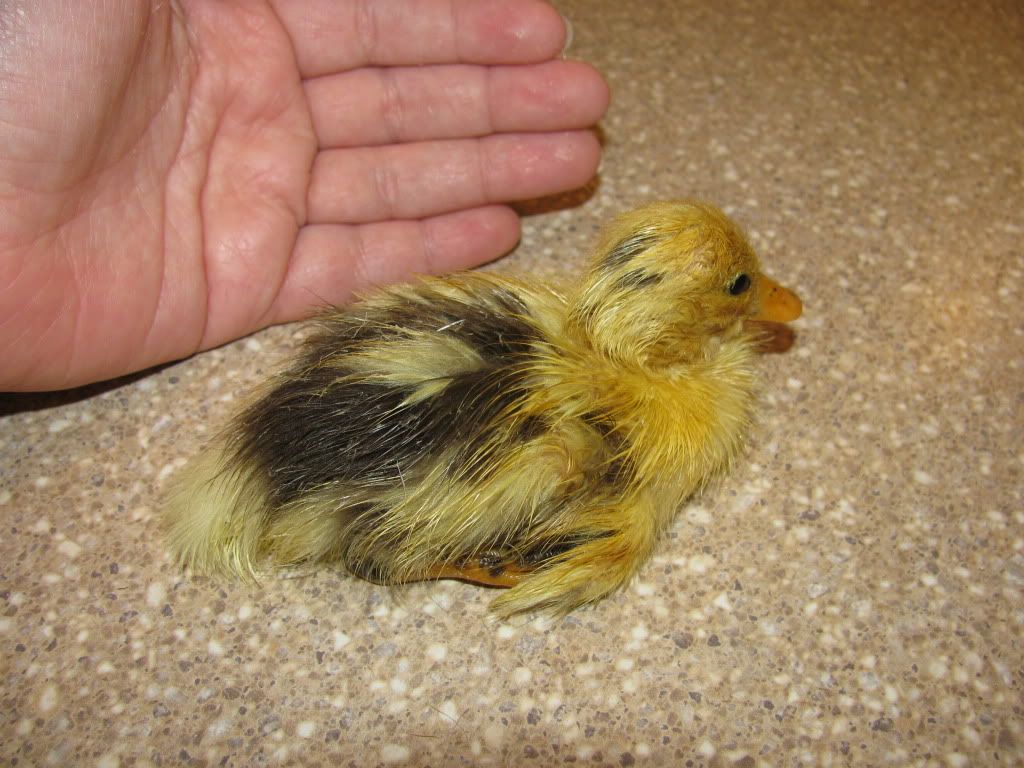
Ancona Ducklings!!

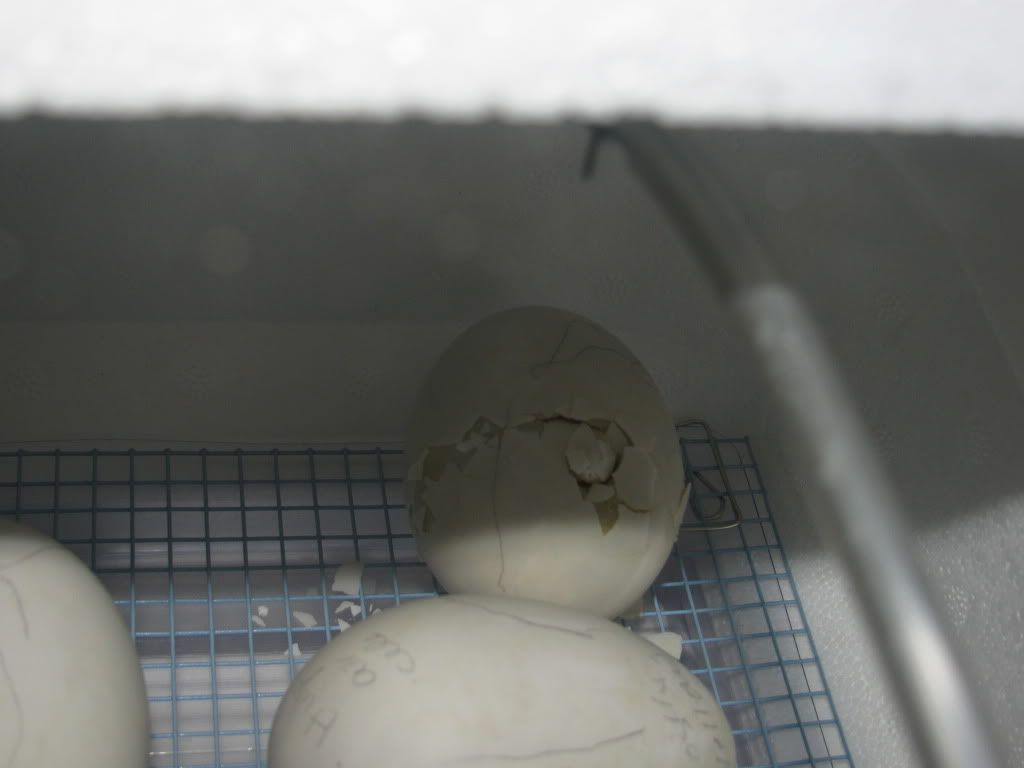
After 28+ days of waiting, we have nine gorgeous Ancona ducklings! They were due on July 5th. There were lots of pips that day, but none of the eggs seemed to be moving closer to hatching. Nevertheless, I slept on the couch so that if any of the babies hatched in the night, I could hear them.

4:30 AM on July 6th, I was in the middle of strange, poultry-related dream that included Terry Golson (from Hencam) and I going antique shopping.  Some persistent peeping penetrated my slumber and I ran to the kitchen. This is what I saw:


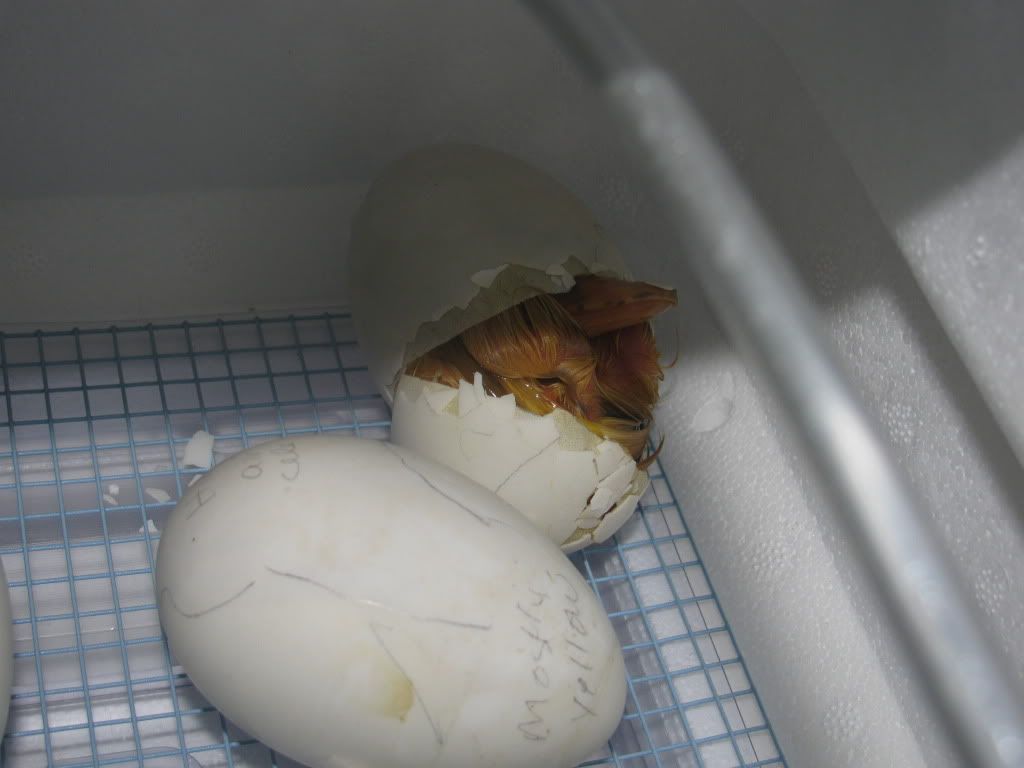
An egg is unzipping!

One of the eggs was unzipping, which means that the duck was turning around in the egg and poking holes in the shell. Boy, was it loud! 


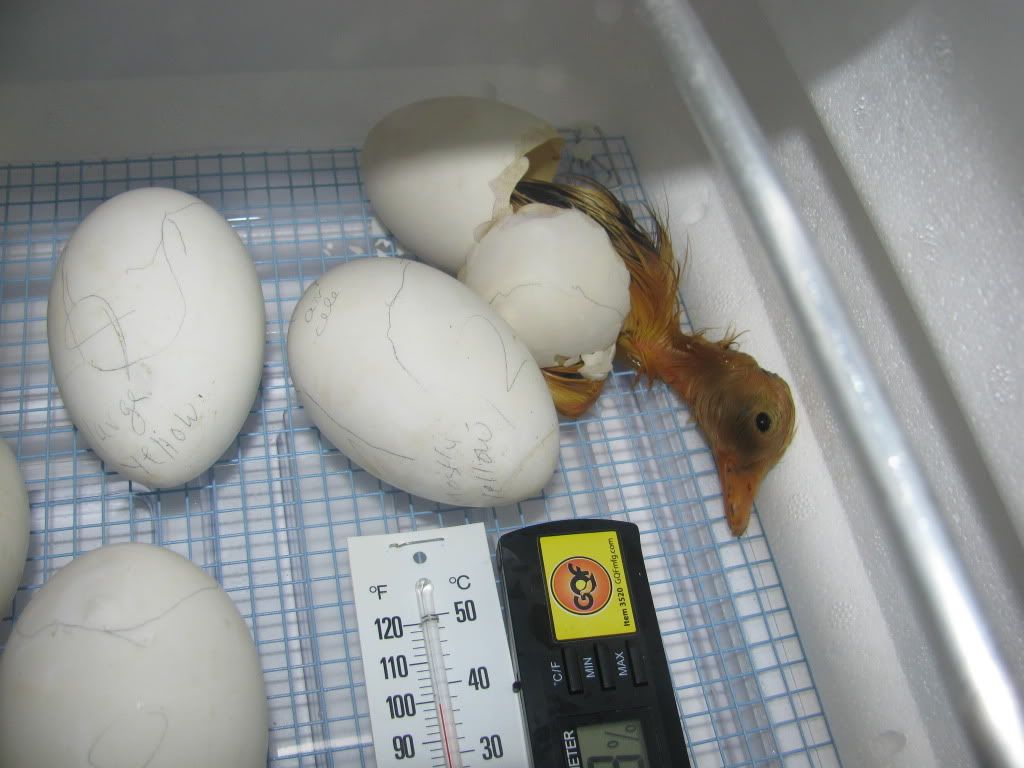
Pushing out


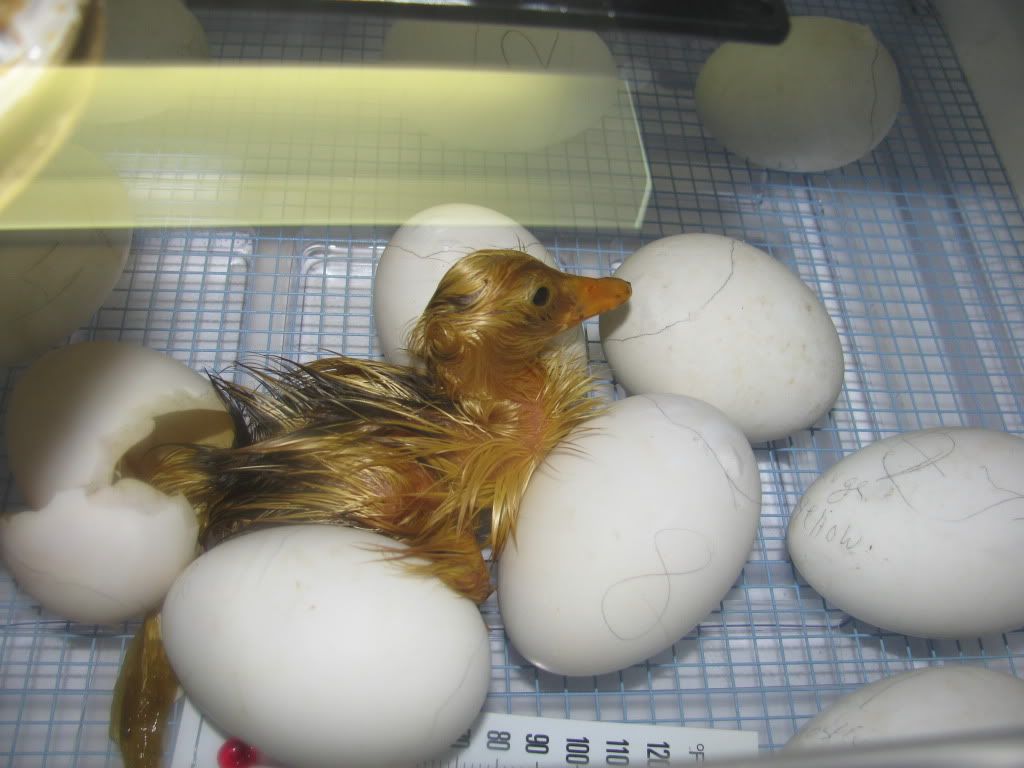
Welcome to the world, little duck! 


This little duck was full of energy. Not long after he hatched, he was running around the incubator, using the other eggs for soccer balls.


Duck #1 loving on Duck #2

When more started hatching, Duck #1 started harassing the occupants of the other eggs. He kept poking his bill in the zipped portion of the eggshell and making the other duck squawk. It is recommended that you keep newly hatched ducklings in the incubator for up to 24 hours before you transfer them to a brooder. This allows them to stabilize and dry off. We had to remove Duck #1 after just a couple of hours or he could have potentially hurt the next couple of ducklings. He was quite a bit more frisky than they were and could have ruptured some incompletely absorbed yolk sacs.


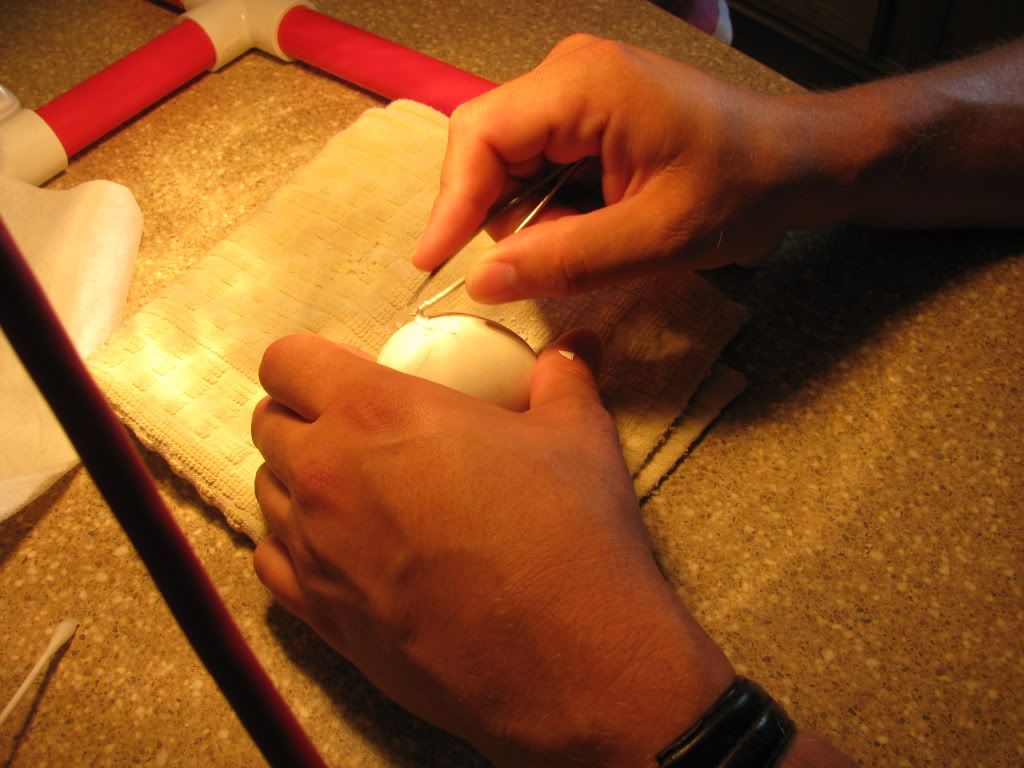
Hubby Dear performing surgery on a struggling duckling's egg

A few of the ducklings showed signs that they were struggling. There are a couple of schools of thought about helping ducks and chicks to hatch. Some say you should just let nature take its course, survival of the fittest, as it were. Others say that it is OK to gently assist ducklings, especially if the humidity might have been wonky and the chick or duck could have dried out a bit and got stuck to the membrane of the egg.

We decided to help out those ducks that were clearly in trouble. We set up the brooder lamp and warmed a towel to rest the egg on. Hubby Dear took a pair of dull tweezers and gently chipped away at the shell while I swabbed warm water on the membrane with a Q-tip. You can read about the technique we used here.


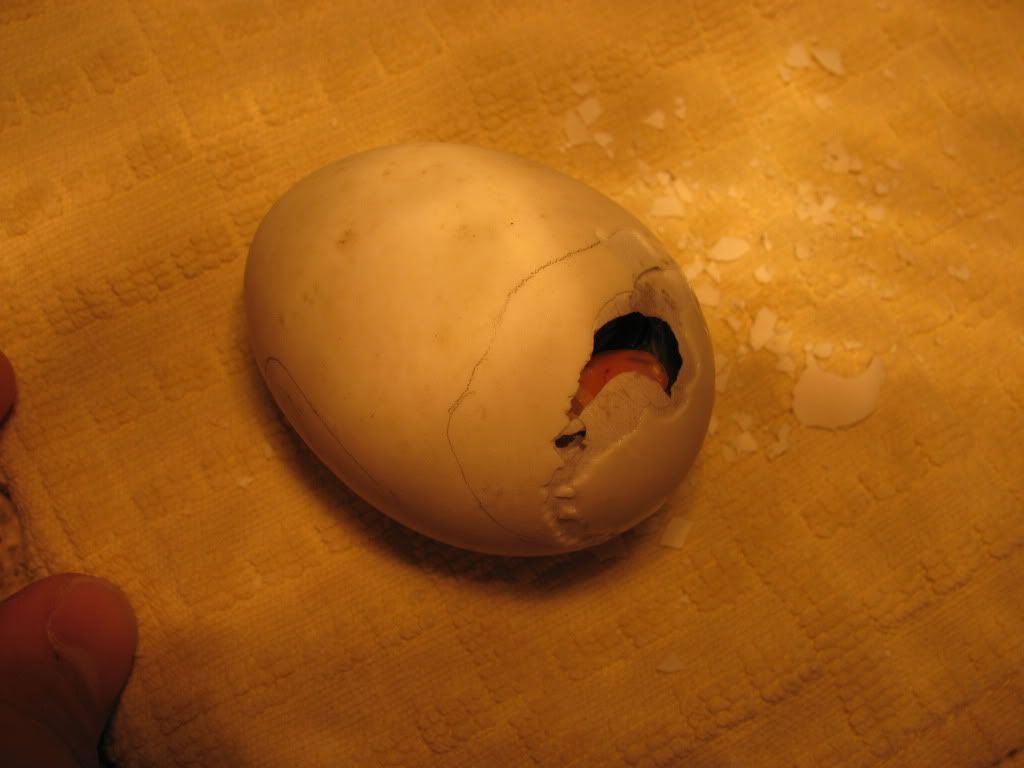
We opened the shell ever so slightly. Then we put it back in the incubator for an hour or two. 

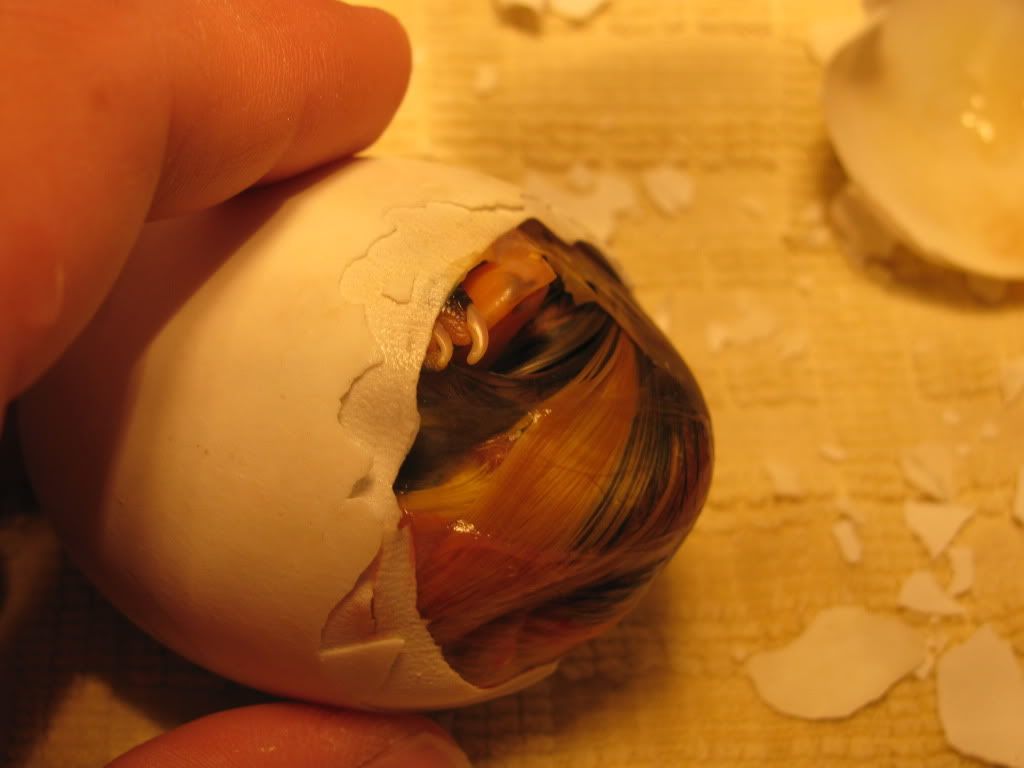
We moved very slowly, trying to give the duckling time to do most of the work. A couple of the ducks needed a lot of help, some required just a bit, but most hatched out entirely on their own.

See the tiny toenails and the bit of bill?


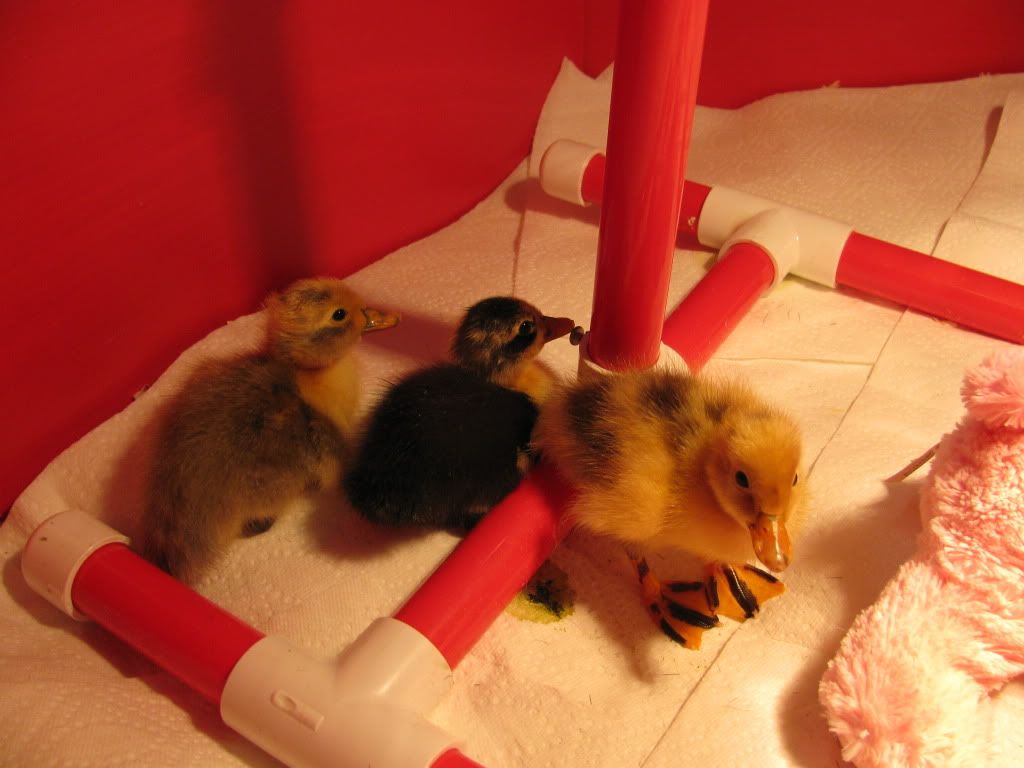
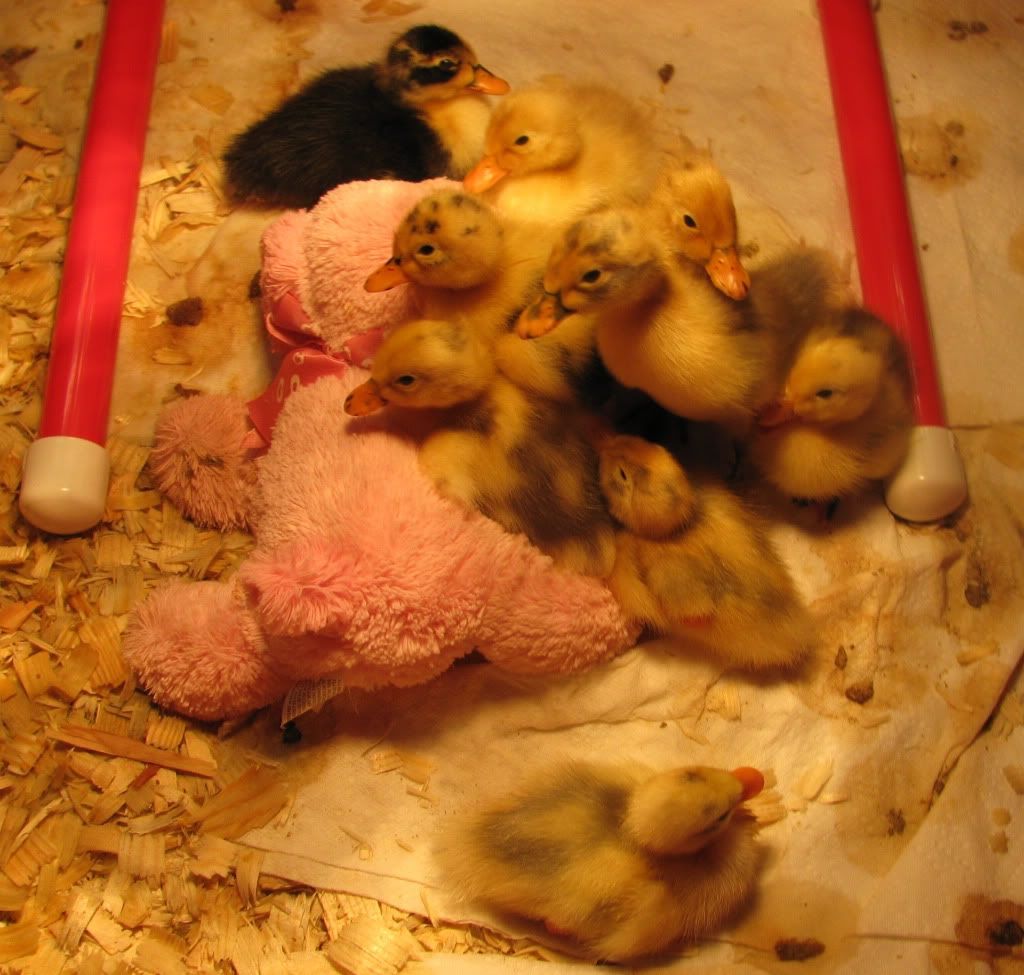
The first three ducklings in the brooder. Two of the three ducks don't have enough patterning to make them ideal
examples of the Ancona breed. The duck on the right is more desirably marked. The pink thing
in the right of the picture is an old stuffed animal we gave them to cuddle.

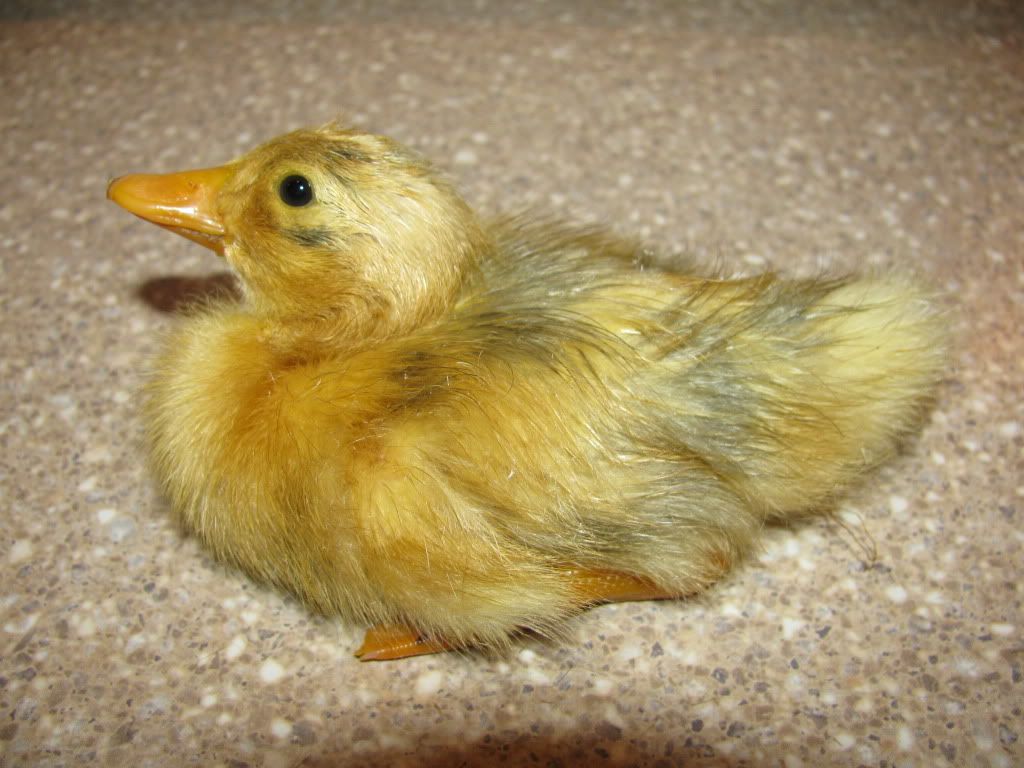
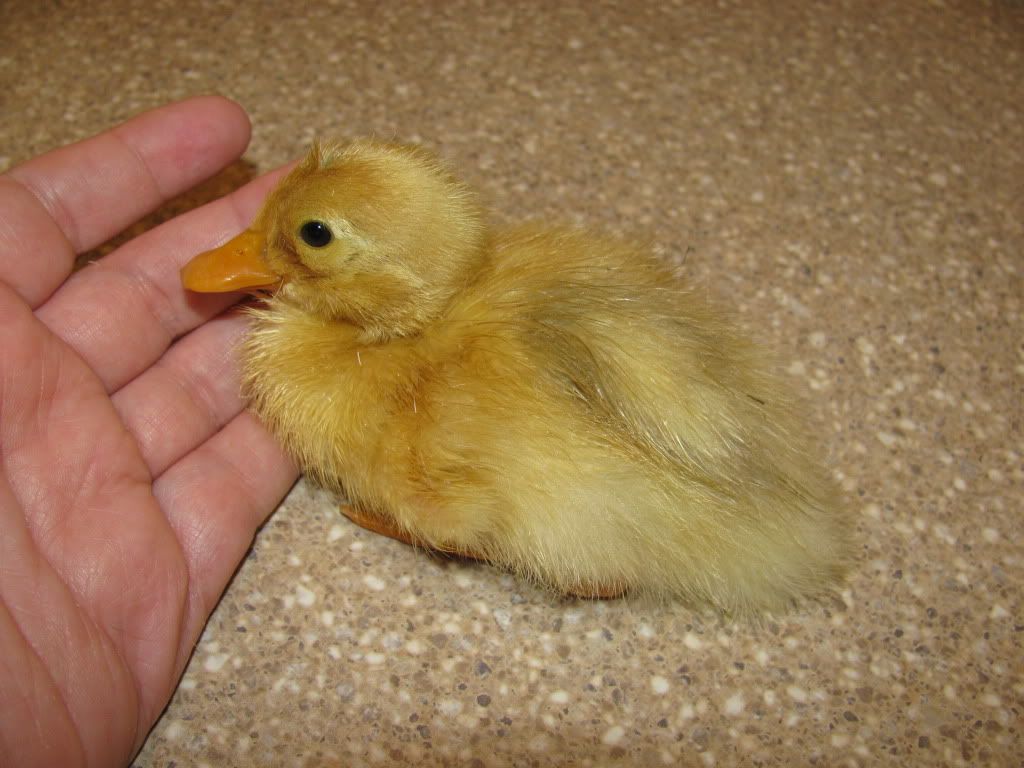
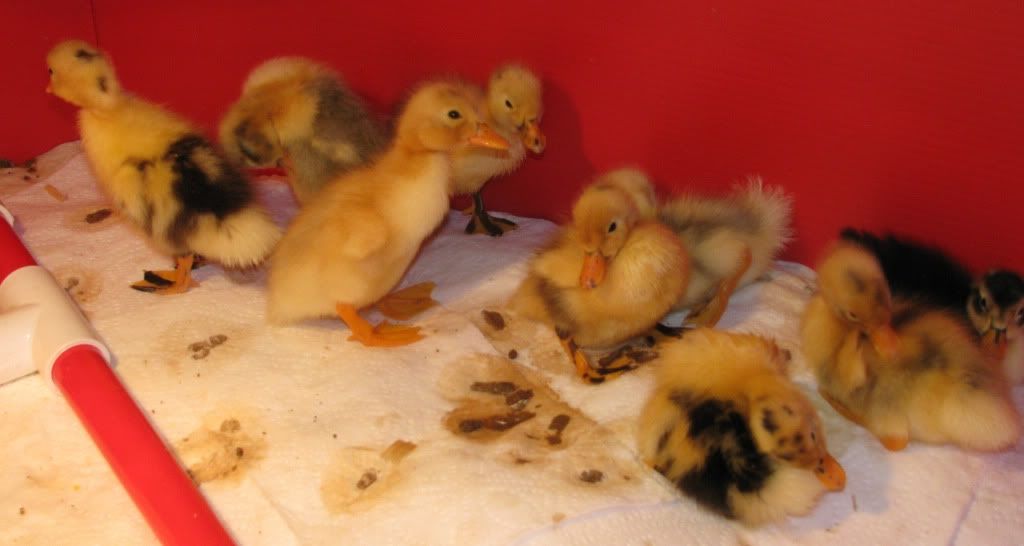
After a month of waiting, we were soon deluged with adorable ducklings.


A little girl fresh out of the incubator. 


Another little girl


A boy 

Another boy

Another boy

One last little boy

If you were keeping track, you'll see that we ended up with three girls and six boys. So we think, anyway. We watched this video on determining gender in waterfowl and used what we learned to vent sex our ducklings.

Although it's hard to acknowledge when surrounded by their extreme cuteness, we can't keep all our ducks. That kind of boy to girl ratio would make our girl ducks extremely unhappy when they get to breeding age! Ideally, we would have gotten five girls and kept one boy but of course it doesn't always work out the way you want. We are going to keep all three girls and two boys. We have found homes for the extra four boys.  These cuties are not hard to sell. :)

Cute, but certainly messy!!