Showing posts with label turkeys. Show all posts

Wednesday, January 2, 2013

2012 in Review and 2013 Goals

Happy New Year, y'all! I hope everyone had a blessed holiday season.

Unfortunately, I was either busy or sick for much of 2012 and so my posting here wasn't as regular as I would have liked. Nevertheless, I managed to make progress on my preparedness goals. Here's the list of goals I had last January. I didn't accomplish everything, but I'm not unhappy.

In 2012 I :

  • Added a bit to our first aid supplies. This is definitely an area where we fall short. I will admit to being a wee bit complacent about first aid since Hubby Dear is a medical professional. I need to improve. 
  • Expanded our garden and learned some hard lessons during a very poor growing season. Our area of the country experienced the hottest year on record as well as one of the driest, so our garden was far less than stellar. 
Delicious heirloom fruit and vegetables

  • I planted comfrey in our orchard area. It's part of the whole holistic orchard deal, but the bonus is that it is also a medicinal herb. I learned about permaculture and now have plans to have a bunch of medicinal perennials growing among the trees in the orchard. 
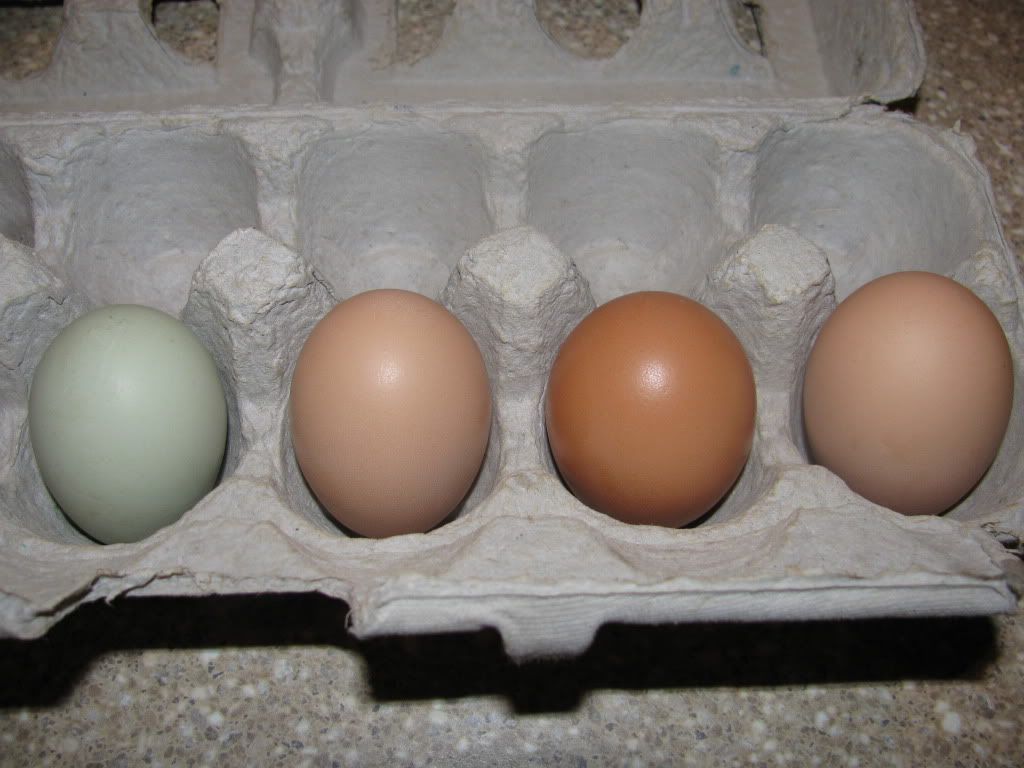
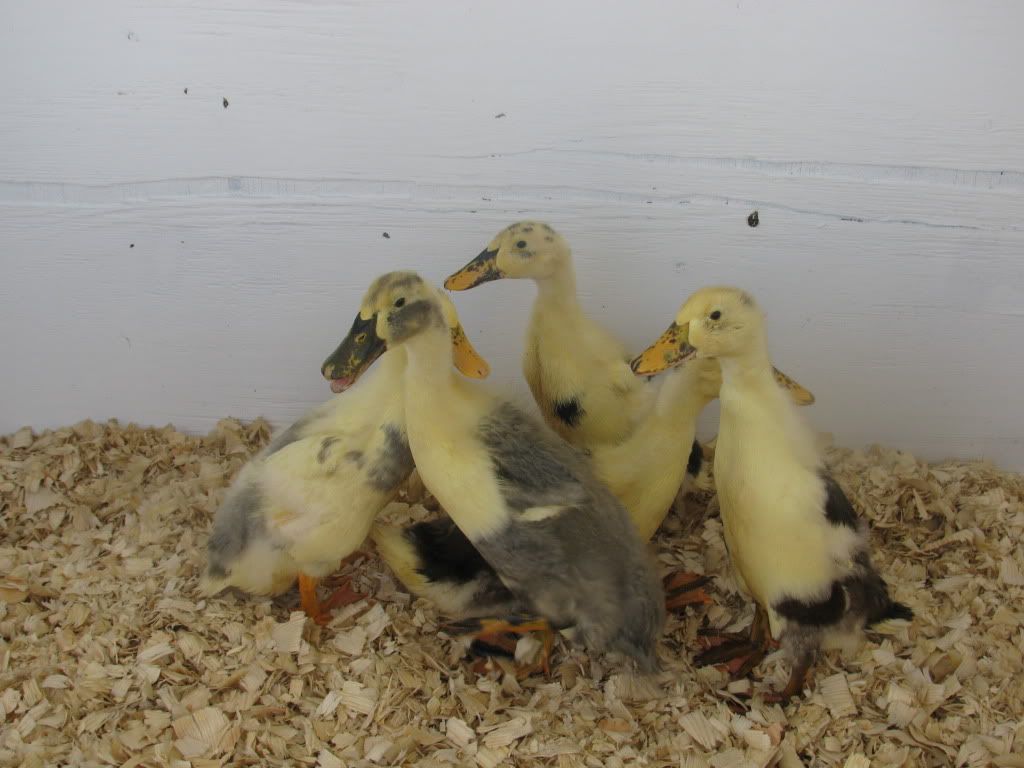
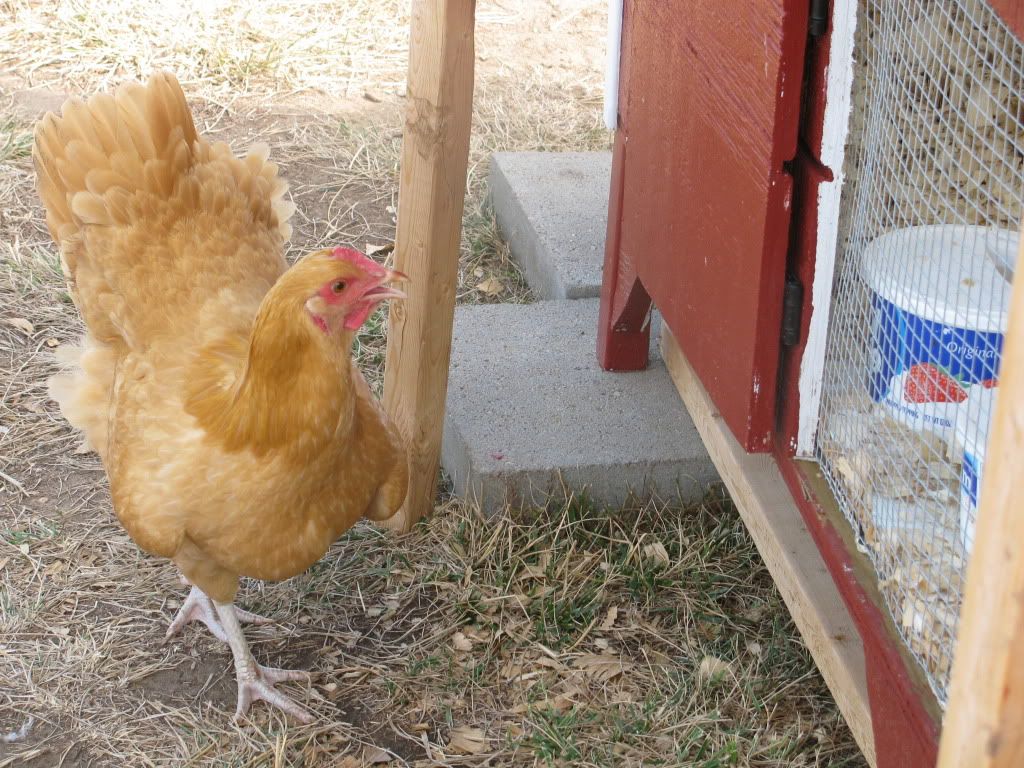
  • My favorite item on the list (and new obsession) is poultry. We started raising chickens, ducks, and turkeys. Having livestock was a big stretch for two former city kids like Hubby Dear and myself, but we have really enjoyed the journey. We started off with chicks and poults from hatcheries and ventured into hatching eggs with an incubator. Our chickens gave us 1,645 eggs in 2012; the ducks provided 124.  
Some of our ducklings

  • Related to that last one, we butchered our first animals. It was so rewarding to grow our own meat and butchering is definitely a worthy skill for any prepper. 
  • All the manure that started appearing on our property provided the impetus for us to begin composting. 
  • Managed to keep our strawberries alive! We won't have to re-plant this year. I am hopeful that we will have a generous crop next spring. 
  • Another success: I learned all about sprouting, an easy way to grow fresh, nutritious greens all year 'round.
  • My success with sprouting for people encouraged me to grow wheat grass for my birds. It took a couple of tries (and a horrible infestation of fruit flies), but I finally got the hang of it.  I'm also proud of the black oil sunflower seeds we grew for the chickens. 
A Peredovik black oil sunflower

  • I stocked up on reusable Tattler canning lids. I used them for all the canning I did and I finally got the hang of using them. They are a little different than standard metal canning lids, but once you get it, you won't go back. 


For 2013, I remain focused on building up our homestead. One reason is that I just like doing it. I love puttering around the garden and taking care of my birds. I have expanded into breeding poultry for pleasure and profit, so that also takes up a lot of my time and energy.

The other reason that my preps are centered on homesteading is that I feel it is quite necessary. The shenanigans in DC regarding the so-called Fiscal Cliff made me sick to my stomach, but I hope that it will serve as a wake-up call to many. I fear that our country is in an irreversible decline and our prosperous American lifestyle is in serious jeopardy. In short, I think we're screwed. I feel that being as self-sufficient as possible will be incredibly valuable in the days ahead. You might not live on 5 acres in the country like I do, but I hope you are thinking about things you can do to help your family weather whatever storm may come.

With that said, here are my goals for 2013:
The north half of our garden, May 2012

  1. Continue to add to our orchard. We have peach, nectarine, cherry, and plum trees ordered for the spring. We'll plant more peach, apple, and apricot trees in the fall. Here's the master plan for our orchard if you haven't seen it. 
  2. Expand our garden again and try some new varieties and methods of cultivation. 
  3. Try new types of pest control in the garden. We garden organically, but haven't ventured much into companion plantings to attract beneficial insects. That is a priority for me this year. We will also experiment with row covers to flummox the evil squash bug that has plagued us in the past.  
  4. We tried starting seeds indoor last year. We had mixed results, mainly due to lack of sunlight. We are building an easy DIY seed starting kit that should really help out. 
  5. Water storage is a huge issue for any prepper and the horrible drought we are in has really brought it to my attention. I hope to get rain barrels installed and may experiment with using greywater. 
  6. First aid - the perennial topic for me. I've got to get going here. 
  7. Food storage - I need to take inventory of what we have used up and refill as necessary. I will be canning and dehydrating the produce of our garden and herb garden. 

So that's me. What about you? What do you have planned for 2013? 

Tuesday, November 20, 2012

Easy-Peasy Turkey Bone Broth

When we butchered our two tom turkeys last month, I couldn't wait until Thanksgiving so I cooked one up that same week.


A Bourbon Red heritage turkey

I brined the bird with this recipe and then used these instructions to cook it. It was heavenly. All of the work that went into raising and butchering those birds was so worth it! We butchered or sold all of our (admittedly pesky and sometimes violent) turkeys, but I think they will reappear on our homestead at some point in the future. The turkey tasted that good.

As a sign of respect for the turkey and the sustenance it gave us, I was determined that nothing would go to waste. We ate roast turkey, turkey tetrazzini, the best turkey soup ever, and even grilled turkey and cheese sandwiches. After five days of nothing but turkey, we were pretty much over it, but I knew the turkey still had more to give.

I made a broth from the picked over bones of the bird. It's easy! You should definitely try this with your Thanksgiving fowl if you've never done it before.


I put all the bones from the turkey into a 6 qt. crock pot. I added a couple of splashes of apple cider vinegar, some black peppercorns, and some bits of carrots, onion, and celery that I had hanging around in the produce bin. The vinegar is to help leech out all the wonderful minerals that are in the bones, which is one of the things that makes bone broth so incredibly nutritious. I covered the bones about 3/4 of the way with water and set the crock pot on low.

It cooked for 48 hours straight and my house smelled like luscious roast turkey the entire time. Of course we were pretty sick of turkey at that point so it wasn't a particularly enticing odor. I added a bit more water a couple of times, but otherwise the broth attended to itself.

After 48 hours, the bones were partially dissolved and my broth was a rich brown color. I strained the broth and measured it into pint freezer containers.  


And that was it! I now have some high-quality turkey broth that will add richness to any dish I add it to. I also have the satisfaction that we honored the turkey by truly using every last bit of it.

Monday, October 22, 2012

How to and How NOT to Butcher a Turkey

Warning: The following post discusses the slaughter of turkeys and has some graphic photos. Those with weak stomachs and rabid animal rights activists should probably find something else to read. 

--------------------------
The cute little poults I bought back in May


The newly-purchased poults

didn't take long to morph into giant, testosterone-driven eating machines.


The two bullies on patrol

Well, at least the two toms became testosterone-driven. The two hens pretty much mind their own business, though one of them drives me batty every evening when I have to retrieve her from the chicken coop roof.

Heritage birds like our Blue Slate and Bourbon Reds take longer to mature than industrial turkeys. We intended to let them grow for at least another month or two before we dispatched them to freezer camp. I was enjoying looking at them enough that I considered keeping the Bourbon Red tom on for good.

Then the stuff  hit the fan (literally). I looked outside one morning to find the two toms and our rooster fighting ferociously. I ran outside and tried to break up the fight, but none of them would back down. The toms were intent on beating the rooster to death.


Here's the rooster the day after the big fight. 

I scooped up the very bloody rooster, doctored his wounds, and placed him in a cage for his own protection. The time to butcher the turkeys had come.

The equipment:


Hubby Dear and I did a lot of reading in preparation for the big day. Here are some of the resources we used -

1) Storey's Guide to Raising Turkeys
2) This blog post with very helpful pictures and narration
3) And best of all, this YouTube video.


Our list of supplies

One of the things we did right was to make a list of supplies and have everything ready in advance. As you will find out, things went very wrong during our first attempt, but at least we weren't scrambling around for tools and materials.


The killing cone

There are several ways you can dispatch a turkey, but we felt most comfortable using a killing cone. It seemed to be the easiest method as well as relatively peaceful for the turkey. Although we raised these birds for meat, it was important to Hubby Dear and I that we do the deed as humanely as possible. You insert the bird's head and neck through the bottom of the cone and slit its throat while it hangs upside down.


Our scalder set-up

Once you kill the turkey, you have to remove the feathers. Plucking is the most difficult and time-consuming part of the job. You can dry pluck the feathers, but it is often easier if you briefly scald the bird. I bought a cheap turkey fryer set-up similar to this from Wal-Mart. It was just big enough to scald our small (12.5 and 15 lb processed weight) turkeys. It would be the perfect size for scalding chickens. If you are butchering a turkey that is over 18 lb, you will definitely need a much larger pot to scald it.

Essential to the job are a set of very sharp knives. I also found a pinning knife like this one to be very helpful.

I often say that a person can bring themselves to do almost any gross task as long as they are wearing a pair of rubber gloves. We went through several pairs of gloves a piece to help maintain cleanliness during the process.

And of course, you need a turkey or two.

Our toms. So fun to look at, but even better to eat! 

The process:  

One thing we did as butchering newbies was to write out all the steps and have it close at hand. It was really helpful to have it right there for reference.

Steps to butcher a turkey

We decided to butcher our Blue Slate tom first since he was the meanest of the two. Hubby Dear and I said a prayer and then brought him over to the killing cone. He wasn't too keen to put his neck into the cone, but with a little fiddling, we pulled him through. Hubby Dear made two swift cuts to the turkey's jugular veins on either side of the windpipe. He immediately began to bleed profusely.


Slitting the turkey's throat. The blood is being captured in a bucket for later disposal. 

Don't you love Hubby Dear's fashionable poncho? We realized that it would be a smart idea to cover our clothing but found that the only thing we had on hand was large yard waste trash bags. We had no idea just how useful those make-shift aprons were about to be.


The aftermath

At the very moment Hubby Dear finished slitting the turkey's throat, his cell phone started ringing. He walked a few yards away to answer an important call from work. I stood beside Mr. Turkey, supervising the proceedings. 

All of a sudden, the turkey flopped UP and OUT of the killing cone. He lay in a silent, bloody heap on the ground. I didn't know that stunt was even physically possible, much less by a turkey losing blood at a rapid rate. (I should mention that the turkey didn't move until that moment. The turkey remained silent throughout the entire process.) Hubby Dear was still on the phone and gestured for me to take care of the problem. 

Alrighty. I grabbed the turkey's legs and guided him back into the cone. I held onto the turkey's legs while he dangled and dripped. 

The next thing I know, the entire killing cone is falling off the plywood. It wasn't the turkey's doing this time, but the nails that Hubby Dear had used to affix the cone to the plywood had come out. Here's a tip for you: use screws, not nails on your killing cone! 

By that time, Hubby Dear was done with his phone call and he came to my rescue. He picked up the tom by the legs and held him for the remainder of the time that it took him to die. Since he was not confined by the cone, the turkey flapped quite a bit at the end, making us very thankful that our clothes were mostly covered by the redneck ponchos. 

So much for a quiet, dignified death. I am happy to report that neither of us was overly traumatized by the first day's proceeding and that we butchered turkey #2 on the very next day. It was a much different story - quiet, peaceful, and, importantly, the killing cone stayed in one place! 


Scalding the bird

The next step once we were sure the turkey was dead, was to scald it. The temperature of the water and length of scalding is a matter of debate. We ended up using water that was about 145 degrees and scalded it for 30 seconds, moving it up and down in the water occasionally. Then we moved the bird over to a flat surface and quickly began removing the feathers, starting with the wings and tail first. Those are the toughest feathers to pluck, so you want to do those before the bird cools down.
FYI: When we butchered turkey number two, we scalded it for 45 seconds and we found that it was much easier to pluck.


Turkey #2 post-plucking The parts you still see feathers on were to be disposed of, so why pluck them?

We learned a lot from butchering the first turkey and ended up buying a couple of extra tools that made the job easier for our second try.

Torching the filoplumes

After you remove the large feathers, the hair-like filoplumes remain. You can leave them alone and trust that they will be unnoticeable after cooking, or you can lightly torch them with a flame. They disappear in a puff of smoke, but you do have to be careful you don't remain in any one spot for too long or you'll prematurely cook your bird.


Loppers are great for the neck and last wing section.

We also bought a pair of loppers to help remove the neck and wing bones. You can carefully use a boning knife to cut between the joints on those locations, but loppers make the job much quicker and easier.

After you've plucked the bird and removed the extra bits like the head, neck, and legs, it's time to gut it. Unfortunately, my hands were so busy that I didn't take any photos of this process. It really isn't as intimidating as it sounds. The only tricky part is getting the crop out of the chest cavity in one piece. Then, you make a 2-3 inch cut over the vent, scoop out the organs, and remove. We cut out the actual vent last. Everything comes out in one package and it is easy to dispose of. We chose not to mess with the giblets (neck, heart, liver, gizzard) since our family generally doesn't eat those.

After we finished gutting the turkey, we rinsed it very well and put it into a cooler full of ice water for several hours. You need to make sure the bird cools down completely or it can grow harmful bacteria.


Cooling the bird


After a few hours, we let it drain and placed it in a pan in the refrigerator. You can store the bird for up to five days before you cook it, and it is best to age it a bit before you cook or freeze it for the most tender results.

-------

The first bird took us 3 and 1/2 hours from start to finish. Yikes. We learned quickly, though, and bird number two only took 1 and 1/2 hours. I'm sure we'll get it under an hour with practice. We probably won't do turkeys next year, but we certainly will use the skills we learned when we butcher our old laying hens.

Don't be scared about doing your own butchering! Hubby Dear and I did not grow up on farms and have no experience in this area. It really isn't so tough once you try it. I know we gave our birds a great life and now we have delicious, healthy meat to show for our efforts. Just make sure you secure the killing cone properly and try not to answer your cell phone during the process! ;)

Saturday, August 11, 2012

I Need Cheered Up! Plus, Egg Taste Test and Poultry Drama

I feel like I am not progressing very far in my preparedness efforts these days.

Our garden has been severely stunted by the unrelenting heat, drought, and insect pressure, so it hasn't produced nearly as much as it should. I'm thankful we are getting enough tomatoes to slice and eat on sandwiches, but my vision of massive amounts of canned tomato sauce is not to be this year. Most of the things that I was planning on freezing or canning have fried in our record-breaking heat. 

That's depressing. 

I also haven't bought a lot of preps because I spent my entire June-September prepping budget on items for the duck house build/chicken moat expansion. My Poultry Acquisition Disorder has definitely taken a toll on prepping. 

Sigh. Can somebody cheer me up and make me feel like I'm not a prepping loser? 

------

Alright, enough whining. 

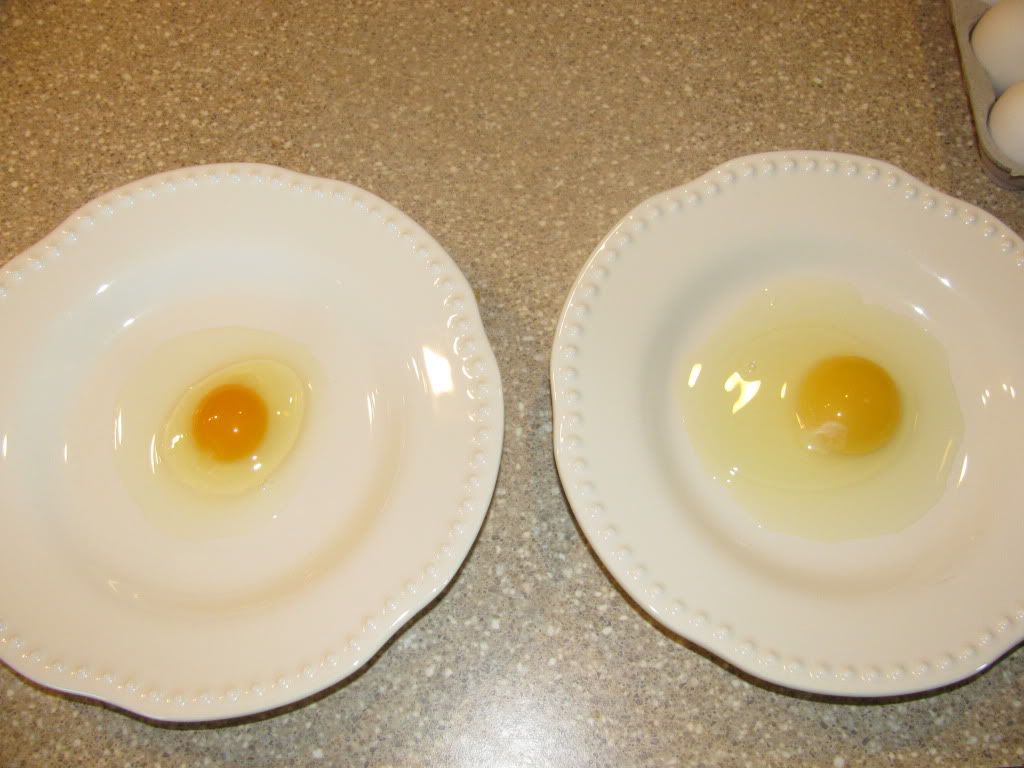
The last time I blogged, I showed you all the first egg my dear little pullets laid. Not long after I completed that post, I cracked it open and compared our egg to a run-of-the-mill one from the grocery store. 

Our egg on the left, store egg on the right

Our egg was definitely smaller than the store-bought egg (1.3 oz vs. about 2 oz) but look at the difference in the color of the yolk and the firmness of the white! The store-bought egg is positively runny while our egg stands up nice and tall. 

I fried each egg separately and had the family do a taste test. Yes, all of us just had to sample that little bitty egg! The difference between the eggs was incredible. Our egg was so much more flavorful and almost buttery-tasting in and of itself. The store-bought egg was positively pallid in comparison, both in color and in flavor. 


The eggs just keep coming!

Since that first day, we have been nearly swimming in eggs. My girls are currently averaging 8 eggs a day, which is plenty for us and some to give away. Hubby Dear has people at work asking for eggs, so we might end up selling a few dozen here and there, too. I also plan to explore other methods of egg preservation so that we will never run out of eggs during the winter months when production will slow down. 


The ducks finally moved outside at four weeks of age

The same heat that destroyed my garden also prevented my five remaining ducklings (I gave away four to friends) from moving outdoors. I didn't spend 28 days nurturing these guys in an incubator only to have them fry in the 110 degree temperatures! The duck gurus I asked were very adamant that ducklings do not do well in such hot weather, so they stayed indoors for four weeks. Oh. my. word.  I can't even type out the horrors I had to clean out of that brooder in my bathroom. Finally I had enough and moved them outside one evening when it was "only" supposed to be in the upper nineties the next day. 

Ducks are creatures of habit and so the move scared them quite a bit. 


Goldilocks checking out her new neighbors

Plus, they now had nosy, loud neighbors who were very interested in everything the newcomers were up to. That would be intimidating to anyone. 


Puppy, Freckles, Morning Glory, Hyacinth, and Peek-a-Boo 

After a couple of days, the ducklings were having a ball making a mess in their new home. See how brown the grass is? We need rain desperately!

Will Doofenshmirtz be nice to the ducklings when the temporary pen gets removed next week?

Our rooster, Doofenshmirtz, is on probation. First, he was overly eager to mate with the pullets and would viciously attack them. He got that under control but then he started to attack my two oldest children when they came to collect eggs or visit the ducks. He does not mess with Hubby Dear or I, just the girls. 


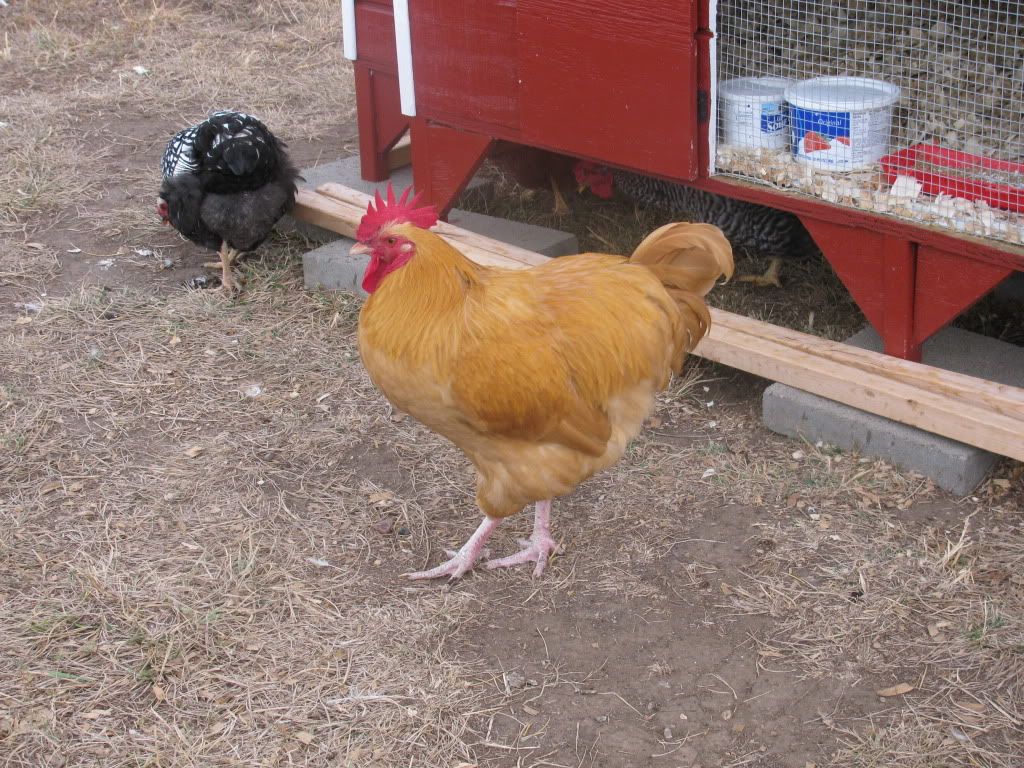
Handsome brute

We are seriously torn as to whether we should keep Doof or eat him. The farmers around here say that's just how roosters are. Since we want a rooster so that we can hatch our own chicks, that's what we have to deal with. But I also don't want to ruin the pleasure my children have in interacting with the chickens and ducks. Tough decision. 

I went ahead and ordered processing equipment in case we decide to eat the brute. We need to get killing cones, knives, and other butchering paraphernalia anyway because we are definitely eating the turkeys. 


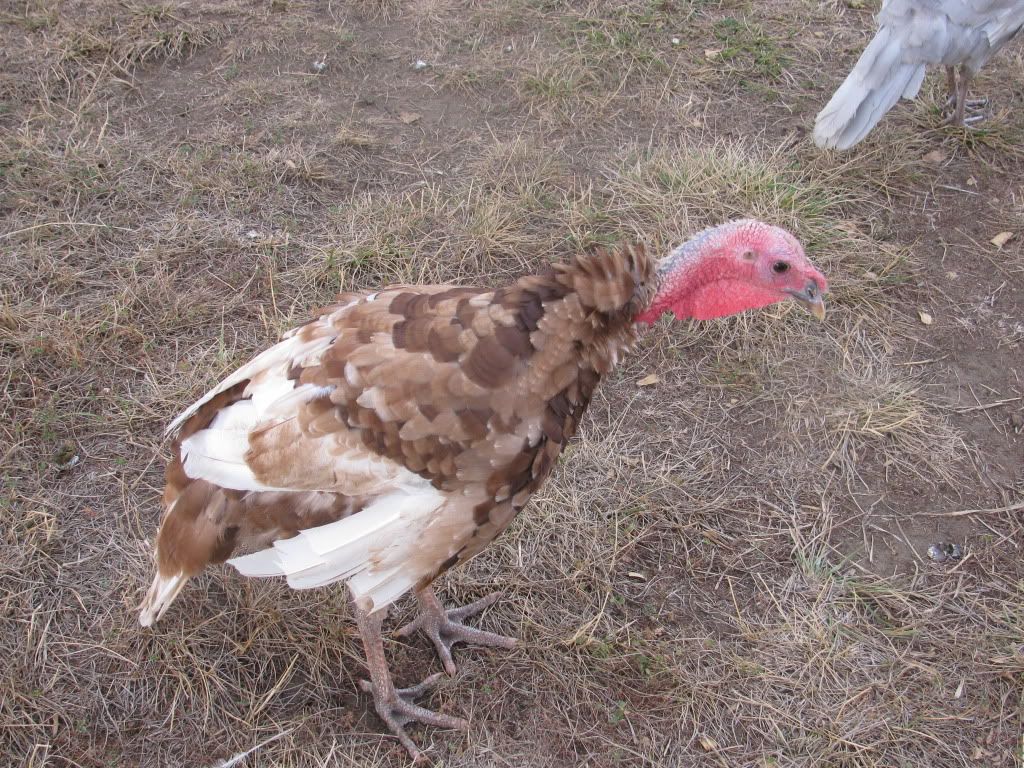
One of the Bourbon Red turkeys

Oh, the turkeys. We decided to try and house them with the chickens until butchering time. Since they are getting too big to get in the pop door (and are to ornery to do it themselves, anyway), every evening I get the joy of catching the beasts and throwing them into the chicken coop. They aren't too hard to catch, though they do shriek and kick their legs ineffectually when I pick them up. I won't miss that chore once they are gone. Picking them up every evening makes me keenly aware of just how much they need to grow before we butcher them. I feel like the witch in "Hansel and Gretel", feeling their keel bones every evening to see if they are fat enough yet to eat!  

Although it has definitely taken me a bit off course from my preparedness goals, I do so enjoy working with our livestock. I've even begun to dream about building a small barn with a brooder room, attached greenhouse, and room for a goat or two. 

Thursday, July 5, 2012

Thursday Morning Miscellany

  • I broke my washer last Friday.

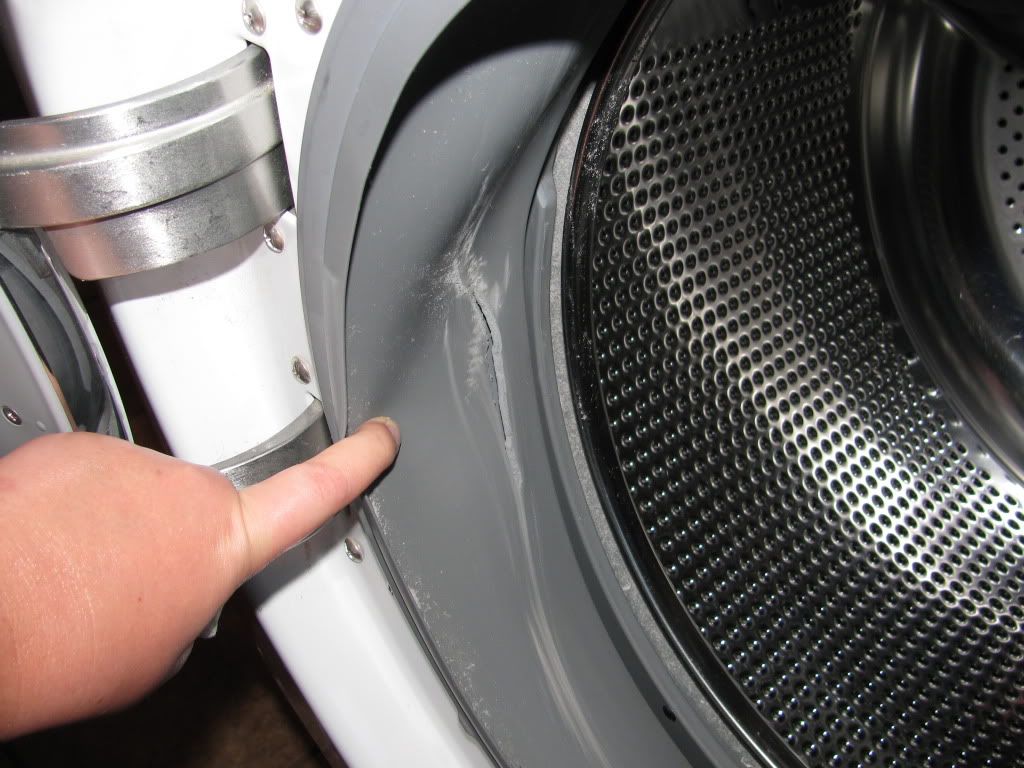
There is a 3" slit in the gasket 

I had an underwire bra go amok and slash a huge hole in the door gasket. It's a freak accident that is going to cost me $250 and  a week and a half without a functioning washer. In the meantime, what am I going to do about our laundry? 

I decided to wash it all by hand. 

I'm spending lots of time here

I've got detergent, plenty of hot running water, and even a dryer. I thought that there was no reason why I shouldn't be able to take care of it. Well, several days in, it's apparent that washing laundry for six people by hand is very tedious. I need to invest in a few simple tools that will make the job easier should I have to wash laundry by hand in the future. Something to agitate the laundry would be nice, and something else that would wring out water is essential. My laundry remains so wet after I wash it that it takes forever to dry. I just keep telling myself that this is an excellent learning opportunity and I'm counting down the days until my washer is fixed. 

  • We finished our chicken moat expansion. 
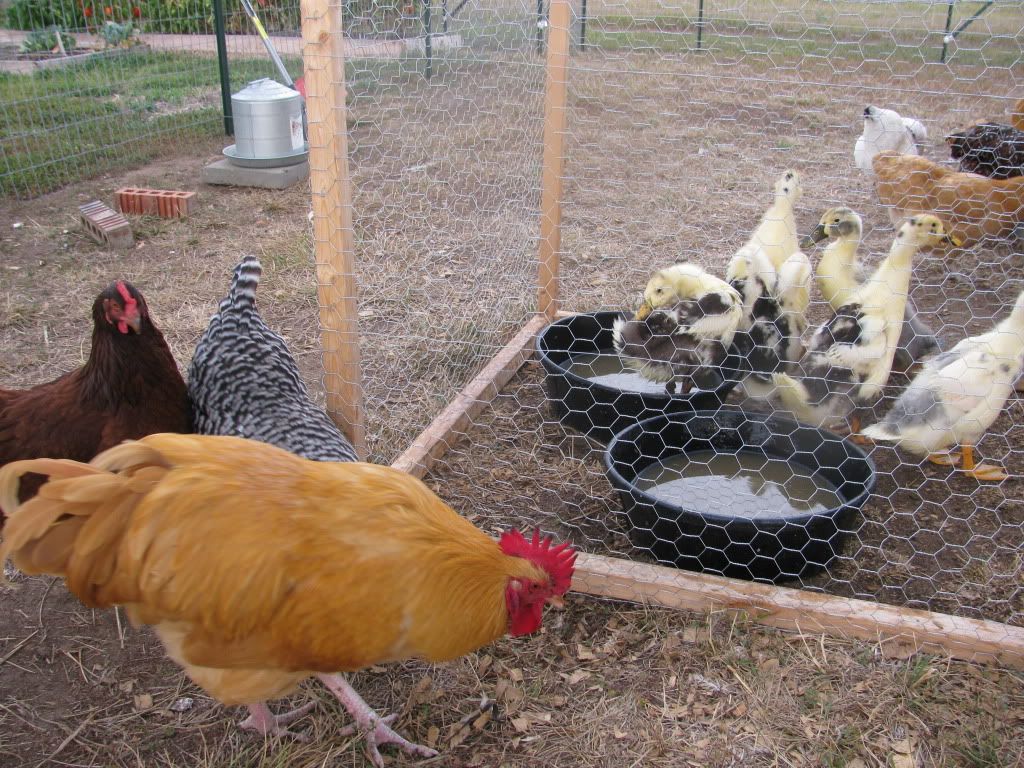
The fencing now encompasses the new duck house area and connects all the poultry
together in a circuit around the garden


I'm glad to be done with construction for a while. We're taking a brief breather and catching up on backed up garden chores. In a couple of weeks we'll have to address our turkey housing issues. 

  • My Ancona duck eggs are due to hatch today. When I woke up this morning, two of my eggs had pips (little holes in the shell). Thirteen of the 15 eggs made it to the end of the incubation period. I hope that I get a wide variety of colors and patterning and that most of them are girls. That's not too much to ask for, right? I found homes for any extra birds that should hatch. I should admit that things are moving slow enough at this point that I hope I get any ducks to hatch. 

Come on and hatch, little ducklings!

Sunday, July 1, 2012

The Turkeys' Excellent Outdoor Adventure

We moved the turkeys outside the very day we finished the duck house. They were still living inside a brooder in my bathroom. When you see the pictures below, you will realize just how inappropriate that was!

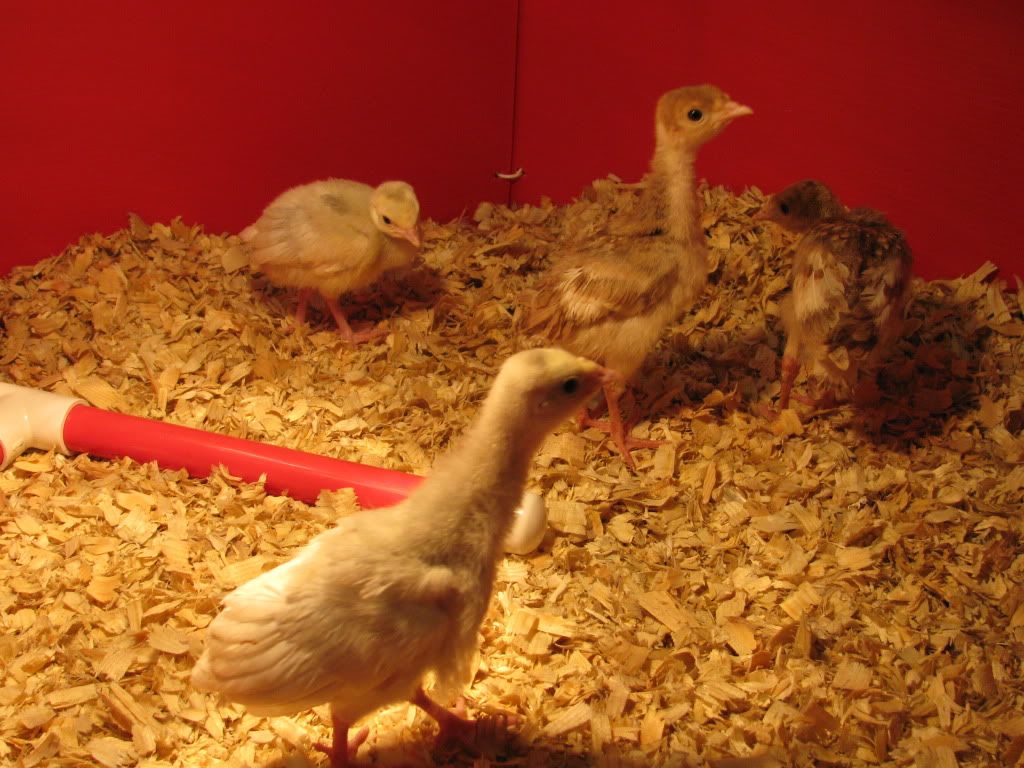
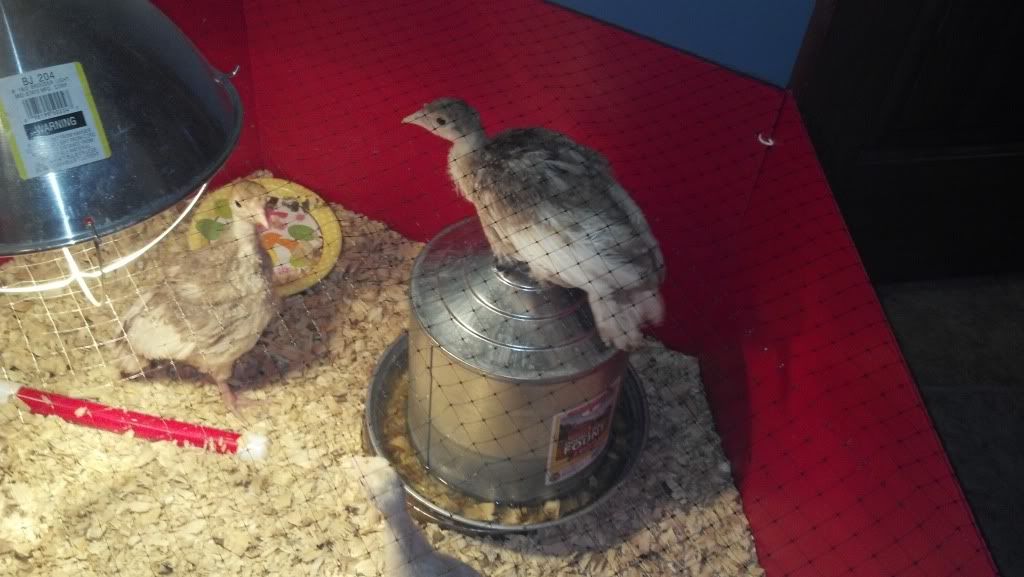
They grew quickly from cute little fuzzballs

They were approximately 1 week old here


into loud, demanding escape artists.

Just about a month old here. They foul up their water like nobody's business.

And for the record, turkeys are messier than chickens. This will be the first and last time we raise turkeys unless we can figure out a way to get them out of the house sooner. I don't mind baby poultry indoors for the first two weeks, but after that it becomes pretty miserable. The whole "turkeys are so delicate they can't possibly touch dirt until they are 10 weeks old or they'll die" thing is hard to deal with. 


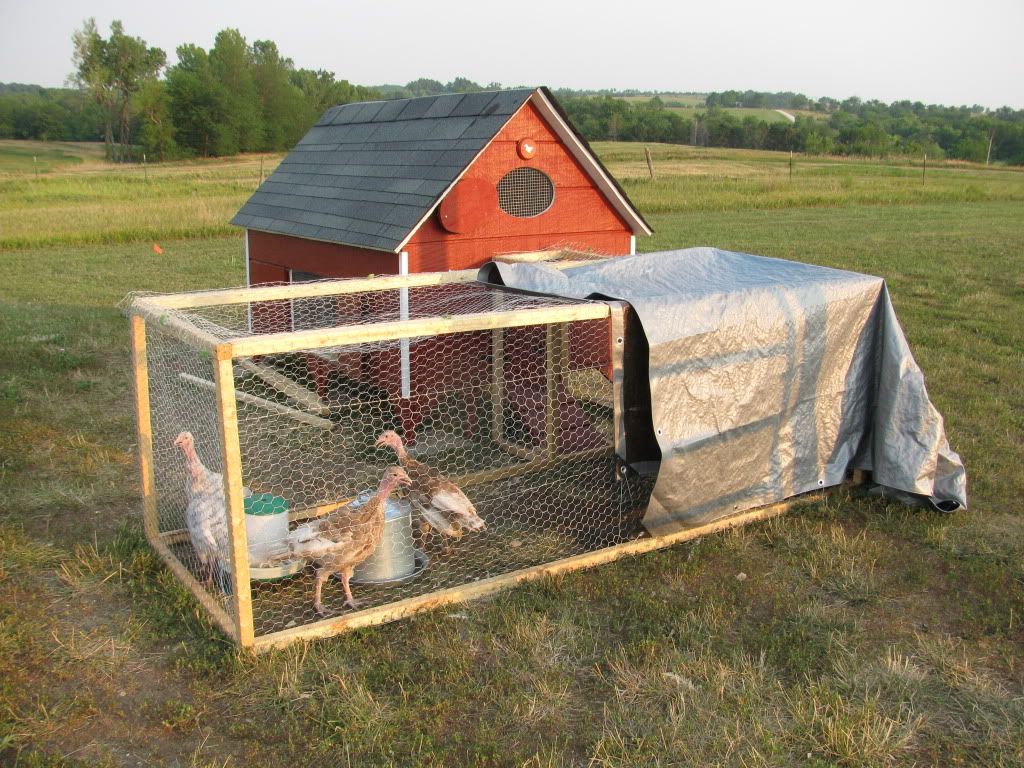
The duck house is a temporary solution to our turkey housing problem. We knew we would have a few weeks between the time we finished the duck house and when we would  need it for ducklings, so we decided to move the turkeys out there to acclimate them to the outdoors and their chicken neighbors.


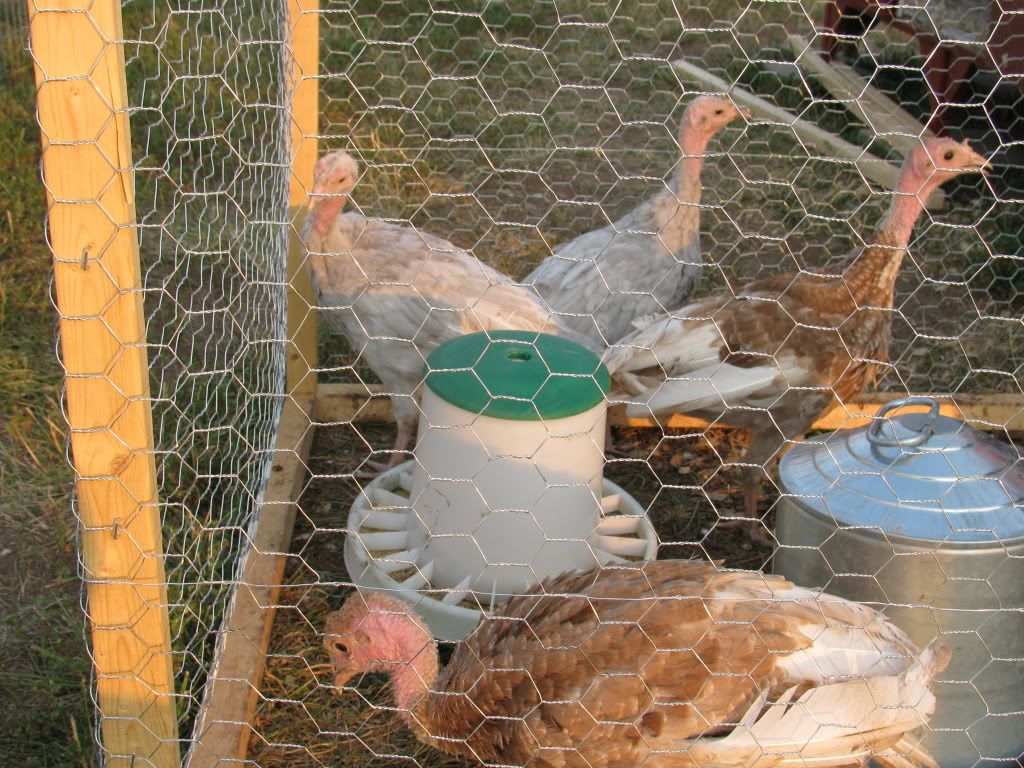
How would you like to have this crew living your bathroom? 

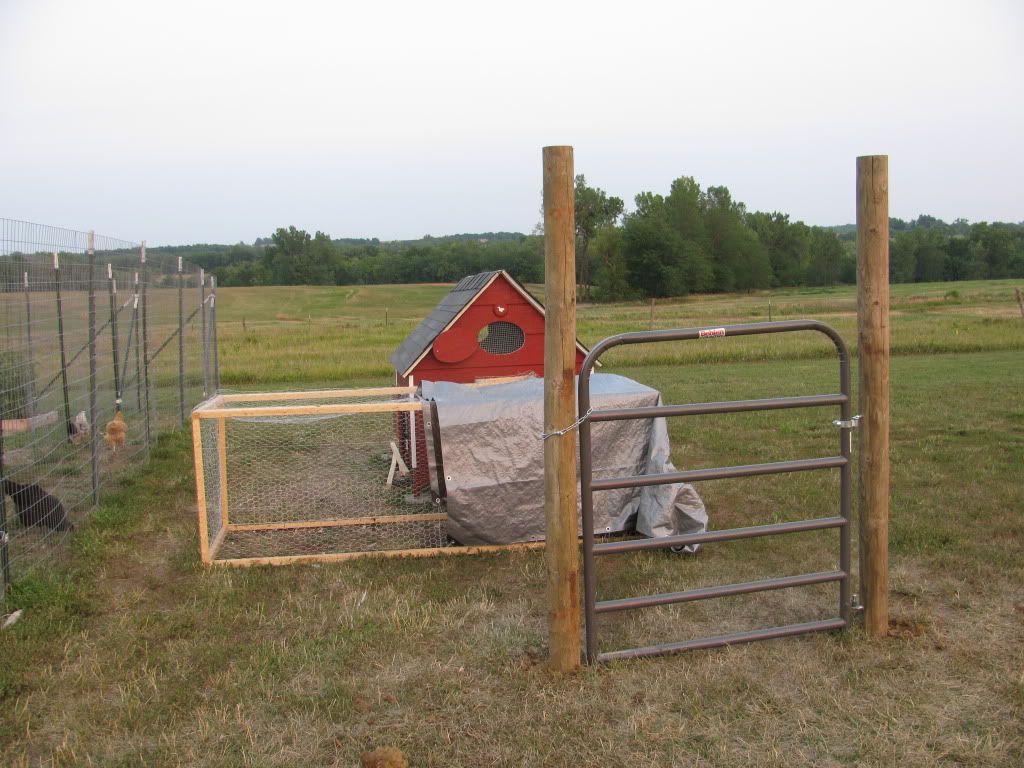
We were in the midst of a record-breaking heat wave with no end in sight, but it couldn't be helped. The turkeys had to go. We moved them out in the cool of the evening (well, as cool as it gets when the high is 108 for back-to-back days) and placed a tarp over one end of the run to give them some shade.


And they loved it. No signs of them croaking yet despite the fact that they've been out there a week and they are only seven weeks old. Shhhh! Don't tell them they are supposed to be weaklings or they might start getting ideas. No way was I going to keep these behemoths inside for another month. 


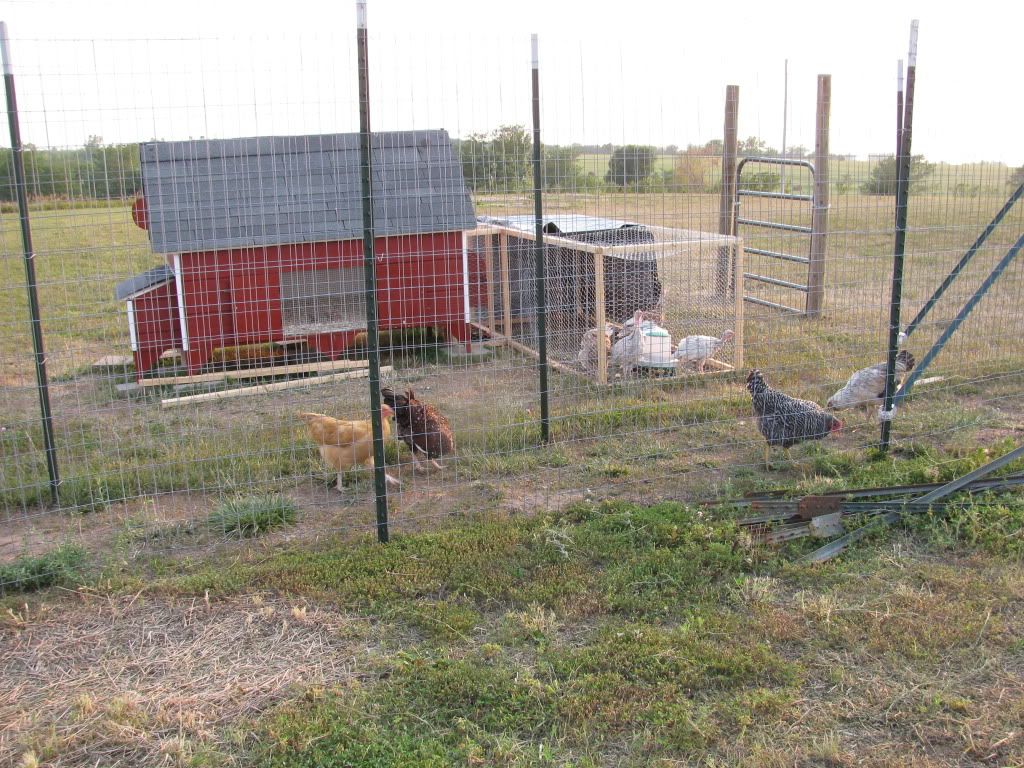
The turkeys want the chickens to come and play


The turkeys seem to be pretty curious about the chickens. They peep loudly to get their attention but for the most part the chickens ignore them. 


We've already installed the gate for the addition to the moat 

We hope to get the area around the duck house fenced in this week. Our ducks are due to hatch this week, too, so once again I'll set up the brooder in the bathroom. Who needs a clean bathroom anyway? ;) 


Friday, June 8, 2012

My June Lunacy, I mean, Preps

In case you haven't noticed, my thoughts, time, and prepping budget have been dominated by poultry-related purchases recently. Hubby Dear has come up with a term for the disease from which I suffer - Poultry Acquisition Disorder, or PAD for short. I don't think PAD is such a bad thing; Hubby Dear begs to differ!

There is a consequence of PAD, however; the cute little buggers grow up and then you have to figure out where you are going to house them. My June and July prepping budgets will be spent on turkey and duck housing and associated paraphernalia.

Oh, you didn't know I had ducks? Technically speaking, we will have ducks in 28 days since my ducks are still in ovo. I've got a batch of Ancona duck eggs in an incubator. Stay tuned for a tutorial on incubating duck eggs in an upcoming post.

We have three big projects underway.

1) Build a duck house


Hubby Dear and I shelled out big bucks for a pre-made chicken coop, but you can't just buy pre-fab duck houses. And using a chicken coop for ducks can be problematic as ducks have different requirements. For one thing, they don't roost. Their legs are also more delicate than chicken legs, so some of the taller designs with long ramps aren't ideal. They also need the nesting boxes to be at floor level.

We considered a lot of different options and nearly settled on converting a doghouse kit into a duck house identical to this, but we wanted something larger and with more versatility.

I ended up buying a chicken coop plan from the very cool Fresh Eggs Daily blog and Hubby Dear and I are building it ourselves. The coop is very duck-friendly and is large enough to house up to 9 Ancona ducks. We don't have a very good track record with home improvement projects, but so far it is going well. If you are handy, you probably don't need to buy the coop plan since she has a pretty detailed blog post about the coop, but Hubby Dear and I appreciate the cutting diagram and parts list.

The pile of supplies. We had to buy a circular saw and jigsaw plus all the lumber and miscellany, so the total came to
about $400 dollars. If you have the tools already, plus some scrap lumber on hand, this could be FAR cheaper. 

We're still cutting all the plywood, etc. and priming everything before we put it together.

Primed bits and pieces

Since ducks are so notoriously messy, I'm going through the extra step of painting the duck house both inside and out. I hope this will make cleanups easier in the long run. Right now it just seems to be slowing the process down!


2) Figure out the turkey housing situation

A brooder in my basement isn't going to cut it for my turkey poults much longer.

I think my turkeys are around 3 weeks old. They are already larger than my chickens were
when I allowed them out of the coop and into their run. Thank goodness I only bought four!

For one thing, I'm going to need my brooder for the ducklings in less than a month. And the turkeys are ready to get out of the brooder. They've already escaped several times despite the bird netting! They are little Houdinis, that's for sure.

Here's the problem: turkey poults are very delicate and disease-prone. Should they get too hot, too cold,or  too wet, they'll drop dead. People tend to baby their poults until they are 8+ weeks old, and even then many people will keep them indoors or in wire cages.

My tentative plan is to move them out into the duck house (with an attached run) when they are 5-6 weeks old. I'll give them plenty of shade and ventilation and hope for the best. They can get to know their new chicken roommates, and hopefully by the time I'm ready to move the ducks outside, I can integrate the turkeys in with the chickens. I'm taking a bit of risk by keeping our turkeys with the chickens (chickens can potentially give turkeys a disease called blackhead), but I'm willing to chance it.

Eventually the turkeys will be too big to go in and out of either the duck house or chicken coop, so they will get their own shelter. We plan to build a smaller version of the range shelter shown in Storey's Guide to Raising Turkeys. It will look similar to this:

Turkey range shelter - Ours will be quite a bit smaller because we only have four turkeys!
Image from http://www.freetimesw.com/blueoakranch/turkeys.htm 


3) Expand and fortify our chicken moat

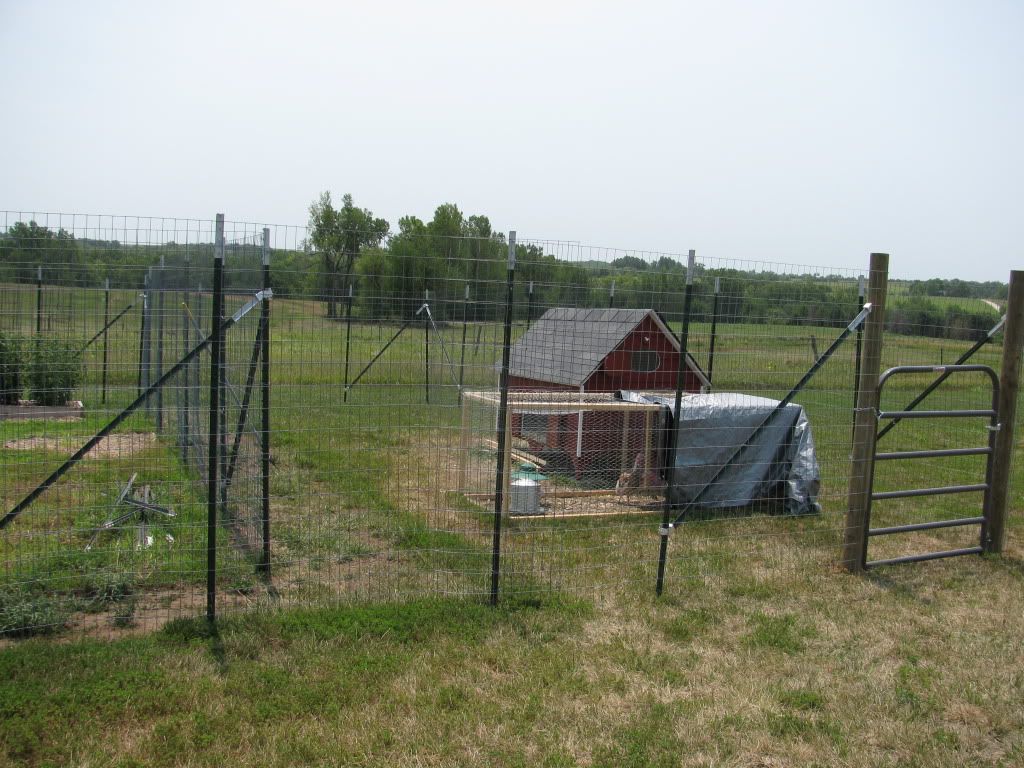
Our chicken coop is attached to a moat that goes around our garden.

Current plan of the chicken moat


Since we're adding in a 4'x6' duck house plus a turkey range shelter and a whole bunch of new birds, we need to expand the run.

We seriously considered using electronet and making pens for the new birds out in the pasture. (You can see what that would look like in the photo of the turkey range shelter.) The birds would love that and we may do that in the future, but we have a special needs child and a toddler so I am concerned for their safety.  We decided instead to expand the chicken moat. We will bump out the right side of the moat to match the existing left side, giving a total of about 1,150 square feet for the birds to roam in safety.

We are also going to add a layer of chicken wire to the bottom of the fencing. We used welded wire mesh with 2"x4" openings to build our fence and little ducklings will easily be able to slip through for the first couple of months. And if any of my chickens go broody next spring and hatch some chicks, we'll be all ready for that!


A duckling could slip out or get stuck in the holes in the fence. We'll cover the lower
2 feet with chicken wire just to be safe. 


As you can see, I've got plenty to keep me busy over the next month and a half! I'm just trying to refrain from adding geese to the mix!