Warning: The following post discusses the slaughter of turkeys and has some graphic photos. Those with weak stomachs and rabid animal rights activists should probably find something else to read.
--------------------------
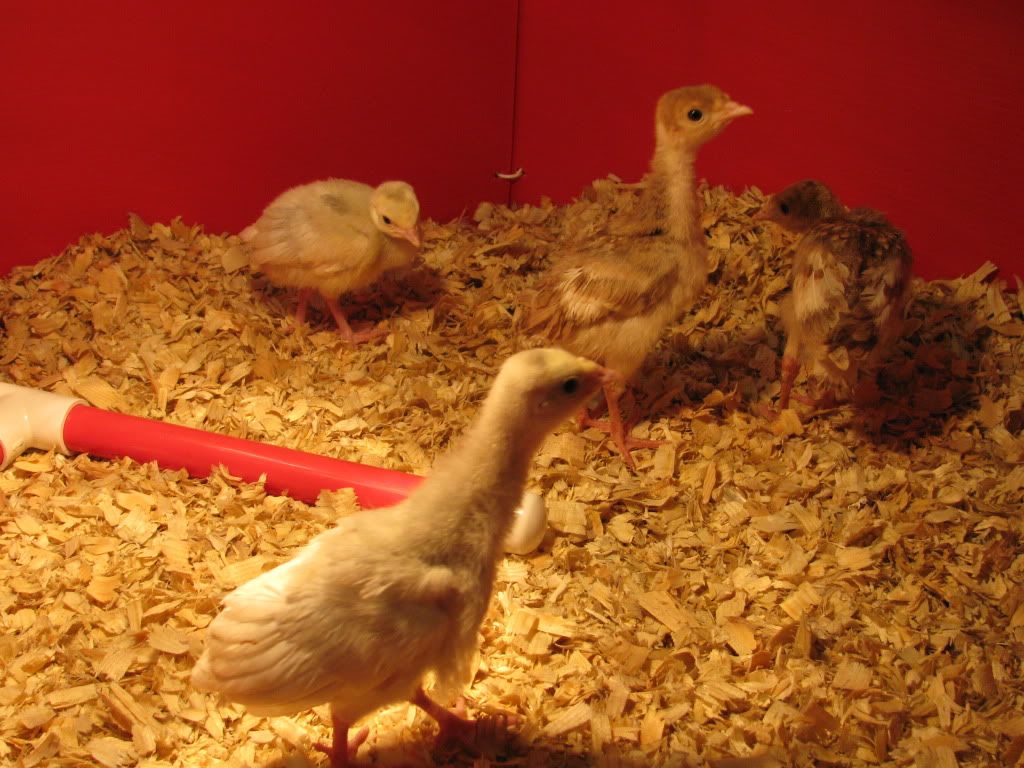
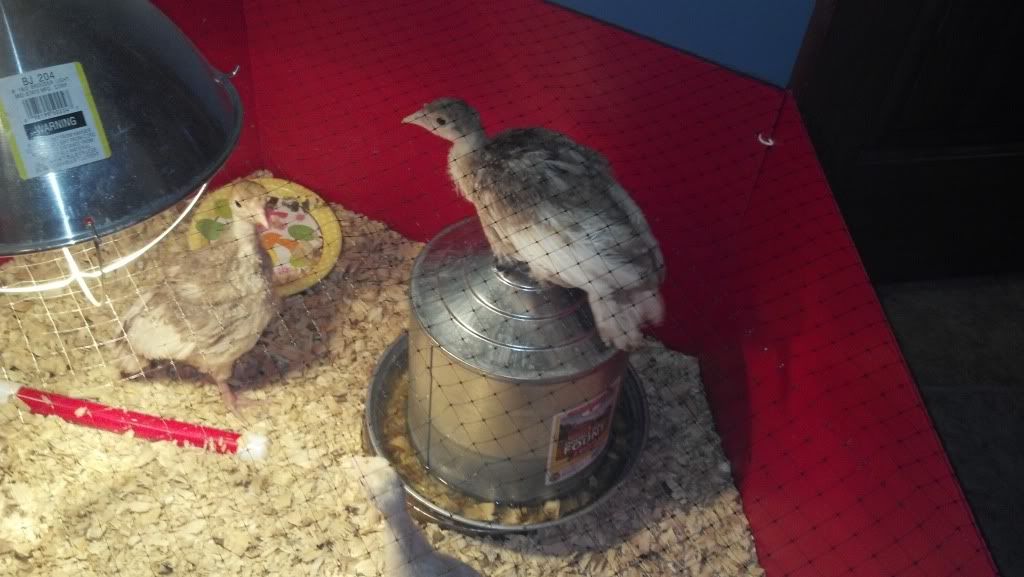
The cute little poults I bought back in May
 |
| The newly-purchased poults |
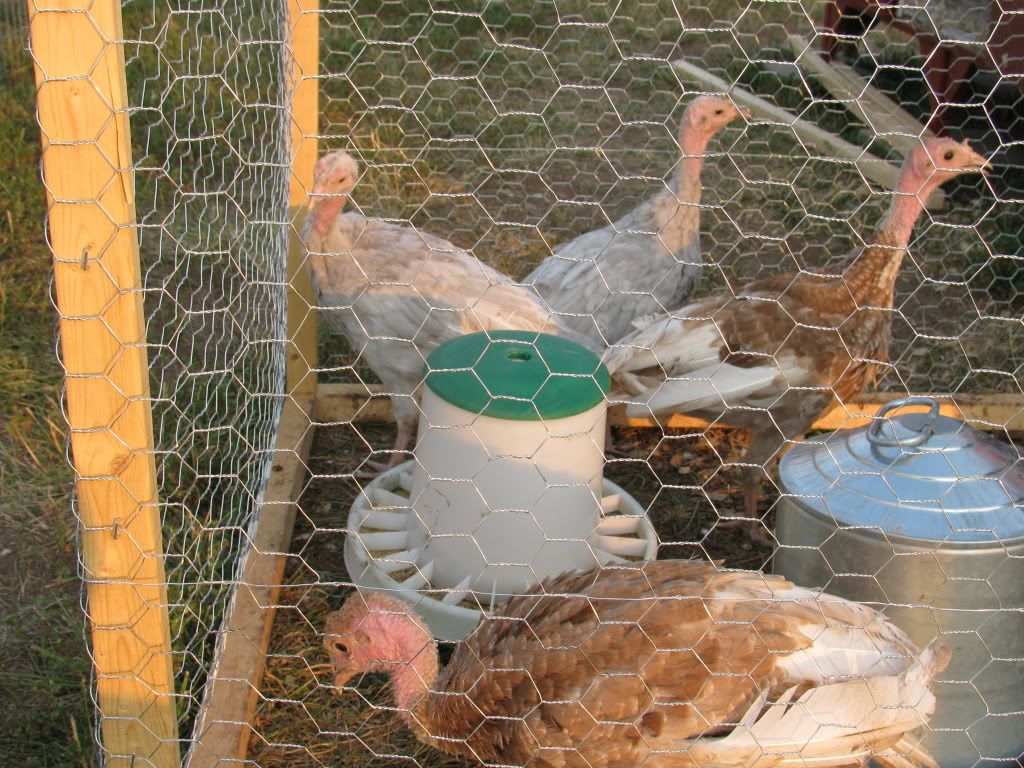
didn't take long to morph into giant, testosterone-driven eating machines.
 |
| The two bullies on patrol |
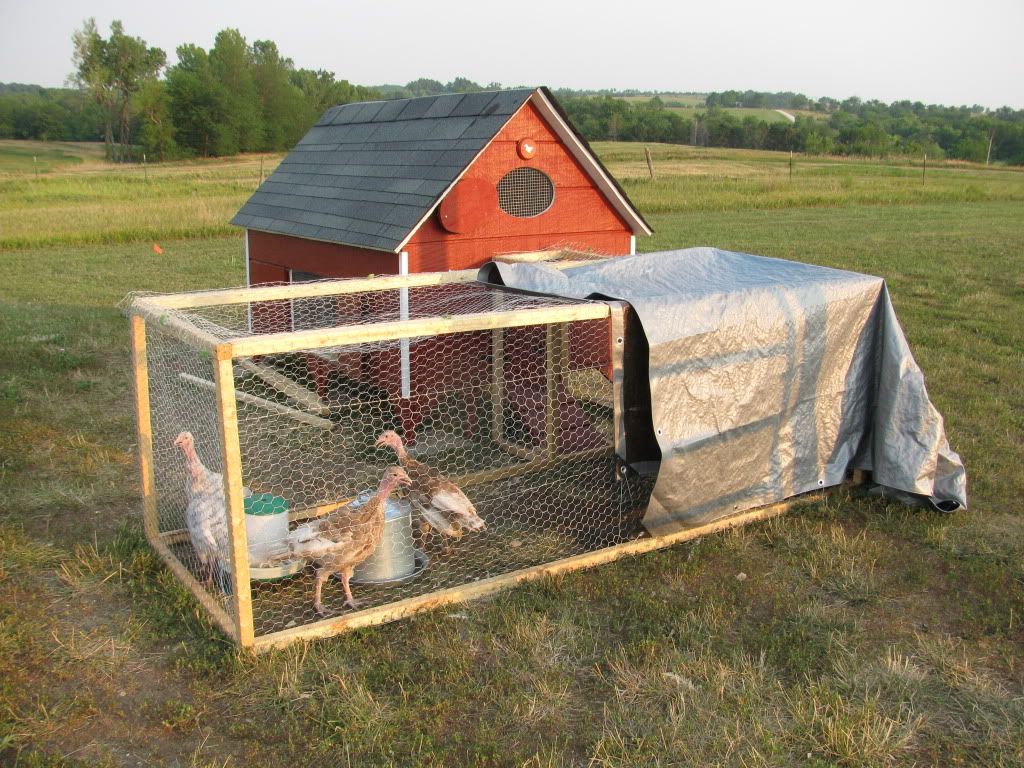
Well, at least the two toms became testosterone-driven. The two hens pretty much mind their own business, though one of them drives me batty every evening when I have to retrieve her from the chicken coop roof.
Heritage birds like our Blue Slate and Bourbon Reds take longer to mature than industrial turkeys. We intended to let them grow for at least another month or two before we dispatched them to freezer camp. I was enjoying looking at them enough that I considered keeping the Bourbon Red tom on for good.
Then the stuff hit the fan (literally). I looked outside one morning to find the two toms and our rooster fighting ferociously. I ran outside and tried to break up the fight, but none of them would back down. The toms were intent on beating the rooster to death.
 |
| Here's the rooster the day after the big fight. |
I scooped up the very bloody rooster, doctored his wounds, and placed him in a cage for his own protection. The time to butcher the turkeys had come.
The equipment:
Hubby Dear and I did a lot of reading in preparation for the big day. Here are some of the resources we used -
1)
Storey's Guide to Raising Turkeys
2)
This blog post with very helpful pictures and narration
3) And best of all,
this YouTube video.
 |
| Our list of supplies |
One of the things we did right was to make a list of supplies and have everything ready in advance. As you will find out, things went very wrong during our first attempt, but at least we weren't scrambling around for tools and materials.
 |
| The killing cone |
There are several ways you can dispatch a turkey, but we felt most comfortable using a killing cone. It seemed to be the easiest method as well as relatively peaceful for the turkey. Although we raised these birds for meat, it was important to Hubby Dear and I that we do the deed as humanely as possible. You insert the bird's head and neck through the bottom of the cone and slit its throat while it hangs upside down.
 |
| Our scalder set-up |
Once you kill the turkey, you have to remove the feathers. Plucking is the most difficult and time-consuming part of the job. You can dry pluck the feathers, but it is often easier if you briefly scald the bird. I bought a cheap turkey fryer set-up
similar to this
from Wal-Mart. It was just big enough to scald our small (12.5 and 15 lb processed weight) turkeys. It would be the perfect size for scalding chickens. If you are butchering a turkey that is over 18 lb, you will definitely need a much larger pot to scald it.
Essential to the job are a set of very sharp knives. I also found a pinning knife
like this one to be very helpful.
I often say that a person can bring themselves to do almost any gross task as long as they are wearing a pair of rubber gloves. We went through several pairs of gloves a piece to help maintain cleanliness during the process.
And of course, you need a turkey or two.
 |
| Our toms. So fun to look at, but even better to eat! |
The process:
One thing we did as butchering newbies was to write out all the steps and have it close at hand. It was really helpful to have it right there for reference.
 |
| Steps to butcher a turkey |
We decided to butcher our Blue Slate tom first since he was the meanest of the two. Hubby Dear and I said a prayer and then brought him over to the killing cone. He wasn't too keen to put his neck into the cone, but with a little fiddling, we pulled him through. Hubby Dear made two swift cuts to the turkey's jugular veins on either side of the windpipe. He immediately began to bleed profusely.
 |
| Slitting the turkey's throat. The blood is being captured in a bucket for later disposal. |
Don't you love Hubby Dear's fashionable poncho? We realized that it would be a smart idea to cover our clothing but found that the only thing we had on hand was large yard waste trash bags. We had no idea just how useful those make-shift aprons were about to be.
 |
| The aftermath |
At the very moment Hubby Dear finished slitting the turkey's throat, his cell phone started ringing. He walked a few yards away to answer an important call from work. I stood beside Mr. Turkey, supervising the proceedings.
All of a sudden, the turkey flopped UP and OUT of the killing cone. He lay in a silent, bloody heap on the ground. I didn't know that stunt was even physically possible, much less by a turkey losing blood at a rapid rate. (I should mention that the turkey didn't move until that moment. The turkey remained silent throughout the entire process.) Hubby Dear was still on the phone and gestured for me to take care of the problem.
Alrighty. I grabbed the turkey's legs and guided him back into the cone. I held onto the turkey's legs while he dangled and dripped.
The next thing I know, the entire killing cone is falling off the plywood. It wasn't the turkey's doing this time, but the nails that Hubby Dear had used to affix the cone to the plywood had come out. Here's a tip for you: use screws, not nails on your killing cone!
By that time, Hubby Dear was done with his phone call and he came to my rescue. He picked up the tom by the legs and held him for the remainder of the time that it took him to die. Since he was not confined by the cone, the turkey flapped quite a bit at the end, making us very thankful that our clothes were mostly covered by the redneck ponchos.
So much for a quiet, dignified death. I am happy to report that neither of us was overly traumatized by the first day's proceeding and that we butchered turkey #2 on the very next day. It was a much different story - quiet, peaceful, and, importantly, the killing cone stayed in one place!
 |
| Scalding the bird |
The next step once we were sure the turkey was dead, was to scald it. The temperature of the water and length of scalding is a matter of debate. We ended up using water that was about 145 degrees and scalded it for 30 seconds, moving it up and down in the water occasionally. Then we moved the bird over to a flat surface and quickly began removing the feathers, starting with the wings and tail first. Those are the toughest feathers to pluck, so you want to do those before the bird cools down.
FYI: When we butchered turkey number two, we scalded it for 45 seconds and we found that it was much easier to pluck.
 |
| Turkey #2 post-plucking The parts you still see feathers on were to be disposed of, so why pluck them? |
We learned a lot from butchering the first turkey and ended up buying a couple of extra tools that made the job easier for our second try.
 |
| Torching the filoplumes |
After you remove the large feathers, the hair-like filoplumes remain. You can leave them alone and trust that they will be unnoticeable after cooking, or you can lightly torch them with a flame. They disappear in a puff of smoke, but you do have to be careful you don't remain in any one spot for too long or you'll prematurely cook your bird.
 |
| Loppers are great for the neck and last wing section. |
We also bought a pair of loppers to help remove the neck and wing bones. You can carefully use a boning knife to cut between the joints on those locations, but loppers make the job much quicker and easier.
After you've plucked the bird and removed the extra bits like the head, neck, and legs, it's time to gut it. Unfortunately, my hands were so busy that I didn't take any photos of this process. It really isn't as intimidating as it sounds. The only tricky part is getting the crop out of the chest cavity in one piece. Then, you make a 2-3 inch cut over the vent, scoop out the organs, and remove. We cut out the actual vent last. Everything comes out in one package and it is easy to dispose of. We chose not to mess with the giblets (neck, heart, liver, gizzard) since our family generally doesn't eat those.
After we finished gutting the turkey, we rinsed it very well and put it into a cooler full of ice water for several hours. You need to make sure the bird cools down completely or it can grow harmful bacteria.
 |
| Cooling the bird |
After a few hours, we let it drain and placed it in a pan in the refrigerator. You can store the bird for up to five days before you cook it, and it is best to age it a bit before you cook or freeze it for the most tender results.
-------
The first bird took us 3 and 1/2 hours from start to finish. Yikes. We learned quickly, though, and bird number two only took 1 and 1/2 hours. I'm sure we'll get it under an hour with practice. We probably won't do turkeys next year, but we certainly will use the skills we learned when we butcher our old laying hens.
Don't be scared about doing your own butchering! Hubby Dear and I did not grow up on farms and have no experience in this area. It really isn't so tough once you try it. I know we gave our birds a great life and now we have delicious, healthy meat to show for our efforts. Just make sure you secure the killing cone properly and try not to answer your cell phone during the process! ;)




 Posts
Posts