Showing posts with label incubator. Show all posts

Monday, July 9, 2012

Ancona Ducklings!!

After 28+ days of waiting, we have nine gorgeous Ancona ducklings! They were due on July 5th. There were lots of pips that day, but none of the eggs seemed to be moving closer to hatching. Nevertheless, I slept on the couch so that if any of the babies hatched in the night, I could hear them.

4:30 AM on July 6th, I was in the middle of strange, poultry-related dream that included Terry Golson (from Hencam) and I going antique shopping.  Some persistent peeping penetrated my slumber and I ran to the kitchen. This is what I saw:


An egg is unzipping!

One of the eggs was unzipping, which means that the duck was turning around in the egg and poking holes in the shell. Boy, was it loud! 


Pushing out


Welcome to the world, little duck! 


This little duck was full of energy. Not long after he hatched, he was running around the incubator, using the other eggs for soccer balls.


Duck #1 loving on Duck #2

When more started hatching, Duck #1 started harassing the occupants of the other eggs. He kept poking his bill in the zipped portion of the eggshell and making the other duck squawk. It is recommended that you keep newly hatched ducklings in the incubator for up to 24 hours before you transfer them to a brooder. This allows them to stabilize and dry off. We had to remove Duck #1 after just a couple of hours or he could have potentially hurt the next couple of ducklings. He was quite a bit more frisky than they were and could have ruptured some incompletely absorbed yolk sacs.


Hubby Dear performing surgery on a struggling duckling's egg

A few of the ducklings showed signs that they were struggling. There are a couple of schools of thought about helping ducks and chicks to hatch. Some say you should just let nature take its course, survival of the fittest, as it were. Others say that it is OK to gently assist ducklings, especially if the humidity might have been wonky and the chick or duck could have dried out a bit and got stuck to the membrane of the egg.

We decided to help out those ducks that were clearly in trouble. We set up the brooder lamp and warmed a towel to rest the egg on. Hubby Dear took a pair of dull tweezers and gently chipped away at the shell while I swabbed warm water on the membrane with a Q-tip. You can read about the technique we used here.


We opened the shell ever so slightly. Then we put it back in the incubator for an hour or two. 

We moved very slowly, trying to give the duckling time to do most of the work. A couple of the ducks needed a lot of help, some required just a bit, but most hatched out entirely on their own.

See the tiny toenails and the bit of bill?


The first three ducklings in the brooder. Two of the three ducks don't have enough patterning to make them ideal
examples of the Ancona breed. The duck on the right is more desirably marked. The pink thing
in the right of the picture is an old stuffed animal we gave them to cuddle.

After a month of waiting, we were soon deluged with adorable ducklings.


A little girl fresh out of the incubator. 


Another little girl


A boy 

Another boy

Another boy

One last little boy

If you were keeping track, you'll see that we ended up with three girls and six boys. So we think, anyway. We watched this video on determining gender in waterfowl and used what we learned to vent sex our ducklings.

Although it's hard to acknowledge when surrounded by their extreme cuteness, we can't keep all our ducks. That kind of boy to girl ratio would make our girl ducks extremely unhappy when they get to breeding age! Ideally, we would have gotten five girls and kept one boy but of course it doesn't always work out the way you want. We are going to keep all three girls and two boys. We have found homes for the extra four boys.  These cuties are not hard to sell. :)

Cute, but certainly messy!!


Sunday, June 10, 2012

How to Incubate Shipped Duck Eggs

I have wanted Ancona ducks since I read about their virtues in Carol Deppe's book, The Resilient Gardener. They are friendly, forage well, destroy garden pests and are good for both eggs and as a meat bird. They are also ridiculously gorgeous.

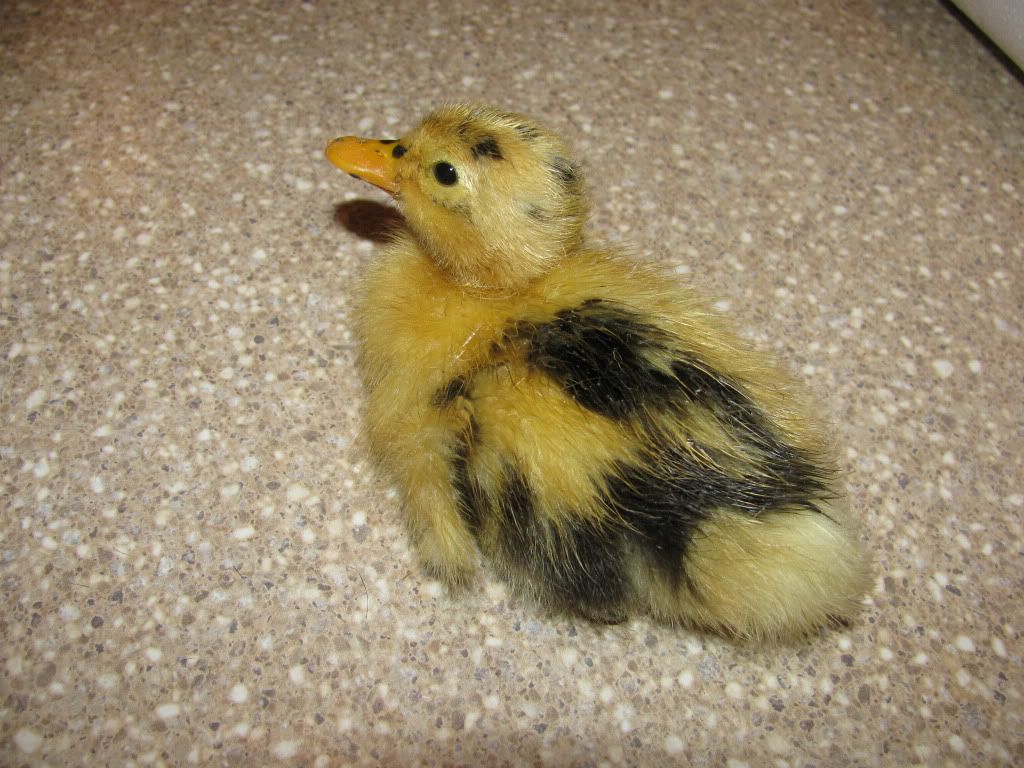
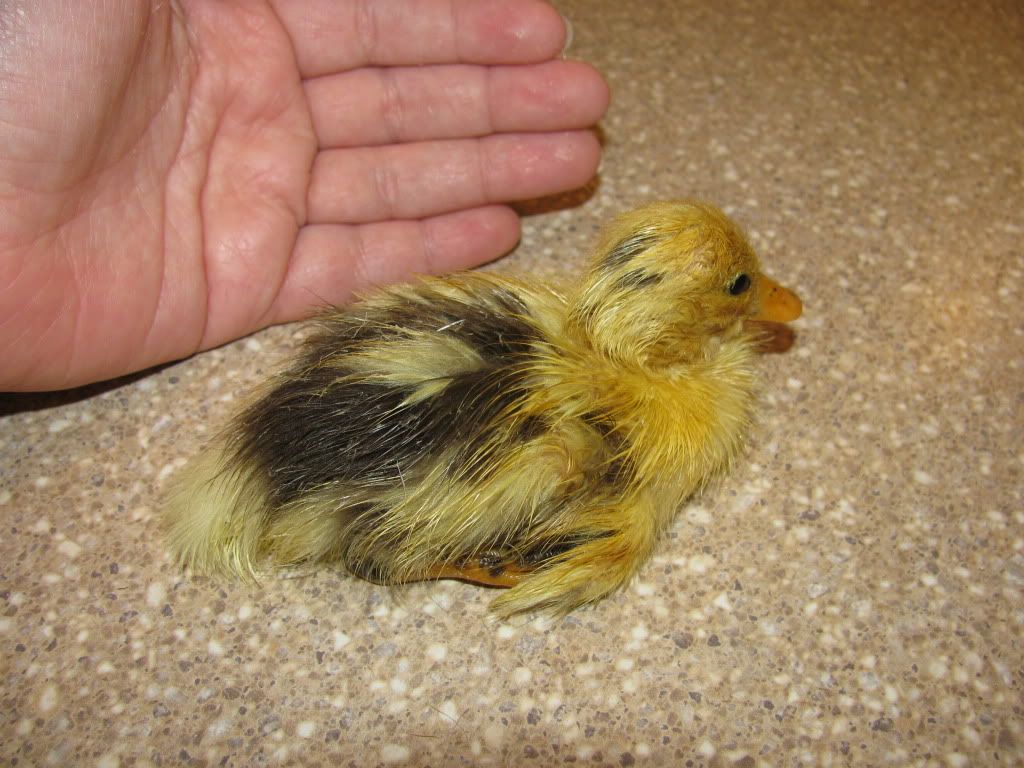
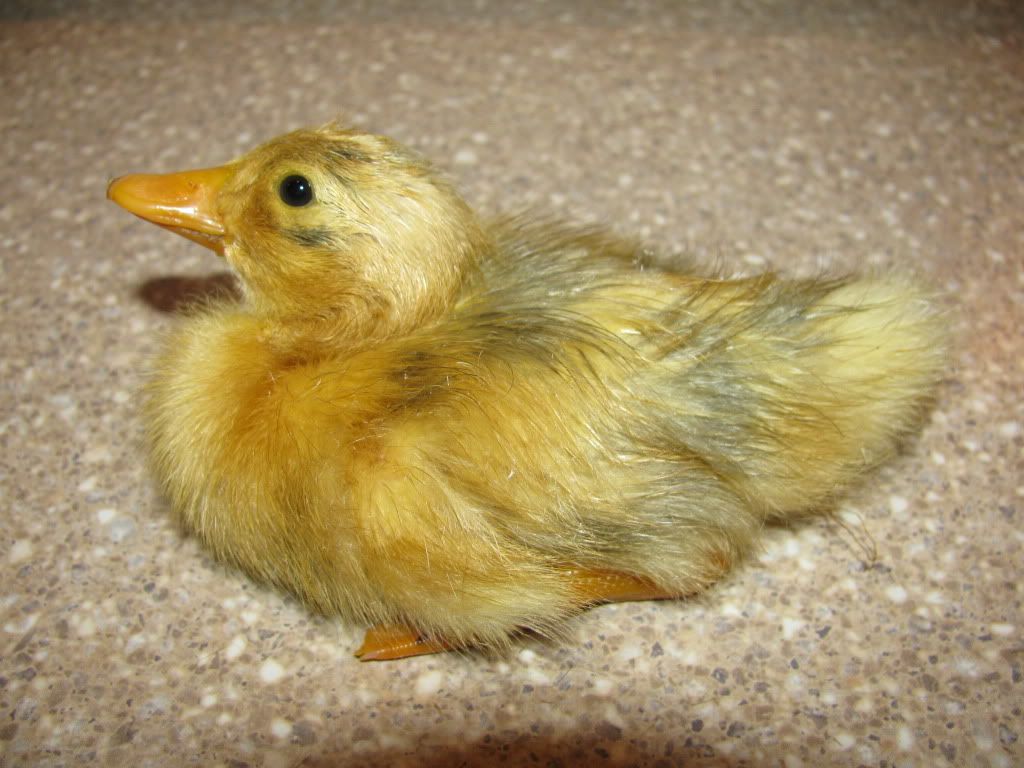
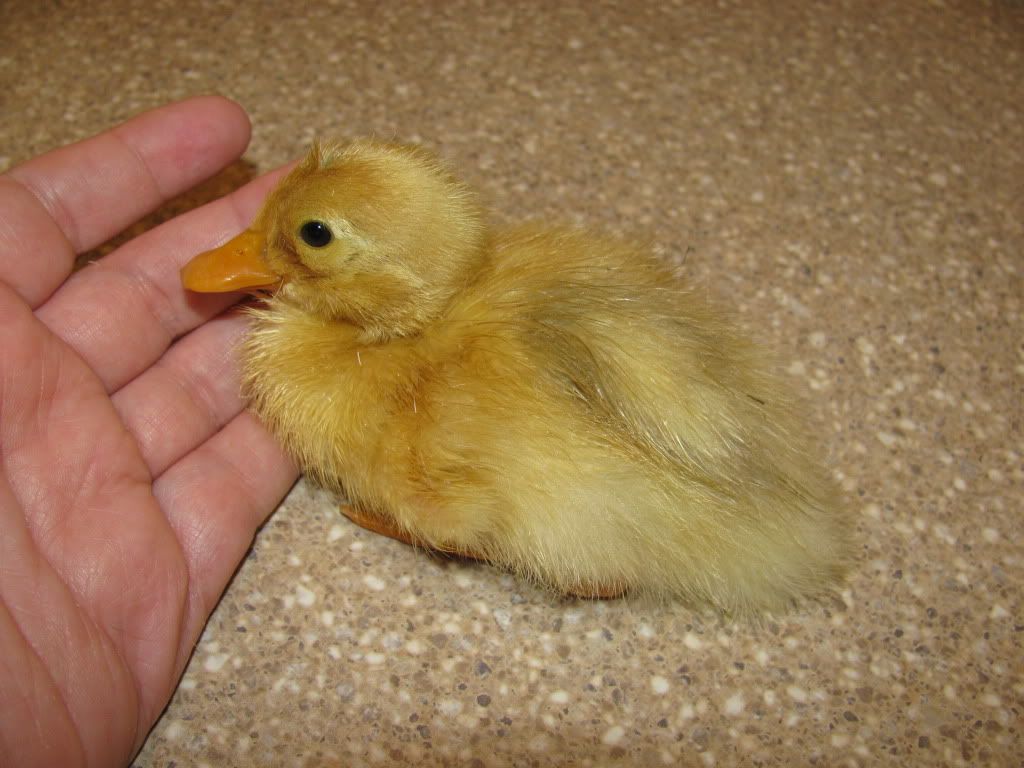
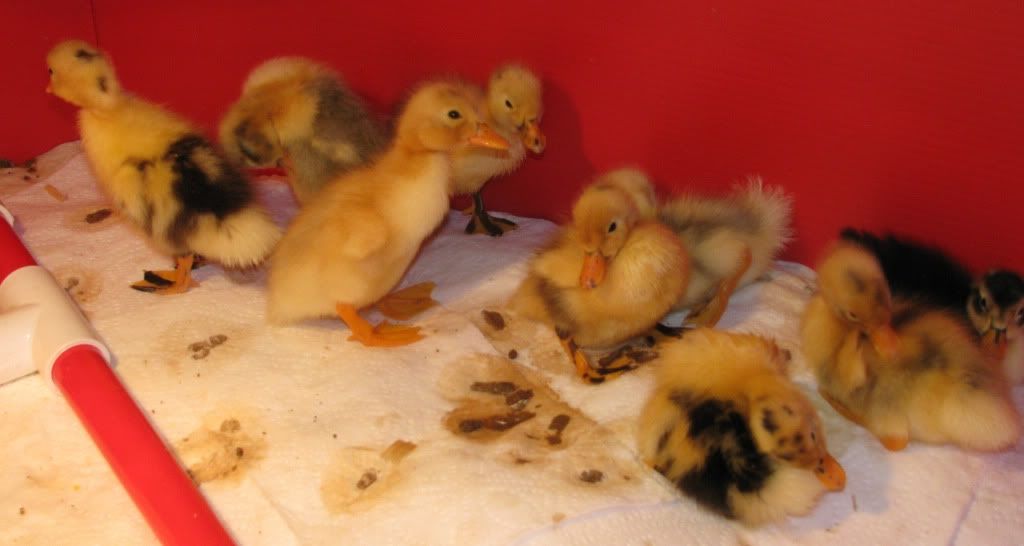
Ancona ducks come in a wide variety of patterns and colors
Image from http://boondockers.sharepoint.com 

Anconas are patterned like Holstein cows or pinto horses; no two ducks are alike and they can have spots that are black, brown, lavender, or blue in color.

There's just one problem - Ancona ducks are a critically endangered breed. There are very few hatcheries that sell them and those that do have a variety of issues (huge minimum orders, poor quality birds, and/or sold-out for 2012).

All of this persuaded me that there was no better way to get my own Anconas than to incubate eggs shipped  from an Ancona breeder across the country.

First, a little incubator terminology

An incubator is simply a device that holds fertilized eggs at the optimal temperature for embryo growth. You can make your own incubator on the cheap, or or buy one of the many models out there at a variety of price points.

There are two basic types of incubators, still and forced air. Forced air incubators have a fan so that air is circulated and the temperature is more or less equal throughout the incubator. Both types work well, you just need to adjust your incubation procedures based on your model's performance.

I was in a bit of a rush when I ordered my incubator. I had already ordered my eggs and I needed to get an incubator, pronto. I settled on a forced-air Hova-bator.


The bottom of the incubator


The Hova-bator's exterior is actually made of styrofoam. I guess that's why all those homemade incubators made from coolers work so well! The bottom is lined with a plastic tray that has channels to hold water. You control the humidity by adding water to the tray. Over the top is a wire rack. You can place your eggs directly on the wire and this is where the ducklings will be born. 


Automatic Egg Turner

Or if you are lazy and forgetful like me, you can buy an automatic egg turner. It plugs in and gently rotates the eggs once every 4 hours. If you don't have an automatic turner, you need to turn your eggs by hand three times a day.  This particular turner holds 42 eggs. 


I set the the incubator and got it to the correct humidity and temperature well before I put the eggs in.

The incubator was very easy to put together and came with easy to follow, full-color instructions. I set up the incubator in our basement storage room. The same characteristics that make it an ideal place for long-term food storage - steady temperature, lack of direct sunlight - are perfect for incubating eggs. 

Pre-heating the incubator

According to Dave Holderread, one of the foremost authorities on waterfowl and author of Storey's Guide to Raising Ducks, you should start your incubator at least 48 hours before you set your eggs. That way you can make sure you dial in on the correct temperature and humidity. For ducks, you want to start off at a temperature between 99.25 and 99.5 degrees F and about 55% humidity if you have a forced air incubator. If you have a still air incubator, your numbers will be different; check your manual. 


Some of my hatching eggs resting after their long trip

Challenges with Shipped Eggs

I located an Ancona breeder and bought 10 hatching eggs from her. I honestly don't need any more than five ducks, but shipped eggs can have a lower hatch rate due to the traumas of a cross-country journey. The lady I bought my eggs from was extremely generous and shipped 15 eggs. If I have an amazing hatch rate, I'm going to have to re-home some of the little cuties!

If you look in the right places, you can find hatching eggs of all sorts of rare breeds. Search for hatching eggs on Ebay or on the Buy-Sell-Trade section of the Backyard Chickens forum.

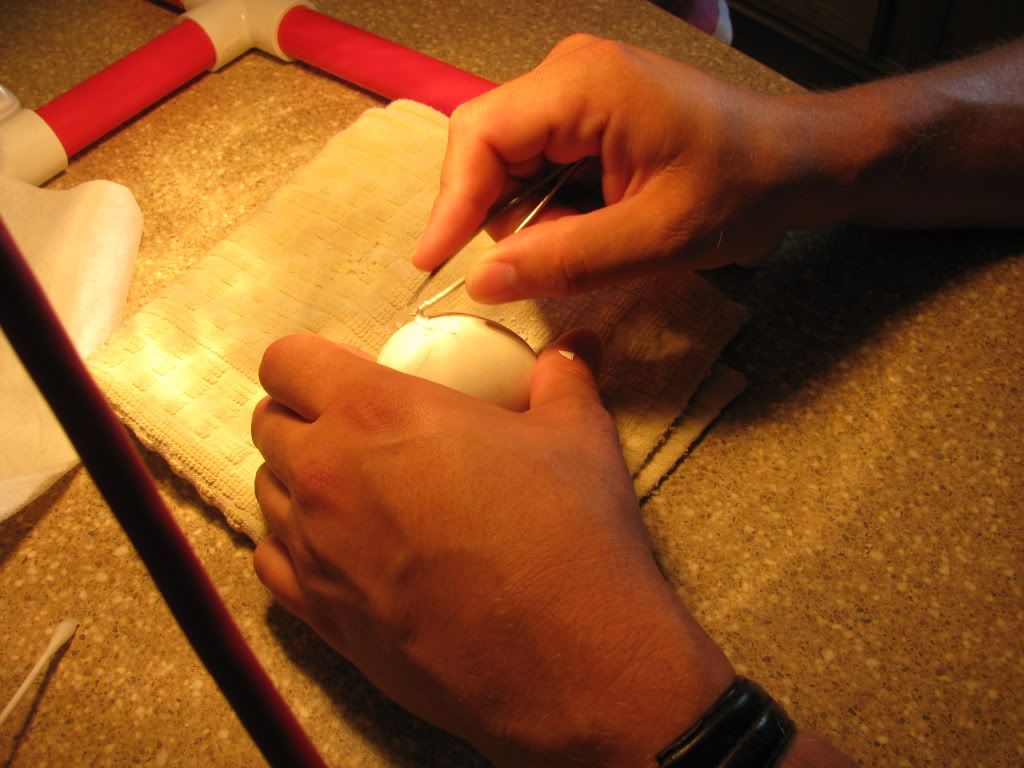
The seller individually wrapped each egg in bubble wrap and then packed them carefully in a Priority Mail box. As I took each egg out of the box, I candled each one to make sure there were no cracks and that the air cells were not detached in shipping. That sounds hard but it wasn't. I simply used a small penlight to shine a beam of light into each egg. I gently rotated the eggs to make sure the air cell was attached to its proper place at the large end of the egg.

Shipped eggs should be rested at least 6-12 hours before they are placed in the incubator. I received my eggs at 2:30 PM on Thursday and they were put into my warmed incubator at 1:30 AM Friday morning. I was up late working on our duck house project and couldn't wait any longer!


I have a thermometer and a thermometer/hygrometer to monitor conditions

Starting the Incubation

Place the eggs in the incubator with the small side down. If you are not using an automatic turner, simply put the eggs on the wire bottom and try to arrange them so the large end is slightly raised.

You should have a way to monitor the temperature and humidity from outside the incubator. My Hova-Bator came with a little thermometer to place on top of the eggs. I bought an additional thermometer/hygrometer. The thermometers don't read exactly same temperatures, so I just average the two.

If you do not have an automatic turner, you're going to need to rotate your eggs three times a day. Make a mark on each egg in pencil and that will help make sure you are rotating your eggs completely. The rotation is necessary to ensure the yolk doesn't stick to the shell.

The Waiting Game 

Ducks take about 28 days to hatch; chickens only take 21 days. For the first 25 days, the eggs need to be rotated and the temperature and humidity needs to be maintained. You should candle the eggs on day 7, 12, 19, and 24. This is a good link that shows what proper egg development looks like on each day of the incubation. Discard infertile or dead eggs as you discover them lest you find a nasty exploded egg inside your 'bator one day!

Holderread recommends spraying the eggs with lukewarm water on days 6-24. Supposedly this helps the eggs dry out the perfect amount for the ducklings to hatch properly.

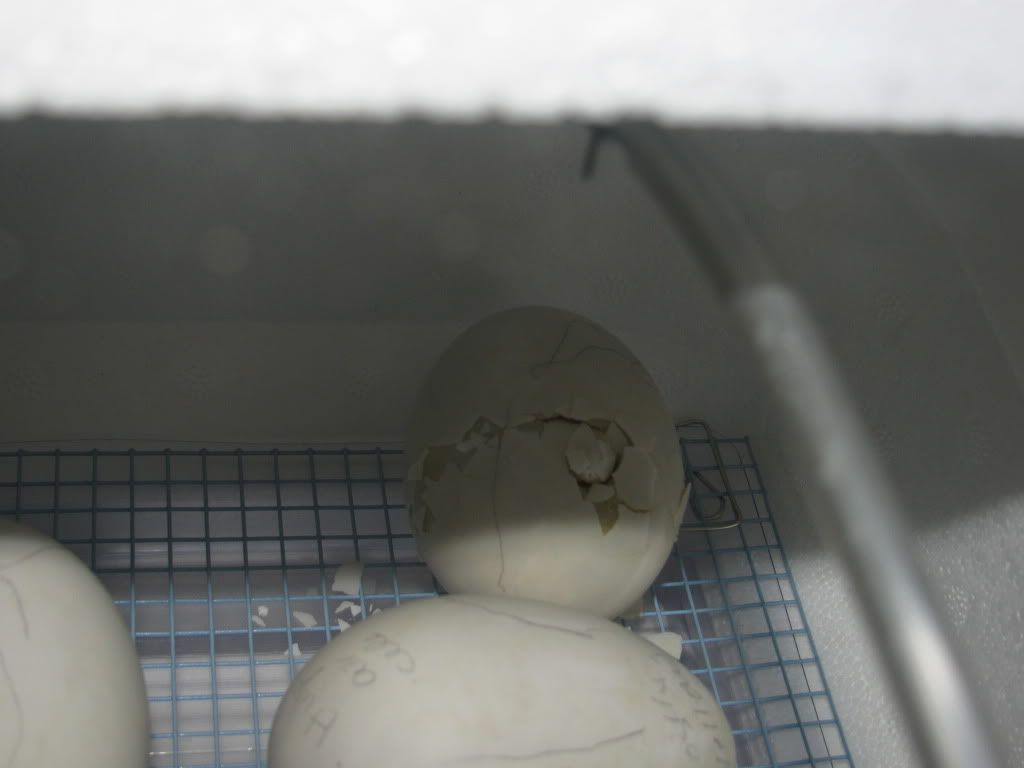
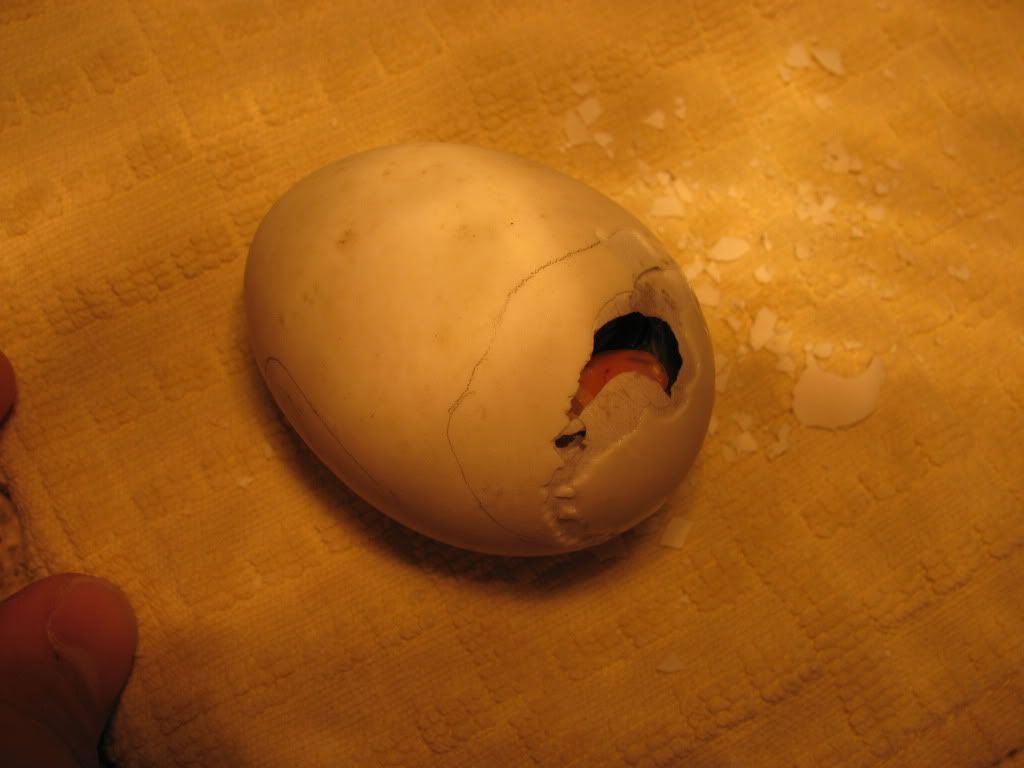
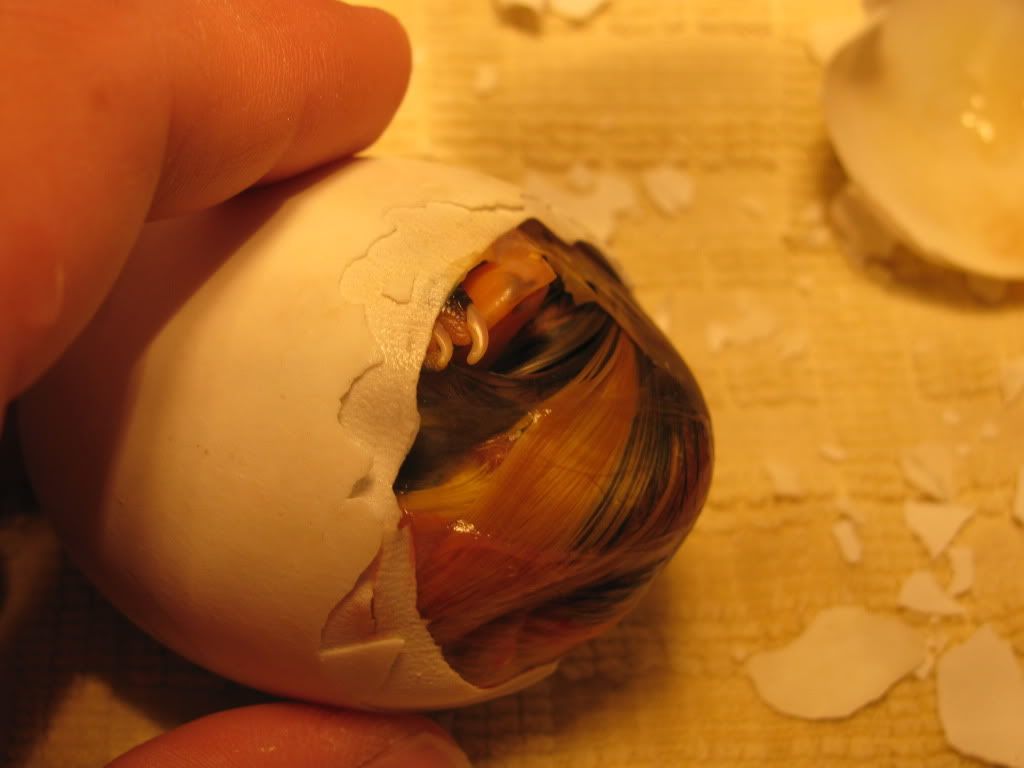
On day 26, remove the automatic turner and stop rotating the eggs. Make sure you place the eggs with the large end up or the duckling may not be able to hatch out. Bump up the humidity as high as it can go without clouding the glass on your incubator. You are now on "lockdown" and you should not open the incubator until the hatch is over.

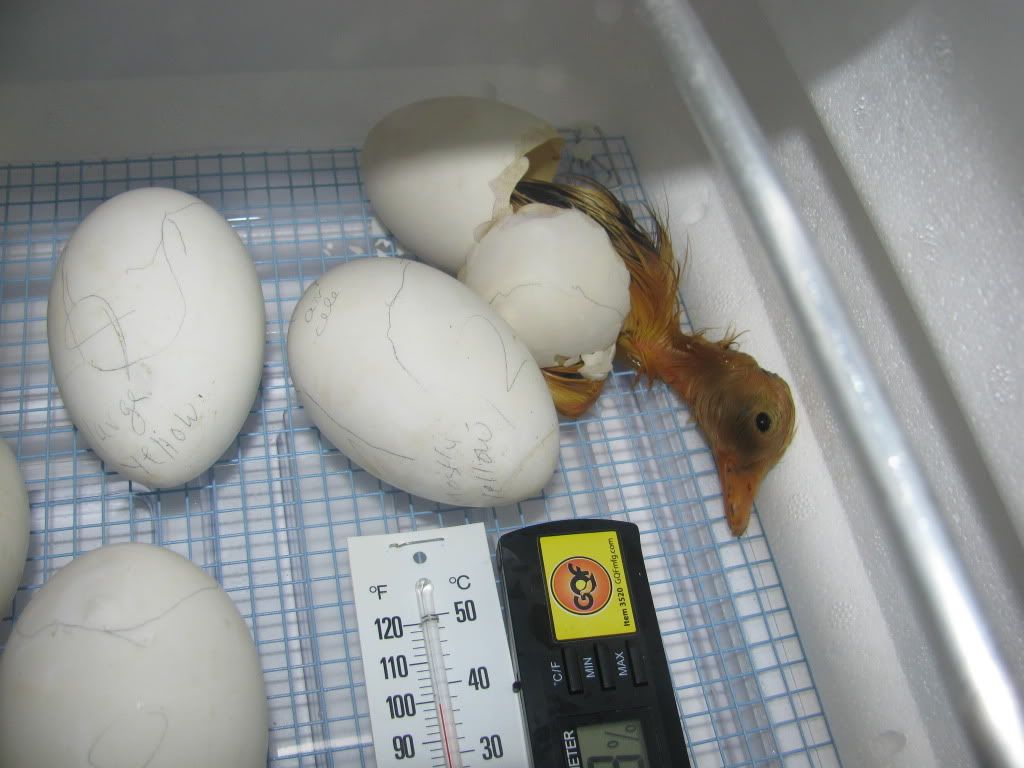
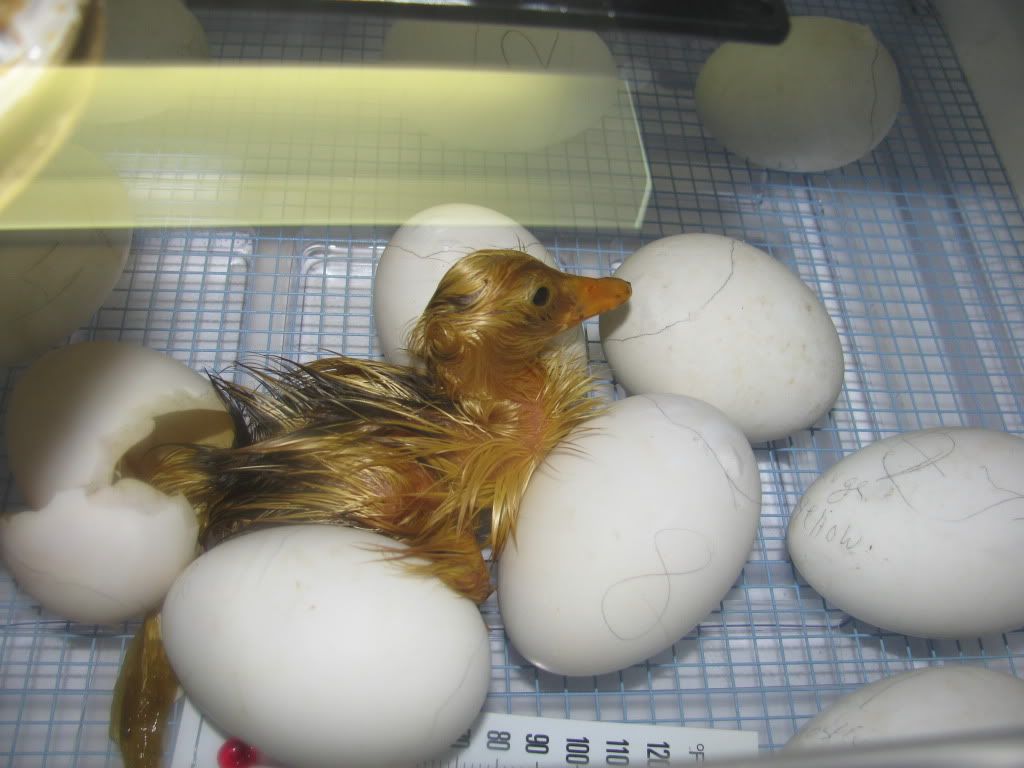
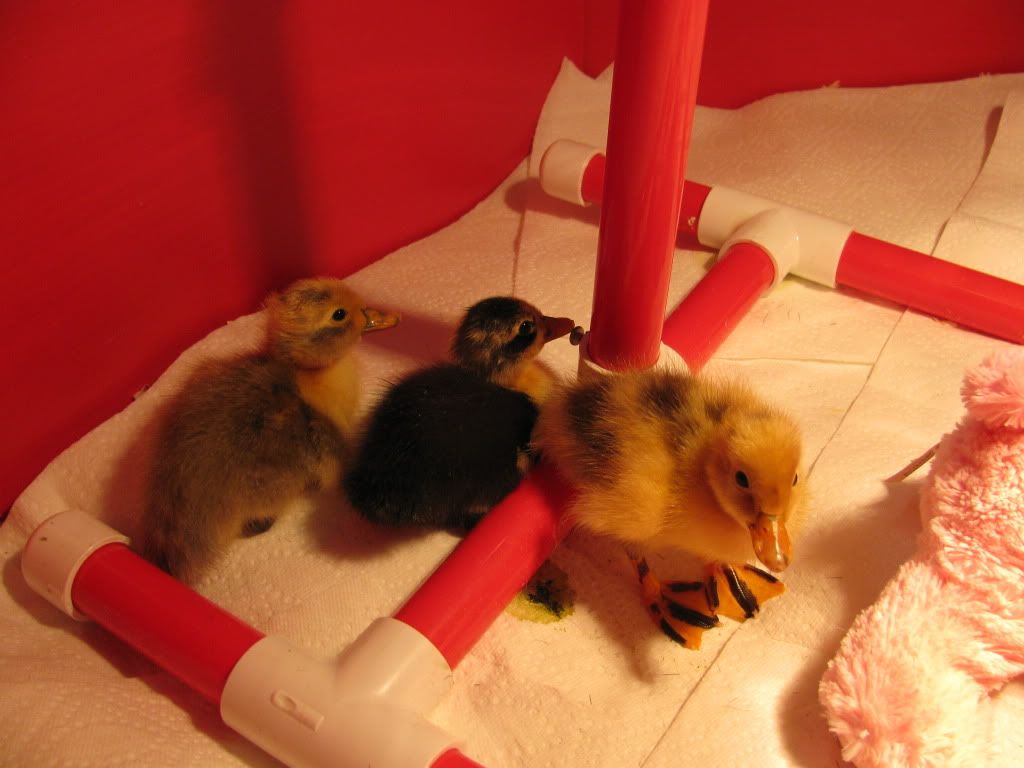
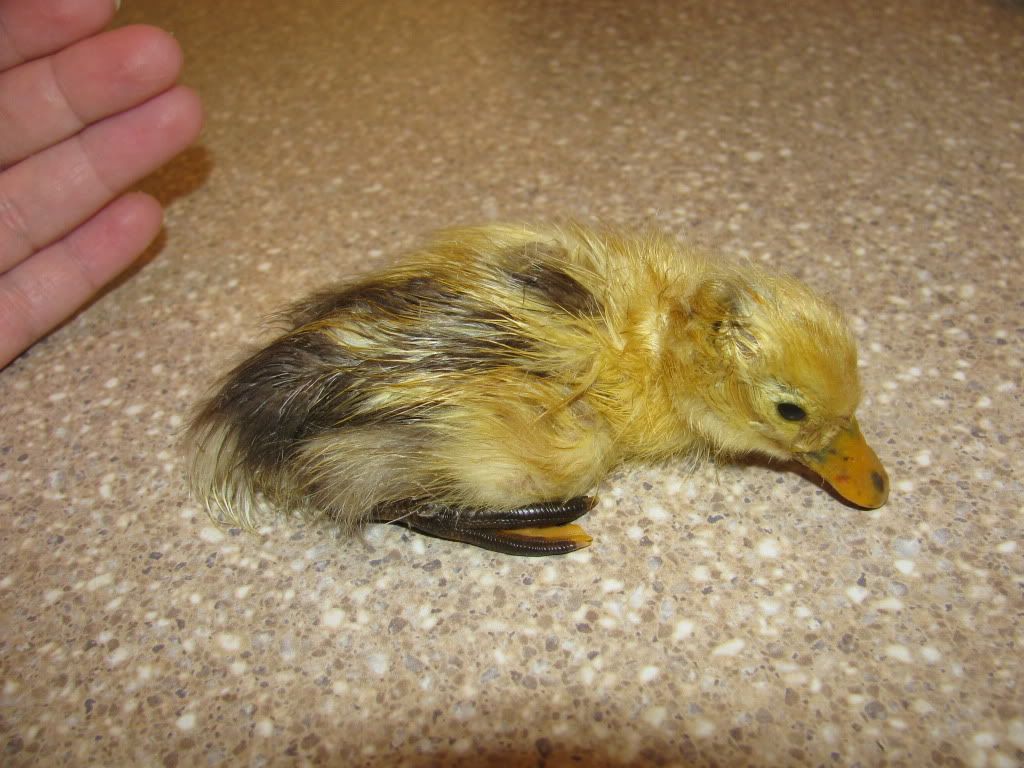
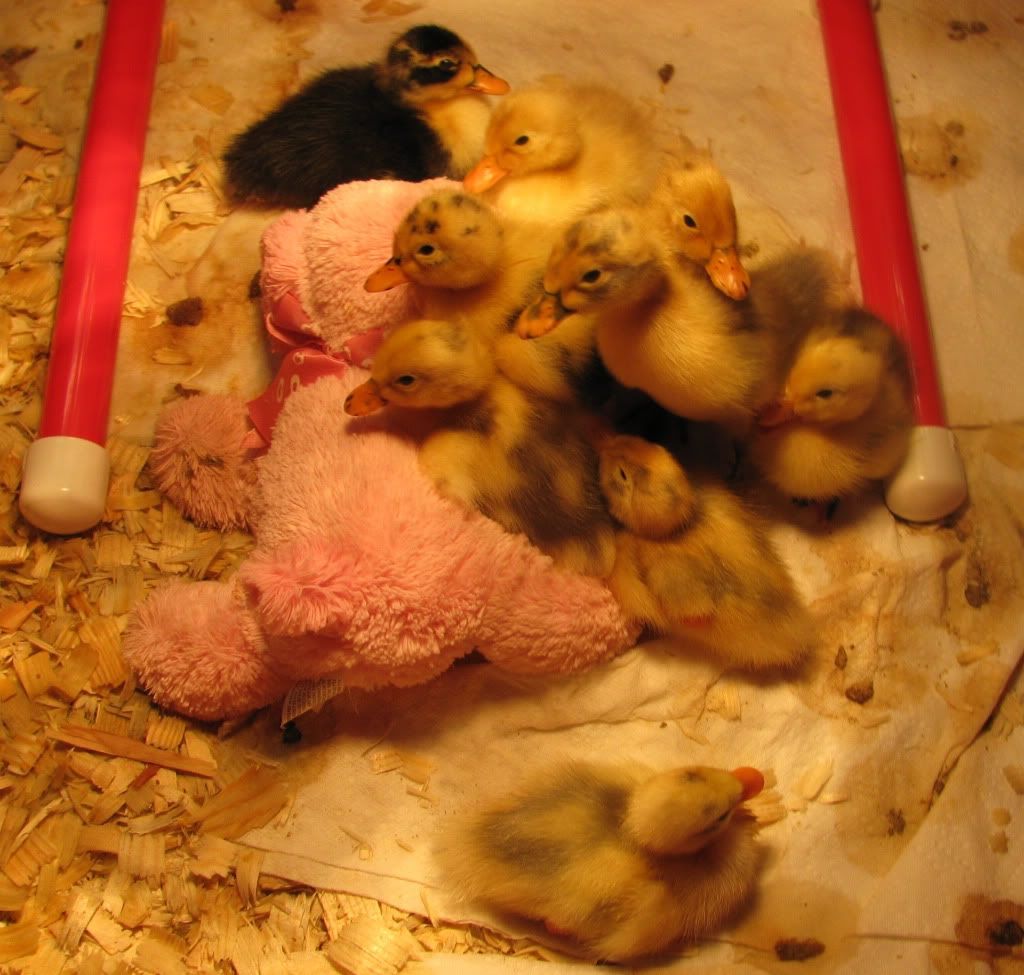
Once the ducklings have hatched, you can decrease the humidity, allow them to dry off, and whisk them away to the brooder.

------

It's only day four of our incubation process and I'm already watching over those eggs like a protective parent. Even though I'm not really supposed to be candling the eggs yet, I went ahead and looked at three of them. I think I saw the beginnings of veins in two of the three eggs. Good signs!

Resources:

1) Storey's Guide to Raising Ducks  by Dave Holderread


Have you ever incubated your own poultry? Have any advice for me? 

Photobucket

Friday, June 8, 2012

My June Lunacy, I mean, Preps

In case you haven't noticed, my thoughts, time, and prepping budget have been dominated by poultry-related purchases recently. Hubby Dear has come up with a term for the disease from which I suffer - Poultry Acquisition Disorder, or PAD for short. I don't think PAD is such a bad thing; Hubby Dear begs to differ!

There is a consequence of PAD, however; the cute little buggers grow up and then you have to figure out where you are going to house them. My June and July prepping budgets will be spent on turkey and duck housing and associated paraphernalia.

Oh, you didn't know I had ducks? Technically speaking, we will have ducks in 28 days since my ducks are still in ovo. I've got a batch of Ancona duck eggs in an incubator. Stay tuned for a tutorial on incubating duck eggs in an upcoming post.

We have three big projects underway.

1) Build a duck house


Hubby Dear and I shelled out big bucks for a pre-made chicken coop, but you can't just buy pre-fab duck houses. And using a chicken coop for ducks can be problematic as ducks have different requirements. For one thing, they don't roost. Their legs are also more delicate than chicken legs, so some of the taller designs with long ramps aren't ideal. They also need the nesting boxes to be at floor level.

We considered a lot of different options and nearly settled on converting a doghouse kit into a duck house identical to this, but we wanted something larger and with more versatility.

I ended up buying a chicken coop plan from the very cool Fresh Eggs Daily blog and Hubby Dear and I are building it ourselves. The coop is very duck-friendly and is large enough to house up to 9 Ancona ducks. We don't have a very good track record with home improvement projects, but so far it is going well. If you are handy, you probably don't need to buy the coop plan since she has a pretty detailed blog post about the coop, but Hubby Dear and I appreciate the cutting diagram and parts list.

The pile of supplies. We had to buy a circular saw and jigsaw plus all the lumber and miscellany, so the total came to
about $400 dollars. If you have the tools already, plus some scrap lumber on hand, this could be FAR cheaper. 

We're still cutting all the plywood, etc. and priming everything before we put it together.

Primed bits and pieces

Since ducks are so notoriously messy, I'm going through the extra step of painting the duck house both inside and out. I hope this will make cleanups easier in the long run. Right now it just seems to be slowing the process down!


2) Figure out the turkey housing situation

A brooder in my basement isn't going to cut it for my turkey poults much longer.

I think my turkeys are around 3 weeks old. They are already larger than my chickens were
when I allowed them out of the coop and into their run. Thank goodness I only bought four!

For one thing, I'm going to need my brooder for the ducklings in less than a month. And the turkeys are ready to get out of the brooder. They've already escaped several times despite the bird netting! They are little Houdinis, that's for sure.

Here's the problem: turkey poults are very delicate and disease-prone. Should they get too hot, too cold,or  too wet, they'll drop dead. People tend to baby their poults until they are 8+ weeks old, and even then many people will keep them indoors or in wire cages.

My tentative plan is to move them out into the duck house (with an attached run) when they are 5-6 weeks old. I'll give them plenty of shade and ventilation and hope for the best. They can get to know their new chicken roommates, and hopefully by the time I'm ready to move the ducks outside, I can integrate the turkeys in with the chickens. I'm taking a bit of risk by keeping our turkeys with the chickens (chickens can potentially give turkeys a disease called blackhead), but I'm willing to chance it.

Eventually the turkeys will be too big to go in and out of either the duck house or chicken coop, so they will get their own shelter. We plan to build a smaller version of the range shelter shown in Storey's Guide to Raising Turkeys. It will look similar to this:

Turkey range shelter - Ours will be quite a bit smaller because we only have four turkeys!
Image from http://www.freetimesw.com/blueoakranch/turkeys.htm 


3) Expand and fortify our chicken moat

Our chicken coop is attached to a moat that goes around our garden.

Current plan of the chicken moat


Since we're adding in a 4'x6' duck house plus a turkey range shelter and a whole bunch of new birds, we need to expand the run.

We seriously considered using electronet and making pens for the new birds out in the pasture. (You can see what that would look like in the photo of the turkey range shelter.) The birds would love that and we may do that in the future, but we have a special needs child and a toddler so I am concerned for their safety.  We decided instead to expand the chicken moat. We will bump out the right side of the moat to match the existing left side, giving a total of about 1,150 square feet for the birds to roam in safety.

We are also going to add a layer of chicken wire to the bottom of the fencing. We used welded wire mesh with 2"x4" openings to build our fence and little ducklings will easily be able to slip through for the first couple of months. And if any of my chickens go broody next spring and hatch some chicks, we'll be all ready for that!


A duckling could slip out or get stuck in the holes in the fence. We'll cover the lower
2 feet with chicken wire just to be safe. 


As you can see, I've got plenty to keep me busy over the next month and a half! I'm just trying to refrain from adding geese to the mix!

Wednesday, December 7, 2011

Peeps or Pullets? Ways to Get Started in Chicken Keeping

This is the first of a multi-part series chronicling my entry into chicken keeping.
---------

I've wanted chickens off and on for much of the past decade. The notion came to me in my Martha Stewart-idolizing days when I found out that she had a large flock of chickens in a custom-built "palais de poulet". And they weren't just any chickens. Her fancypants chickens laid eggs in shades of blue and green.

Martha's Palais de Poulet
Image from farmhousemusings.blogspot.com

The idea of gathering Easter eggs laid by chickens housed in a decorative outbuilding was the subject for many a daydream. The fantasy would inevitably end with Hubby Dear and I beating eggs for an omelet in a scene reminiscent of "Ghost", complete with the Righteous Brothers singing "Unchained Melody" in the background.

There are striking differences between Martha Stewart and myself. And not just the fact that she is a convicted felon and I have an over-active imagination. Martha has people. People to walk her dogs, mow her expansive lawns, and muck out her chicken coop. I have no people and I wasn't sure that I wanted to add chicken poop patrol to my job description.

Fast forward to 2011. Chicken keeping has become much more mainstream and hipsters in urban areas all across the country have chickens. If they can have chickens and like it, why not me? After all, I have plenty of space and more than an inclination for self-reliance. After pouring over a thick stack of books on poultry from the library, I threw my doubts to the wayside, coerced Hubby Dear into cooperating via the magical powers of the chicken moat and started making plans for the spring.

Which should come first? The Chicken or the Egg? 

One of the first questions you have to answer once you decide to embark upon the enterprise of chicken keeping is what kind of chickens do you want to get? No, I don't mean what breed of chicken (that will be discussed in an upcoming post), but rather, do you start with hatching eggs, chicks, or pullets?

Hatching eggs

Hatching eggs are fertilized eggs that could potentially develop into chicks, given the right set of circumstances. You can order hatching eggs from professional hatcheries, buy them online from poultry fanciers, or get some from a neighbor who keeps chickens (assuming that neighbor also has a rooster and the eggs are fertile).


Eggs come in a variety of colors
Image from backyardchickens.com

How cool would it be to raise your own chickens from the egg up? As a homeschooler, this is one of those projects that appeals to me for the sheer educational value for my children.

There are some downsides to choosing hatching eggs as the means to get a flock started, however. First,  you'd have to find a source of hatching eggs in the breed or breeds you desire. Hopefully the eggs would make it safely through their journey to your house, but even then, the danger is not over. It takes 21 days in an expensive incubator with careful turning (so the yolk does not stick to the shell) and proper humidity for a chick to develop and hatch out of an egg. Some eggs will never develop at all and some chicks may be too weak to survive. What if all the chicks that hatch out are roosters? Then what? You'd have to start the process all over if you want those fantastic fresh eggs.

Chicks

Image from marinhomestead.com

The second, and probably most popular, way of starting a flock of chickens is buying chicks. You can get a wide variety of chicks through the mail from professional hatcheries, at your local feed store in the spring, and even on Craigslist at times.

Baby chicks can survive for two days without food or water because they are still absorbing the yolk sac from the egg. This marvelous fact means that newborn poultry can be shipped across the country and arrive healthy and (supposedly) happy at your domicile.  Most hatcheries require a minimum order of 25 chicks to insure the chicks stay warm, though there are a few that accept orders as small as three chicks.

You even have a good shot at getting the right sex of bird. You can specify the exact number of each sex you would like or ask for "straight run" (luck of the draw). This is especially useful if you live in an area that bans roosters and you don't want to re-home or eat any male birds. The sexing process is not foolproof, however. Those chicks and their parts are tiny!  Most hatcheries claim to have about a 90% sexing accuracy.

Chickens rapidly grow past the cute fluff ball stage but it takes a while for them to start laying. From my research it appears that a few breeds might lay at 18 weeks of age but 22-25 weeks is more typical. That is a long time and a lot of feed to buy before you get your first egg. That leads me to the last way to start your flock.

Pullets and Hens 


A Welsummer pullet
Image from http://www.north-western-poultry-society.com

You can save a lot of time if you buy chickens that already are old enough to lay eggs. A pullet is defined as a female chicken than is less than a year old. After a year, they have earned the venerable title of hen. You can buy started pullets from a hatchery and almost immediately start collecting eggs. There won't be any surprise roosters included in the bunch. Although started pullets are more expensive than chicks ($7-15 dollars per pullet vs. $1.50-4.00 per typical chick), when you factor in the cost of feed, etc., it's not really that bad a deal.

An even less expensive option would be to check and see if your state agricultural college sells pullets to the public. One of my neighbors bought 8 pullets from the poultry unit at the Ag college. They were 18 weeks old, fully vaccinated, and ready to go when they brought them home.

If you watch Craigslist or the local classifieds, you might find listings for hens. I would approach these with caution. After two years of age, most chickens will lay significantly fewer eggs. As an inexperienced poultry keeper, I would be afraid that someone was trying to pawn off an old hen that had stopped laying.

My choice

For me, the choice was easy. I decided to buy chicks for the cute factor, the educational value of watching them grow, and the ability to get exactly the breeds I wanted.

I also determined that I would order the chicks from a hatchery versus buy them at the local feed store in the spring. My father is a veterinary epidemiologist and has seen the effects of Exotic Newcastle disease and other poultry epidemics firsthand. He strongly recommended that I buy my chicks from a certified disease-free hatchery rather than take the biosecurity risks that come with feed store chicks. Feed store chicks get handled by a lot of people and are housed in an environment that can be a breeding ground for disease. Hatchery chicks, on the other hand, go more or less straight from the incubator to your house.

Hubby Dear and I decided to order about 15 hens, plus a rooster, from a hatchery that would ship less than 25 at a time. Then we were faced with the next big decision: what kinds should we get? That's coming up in Part II of my series on chicken keeping.


Do you have chickens or chicken fantasies? ;) How did you start your flock?